Fixing up a pine unit from Vinnies

Aussie Pythons & Snakes Forum

Help Support Aussie Pythons & Snakes Forum:

This site may earn a commission from merchant affiliate links, including eBay, Amazon, and others.
Status
Not open for further replies.

pythonmum

Very Well-Known Member
Joined
Oct 28, 2006
Messages
2,989
Reaction score
21
Location
Sydney
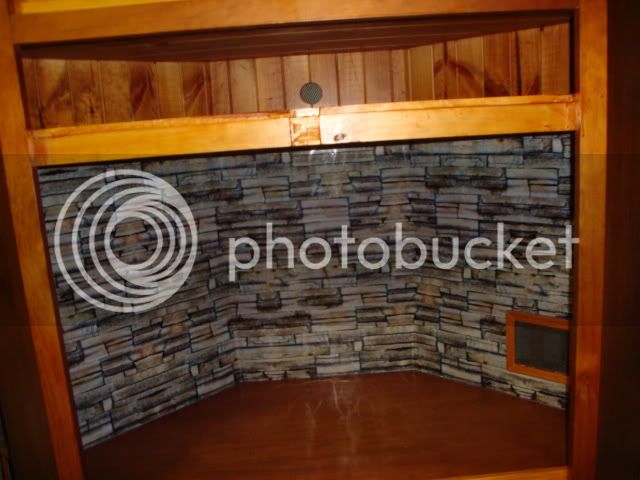
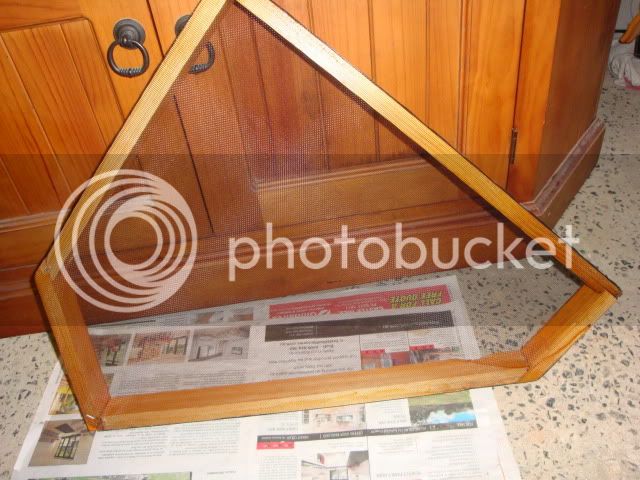
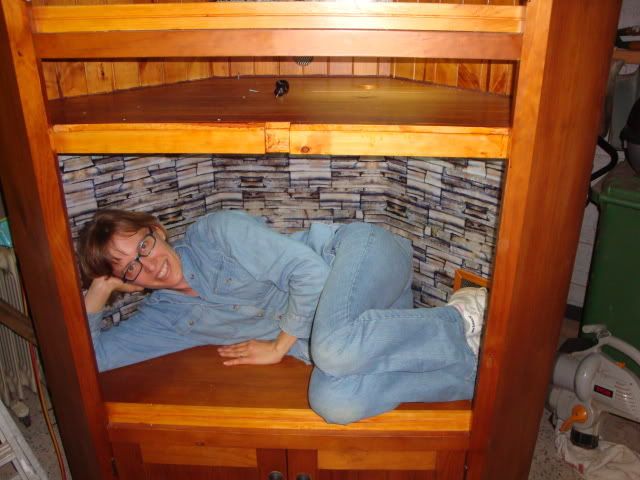
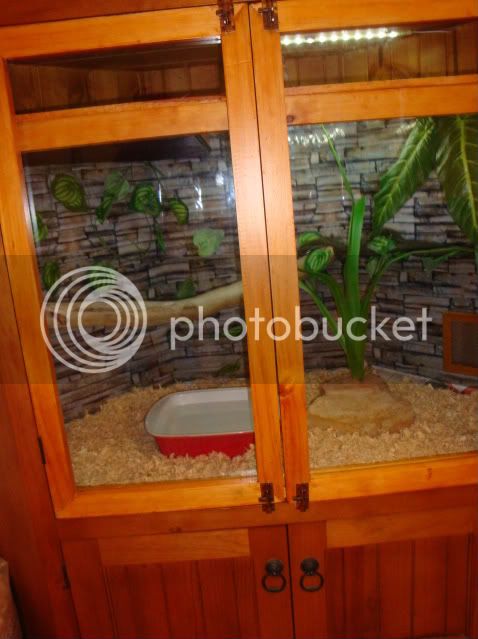
I scored this pine entertainment unit from the local Vinnies for $45.
DSC03734.jpg


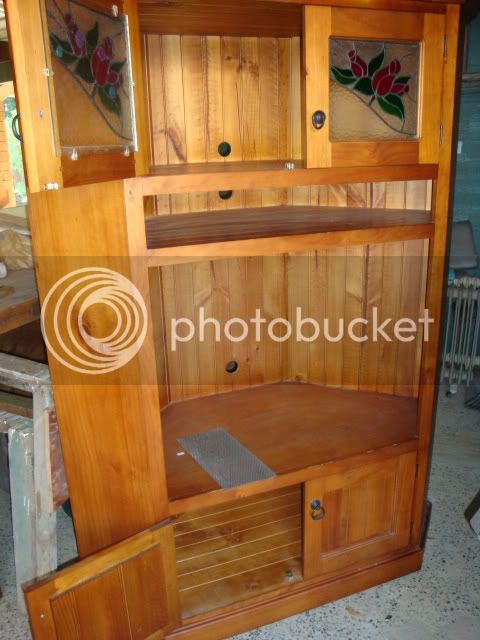
The fit-out will be a lot more than that! I was looking at different lighting options and found some awesome LED lighting systems at the local aquarium shop. Problem was, they cost $240!:| Went to Bunnings today and found a couple of different systems for $40 - much more reasonable. I like the LED idea because you don't need light cages, they don't burn out, they are very low profile and they only draw 1W of power.

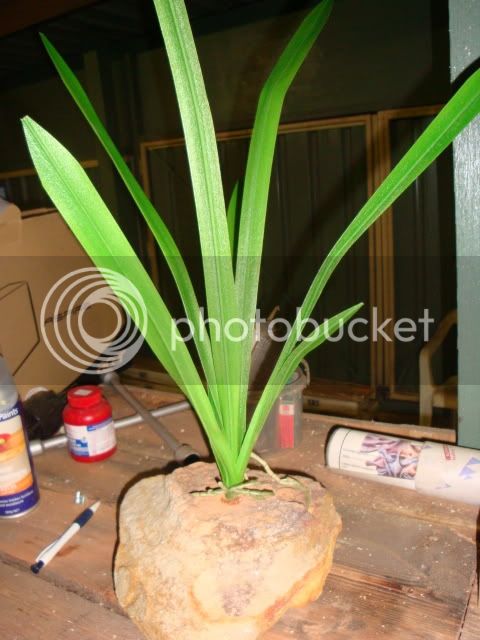
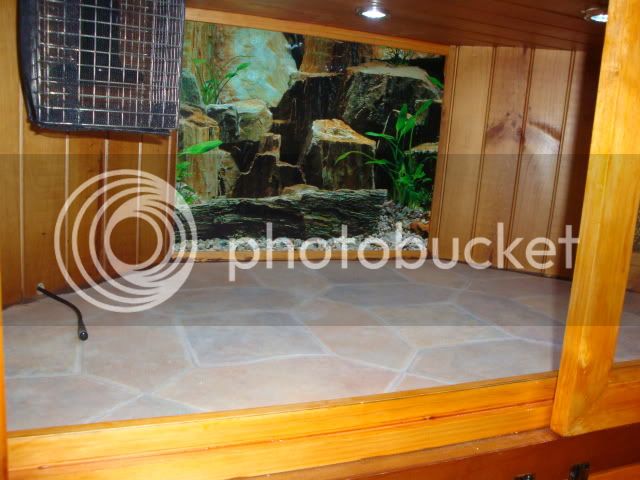
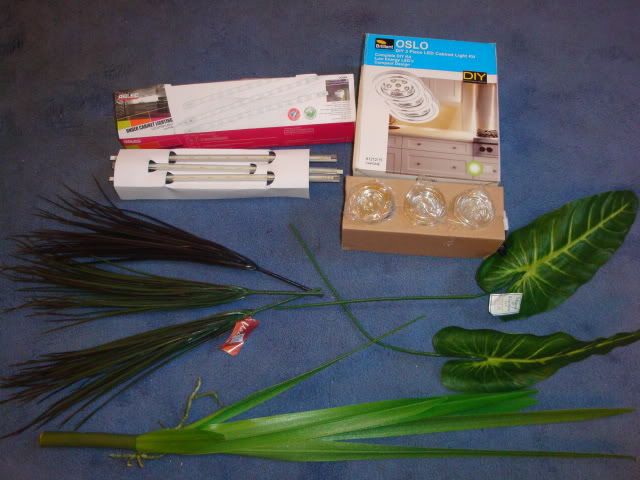
I also scored some great fake plants at Home and Garden at the local Westfield. I was impressed by their range of fake greenery. It was life-like, sturdy and not incredibly expensive.

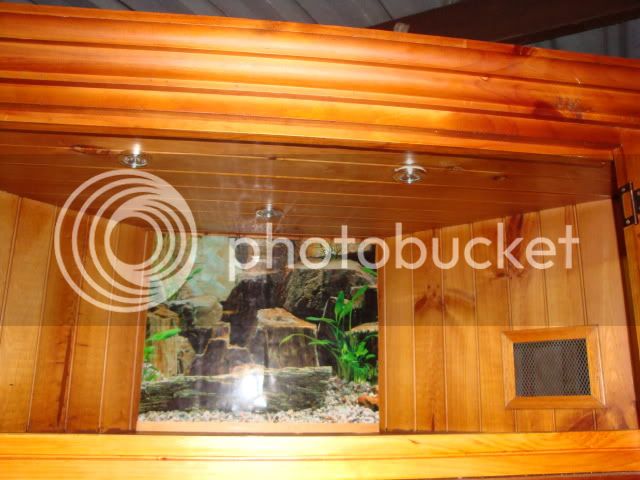
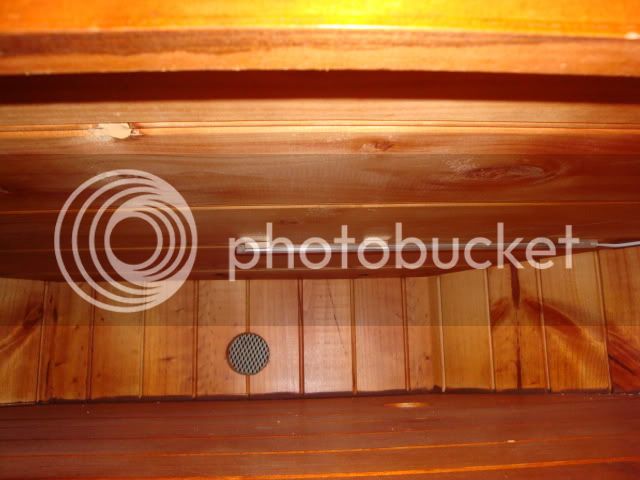
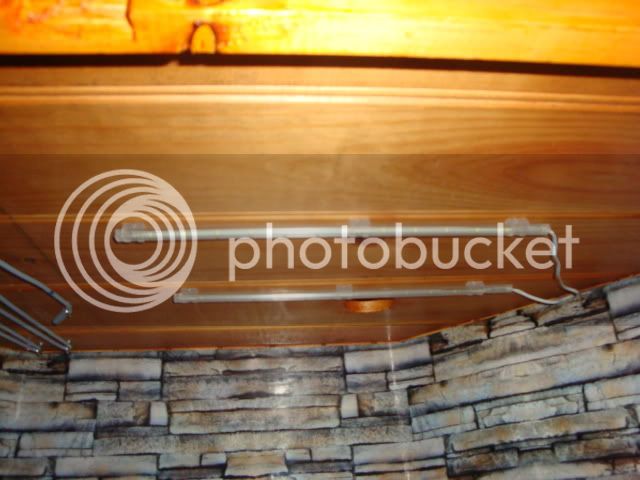
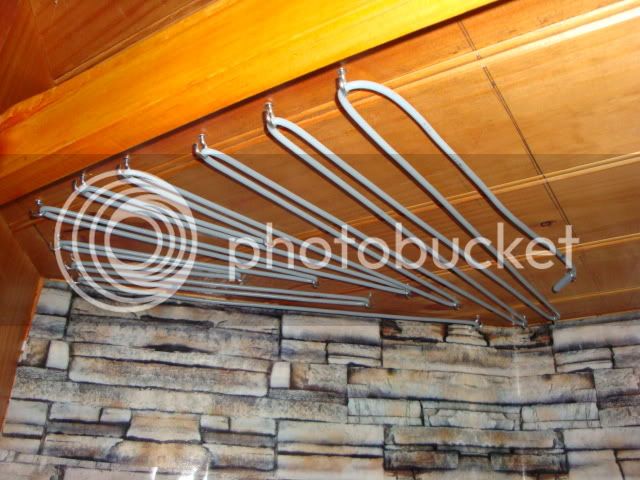
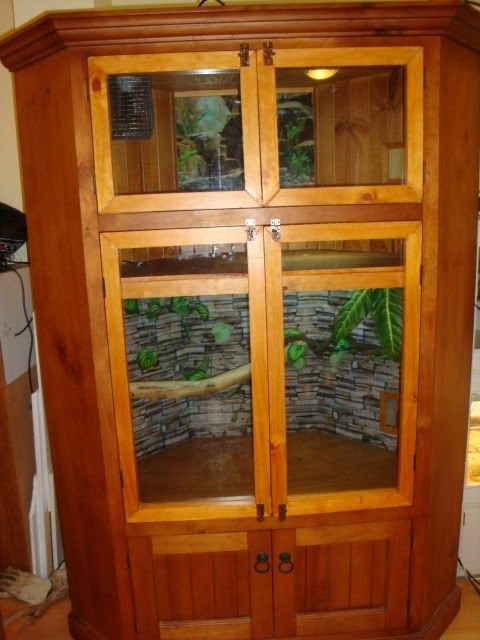
Here are the LED sets and the plants. The downlights go in the top enclosure and the strips go in the main one. If they are not bright enough, I'll put them above the basking shelf and install a conventional compact flourescent in the main area.
DSC03738.jpg


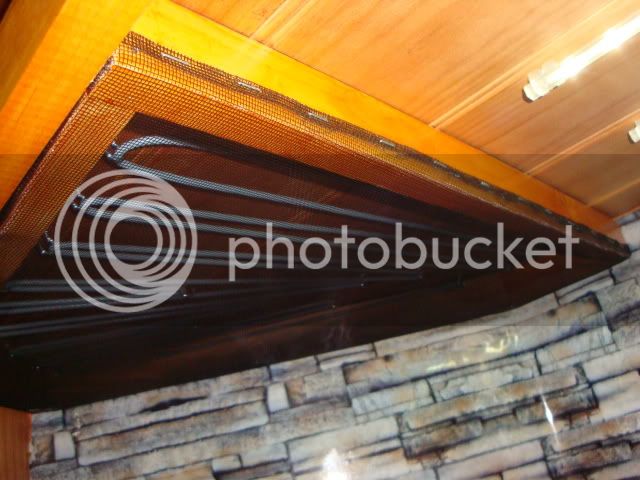
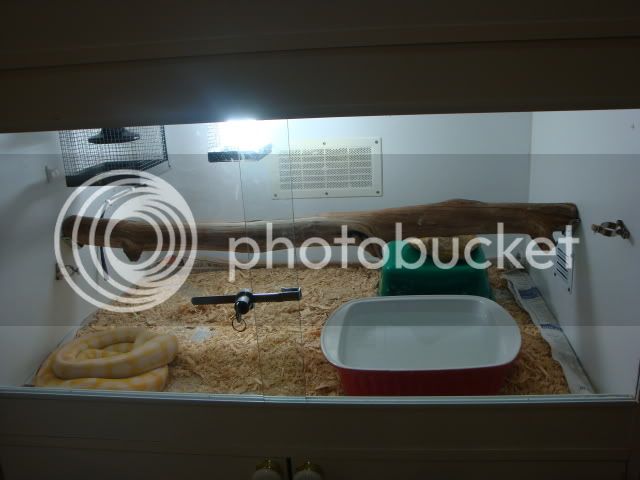
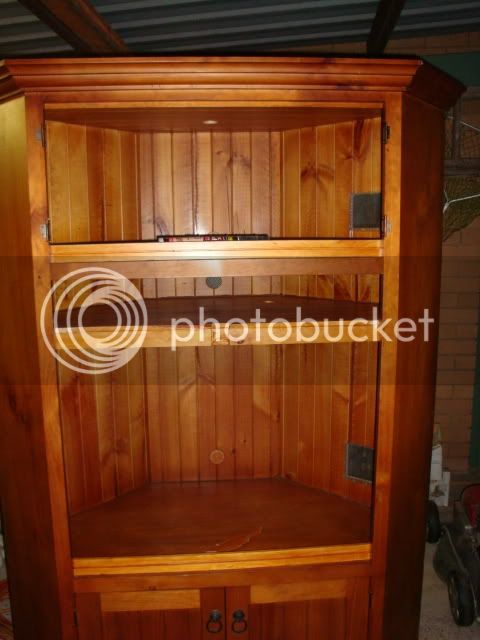
I'll post more photos when I finish. I've got most of the materials ready, but lots still to do, including sealing all of the interior timber and filling gaps. Waiting for everything to dry drives me nuts.
 
that is going to look amazing!!! great potential.
 
Latest progress

The slowest part of this renovation has been staining the pine and sealing the entertainment unit! I've finally stained and built the doors (not shown), sealed the interior with spray-on polyurethane (a great invention), and sealed the gaps around the floor with gap filler. The holes for the power cords in the top and bottom sections were filled with a circle of wood screwed to some old aluminium leaf guard. The middle (narrow) section was just covered with the gutter guard and left as ventillation. That section will be a basking shelf. I am mounting a heat panel underneath it and have made a hole for the snake to crawl from the main enclosure to the shelf. In the first photo I've cut the vent holes and screwed on the gutter guard as vents, too. Litter guards are in place in the front of the enclosures.
DSC03770.jpg


In the next photos I've glued on the decorative aquarium backgrounds which cover the patched cord holes and add interest. This is crucial for the lower enclosure, because that snake is my messiest and an easy-clean surface is necessary. I've also put framing around the vents and installed the LED lights in the top enclosure. They give plenty of light and look great, without needing light cages! Thanks to kingsirloin for cutting the holes for me.:)
DSC03771.jpg

DSC03772.jpg


Finally, I've finished my plant for the big enclsoure. I dare my Darwin to knock this one over! (He probably will manage.)
DSC03769.jpg


I'll update when I build my heat cord heat panel in the odd shape of the lower enclosure and fit out the branches. Someday I'll put on the doors, too!
 
wow, gorgeous! it's looking great Pythonmum :D your snakes are definitely spoiled lol.
 
More progress on May Day

At last I've got the lighting in the lower enclosure. For this one I got a set of 3 strips of LEDs. They are amazingly bright! I've put one strip in the basking shelf area:
DSC03776.jpg


and two strips in the main enclosure:
DSC03774.jpg


I'm also building my own heat panel using dickyknee's method. It really suit's this odd shape. Here I've screwed cup hooks into the ceiling to hold the heat cord.
DSC03775.jpg


Here is the guard box - a pine frame with aluminium flyscreen stapled to it.
DSC03777.jpg


Now it's in place on the roof.
DSC03780.jpg


Just for perspective, this shows how spacious the enclosure really is. Hubby took the photo after I laid in the enclosure pushing up on the heat panel guard while he tightened the screws from the basking shelf side.
DSC03779.jpg
 
How good is it when you find just what you need at vinnies and salvos for enclosures??
My enclosure is an entertainment unit with the pine exactly like this one, except its square.
Scored it for $30... Best enclosure and its huge... just took out a couple of the shelves and did all the necessary cleaning/ adding glass/ setting up...
Now my spotted is happy cruising around in his unit haha.
Yours looks amazing, need to show the end result when the snake is in there
 
That's looking fantastic! Well done. I can't wait to see the finished enclosure all lit up with the snake in it.
 
Looking good, pythonmum :) that's an awesome size enclosure!!
could you also pm me where you bought the LEDs from too, please? :)
 
This is excellent! Will the heat cord be on a thermostat? I'm interested in changing from a red bulb to a cord. How much power do they draw compared to a bulb?

The enclosure looks GREAT. Excellent project and really inspiring.
 
Got both LED sets at Bunnings for about $40 each. The round ones are Oslo 3 piece LED cabinet light kit. Strips are Arlec under cabinet lighting LED strip light. I love the easy installation, bright light and no light cages! Now to see what my Darwin does to them...

The heat cord will be on a thermostat with the probe on the shelf above. Ages ago I started putting my heat sources under a basking shelf for arboreal species. Now I don't lose so much heat out the top of the enclosure. I used the 60W heat cord that I had in my incubator. It was $30 from Herpshop. If it's not quite hot enough, I've ordered an 80W cord and will have to add more cup hooks. I just had a 2-year-old Habistat panel in another enclosure blow on me, so I've high hopes for the heat cord. If nothing else, it's a lot cheaper to replace.
 
Done at last!

Had great fun moving this monster into the house. How come 17-year-old boys are not nearly as helpful with lifting as you hope?! Anyway, we did it. Husband helped me with fiddly bits getting the door hinges just right.

Here it is before decorating:
DSC03820.jpg


The 'upstairs' will be for my new Boodarie girl. I'll keep her on shavings, so have put down vinyl flooring and sealed it around the edges. She's not going in there yet, so I have not taken a photo with the complete decor in place. Also, my rock with fake grass plants is still drying!
DSC03821.jpg


'Downstairs' in the main enclosure is the new home for my albino boy. This is his old boring box.
DSC03819.jpg


Here is the new and improved housing with much more space and a much nicer look.
DSC03824.jpg


The 30W heat cord is providing a basking spot of 32 - 35 degrees on the wooden shelf above the heat panel (according to my IR heat gun). The coldest parts of the enclosure are down by the vent where it is a chilly 18 degrees today. We never heat that room, so I suspect he will spend most of his time on the shelf in winter. I have a day/night thermostat, so the temp will drop everywhere at night.

Right now he's visiting his girlfriend while I moved around the enclosures. I may pop them both down there, as it gets cooler than the loungeroom where the female lives right now. I want to check the temperature profile for a day or two before I put him back - just to be sure I'm happy with it. I'm certainly happy with the renovation. I had lots of fun and it's a much more attractive piece of furniture than the standard melamine enclosure.
 
That's really excellent, pythonmum :D I'm gunna try and do something similar, just gotta convince my brother to let me use his garage, because I can't do it here :)
 
That is a very well thought out enclosure/viv that will last a lifetime and has the added benefits of being both cheap and nice to look at
 
That's it, pythonmum, you've officially inspired me. Excellent work and thanks for sharing. I'm hitting Vinnies on the weekend...
 
wow absoultely brilliant work !! has given me so many ideas !!

well done mate :)
 
Status
Not open for further replies.
Back
Top