Aussie Pythons & Snakes Forum

Help Support Aussie Pythons & Snakes Forum:

This site may earn a commission from merchant affiliate links, including eBay, Amazon, and others.
Status
Not open for further replies.
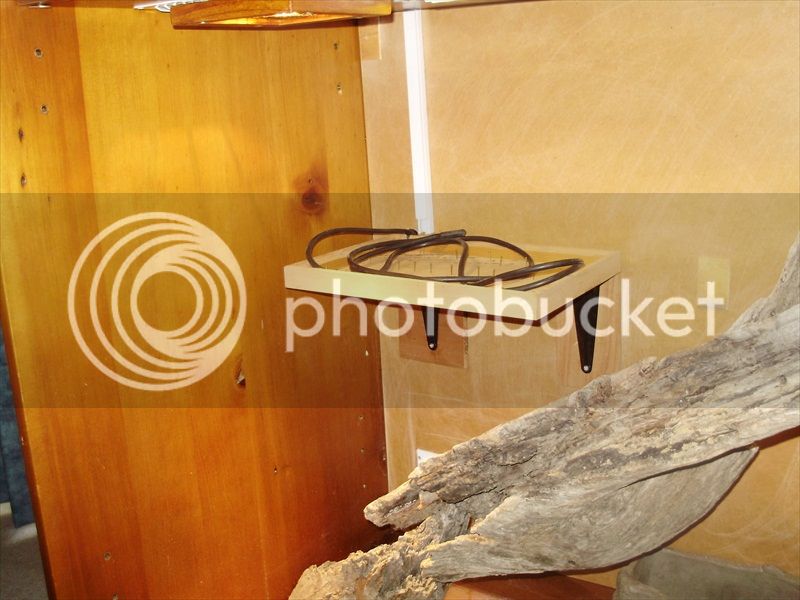
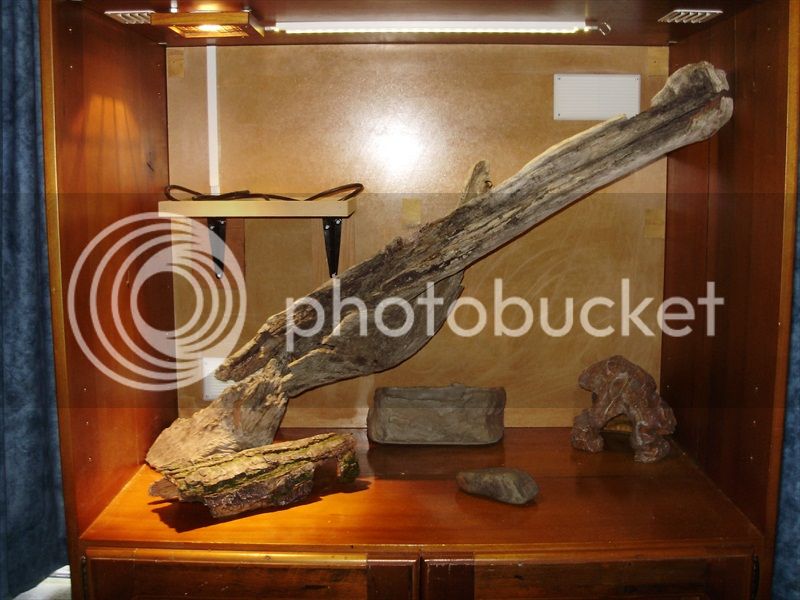
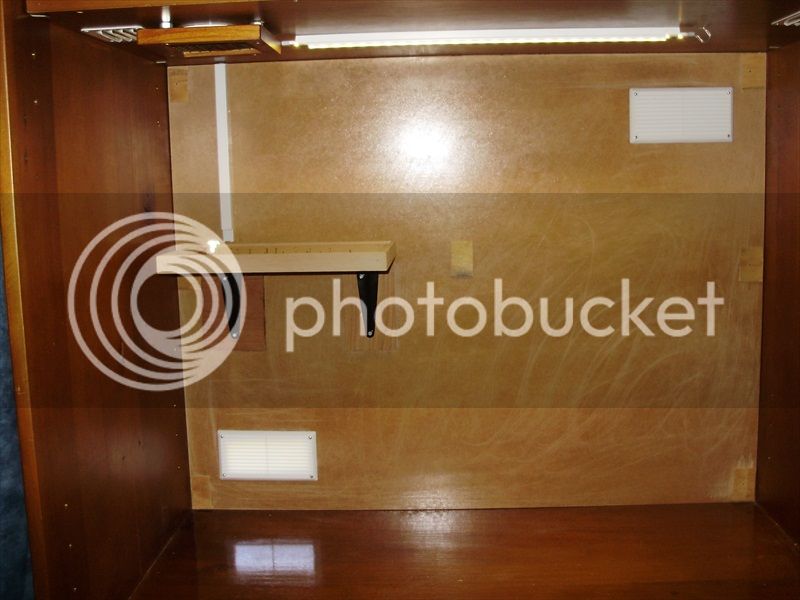
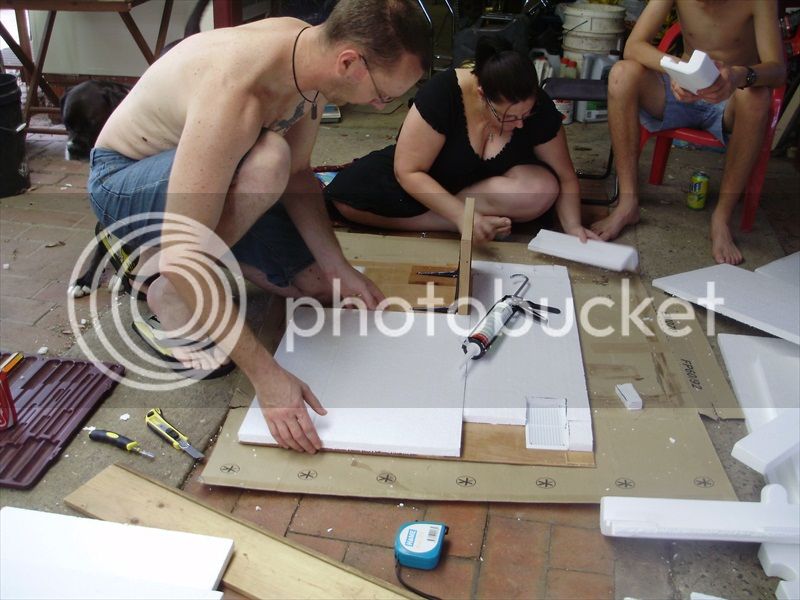
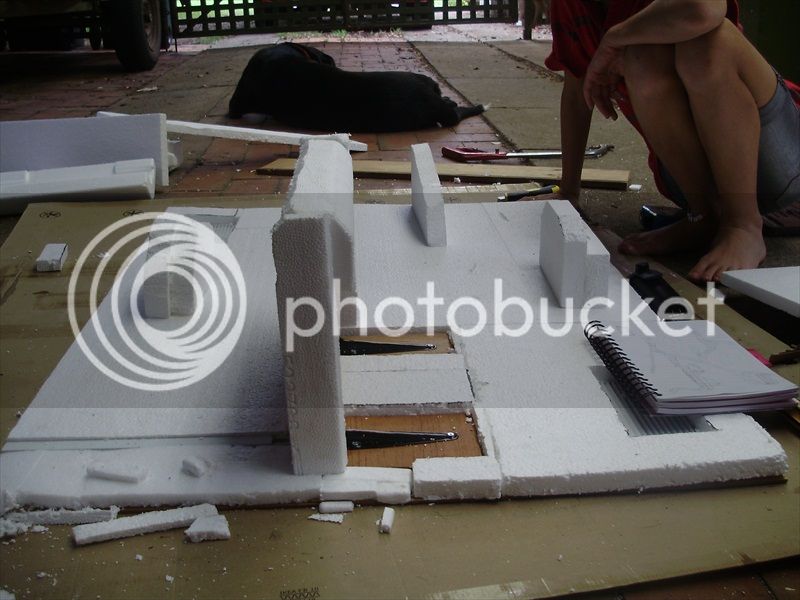
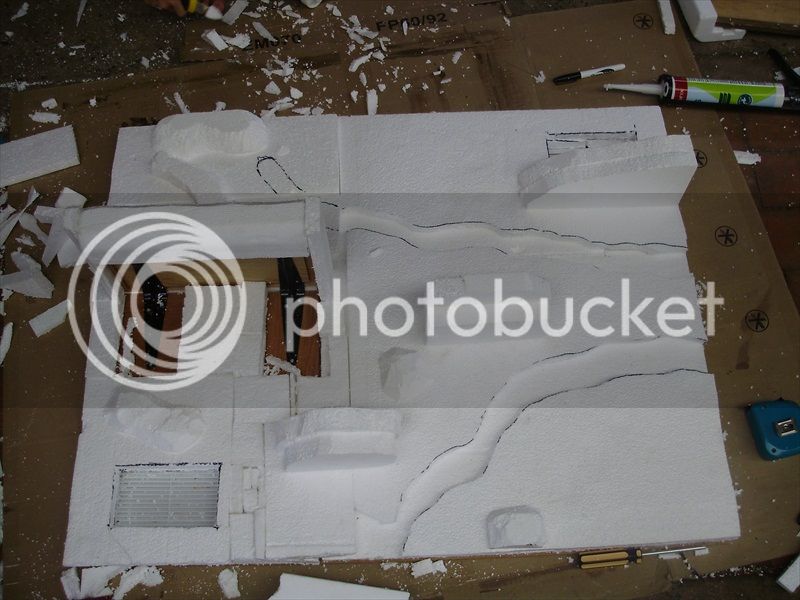
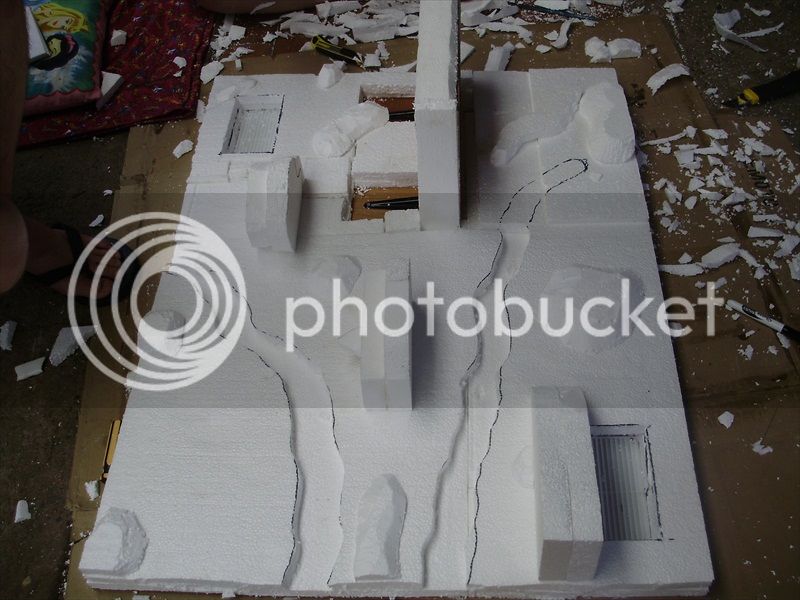
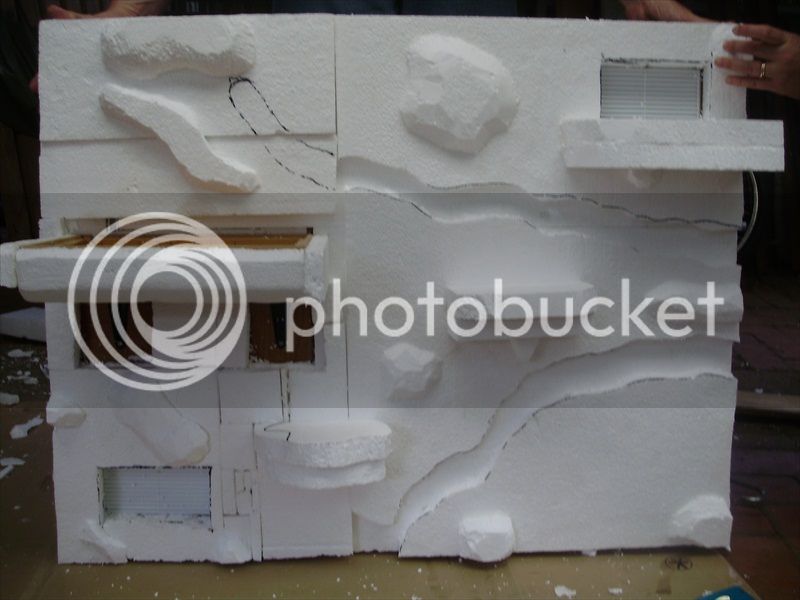
The pics are all up to date mate, there is nothing of note to see at the moment and probably won't be until we start playing with foam later this week. I will post pics regarding the shelf bracket placement etc as things progress. I have been making sure my photo's are as step by step as possible but I figure no one wants to see a plain pice of MDF with varnish on it. :)

Thomasssss, find a halogen down light somewhere like a shop display window and put your hand 6 inches away form it and you will feel plenty of heat. They emit as much if not more than a standard incandescent globe. I believe Stein Enclosures use halogen down lights to heat their enclosures as they aren't as visually noticable as a big ceramic fitting and a liht cage. Obviously I'll be able to comment more when it is all setup and running for a few weeks. I don't anticipate needing the heat tile until winter.

I just wanna see the glass doors go on. That's the most challenging part for me, and I wanna see how you do it.
 
I wish there was a book for building enclosures
Sent from my GT-N8020 using Tapatalk 2

There probably is if you look hard enough... :D

- - - Updated - - -

I just wanna see the glass doors go on. That's the most challenging part for me, and I wanna see how you do it.

With a bit of luck that will also happen next week if I can sort this car battery bill. :facepalm: I am thinking of using 4.5mm Lexan if they can supply suitable runners. Trust me those pics will appear ASAP!
 
The toughened glass has been ordered today so with a bit of luck it will be here on Monday.8) I'm a bit stunned as it is costing me $160 but another place quoted me fully double that??? :shock:
 
The toughened glass has been ordered today so with a bit of luck it will be here on Monday.8) I'm a bit stunned as it is costing me $160 but another place quoted me fully double that??? :shock:

Yeah, I got quoted from one place $400 something so I'm shopping around. Who did you go with?
 
The place in Armidale wanted nearly $400 but Inverell Aluminium and Glass must use a different supplier or something as they are doing it that much cheaper.
 
The place in Armidale wanted nearly $400 but Inverell Aluminium and Glass must use a different supplier or something as they are doing it that much cheaper.
thats why i dont gibe rough estimates on glass for people , they vary extremely from place to place , the thing with toughened glass is that they cant just cut it from a piece they have ( from memory anyway ) and it has to be ordered in as toughened as once its in that state it cant be cut in the normal way , good choice though im sure you know my stance on glass already :) toughened is what we recommended people use in trophy cabinets etc anything where the edges are exposed , where you also recommended it by the glazier or did you just go with it through personal choice
 
The glass place didn't give me any advice in that regard but I know a bloke who worked as a glazier and we had talked through the options. Except it was to expensive I would have taken Laminated instead with the edges chamfered.
 
So I have the back wall up to the point that Kathy and I can start roughing out how the background will look. I'm still not sure if I'll go with lots of small/medium rocks or sort of three or four large ones with grooves between them, either way there will be at least two ledges similar in size to the magnatec shelf Skittles has now.

Today involved locating the heat shelf, putting a hole in for the thick part of the heat cord to come in as far as possible and fitting the conduit for the thermostat probe to be fed down to rest on the slate. I also used a piece of the conduit to make a 'lamp shade' for the LED ights as I found them a bit distracting when they were exposed, this also stops Skittles from pulling the light down as there used to be a gap of several mm that she could have hooked her tail through and with her body weight dislodged the light from its fittings. The 16mm rectangular conduit was the perfect size for it too. :)

PC260006_zps29138341.jpg


PC260005_zps0a946a5c.jpg


PC260004_zps6cc58cd9.jpg


The little blocks of ply in the corners and middle of the back board are so when I screw it in place from behind the screws will have something to bite into more securely than just the MDF.
 
Last edited by a moderator:
The planning stage is fun. I have to exercise great control when I start fixing things in or doing the render as I'm always tempted to change something !
You definately look like you're heading in the right direction :)
 
Cathy, I'm starting to worry about you... I know you said you are a visual learner who needs lots of pics but reading is visual too. :lol:

Yes I am doing a rock wall as I said from the start. Last night I decided on the type of rock effect I am going for. I'll do something similar to what Tit4n did for his...

23hrsjs.jpg


But rather than brown we will use tones of grey with just some brown to tie it in with the colour of the cabinet. I am also adding a couple of shelf/ledges for Skittles to use as she really likes her Magnatec ledge in her current enclosure. I got the foam dumpster diving at Harvey Norman and I just need to get the render, oxide, paint and pondtite still.

I also discovered that the rock bowl I got for her water dish is pourous so I'll need to treat it with the pondtite too.
 
My bunnings has stopped selling pondtite, so I'm glad I got the 4 Litre tub last time.
 
LOL, nice bump Jax. :lol:

Well I went to Bunnings today and got a 20kg bag of acrylic render for $12, they have a clearance on some oxides so I got one called Dusk that looks black, three tubes of Liquid Nails, some Pondtight equivalent and some water based expanda foam. Kathy played with the foam while I was out after I got her started so this will be pic heavy but here goes...

Product placement...
PC280027_zps3bf0c19d.jpg


Getting started...
PC280009_zps8b6f0148.jpg


PC280011_zpsc9e94dfc.jpg


Fun and games...

PC280025_zps79c0e040.jpg


Team effort in planning and building...


PC280023_zps8ed394b3.jpg


PC280028_zpsbcd74f25.jpg


PC280029_zps48491790.jpg


PC280031_zpsabc37b0f.jpg


PC280032_zps4f839610.jpg


Time to add expanda foam under the heat shelf and one other piece in the bottom right corner and then it's time to watch glue dry ready for shaping/melting and rendering tomorrow...
 
Last edited by a moderator:
Fun for all the family !
A quick suggestion - take the vent out before you render :)

now that's a bump ! - by the time you finish this enclosure I reckon you'll owe me a coffee:p
 
Can't take the vents out now as they are too snuggly fitted... :( I'll try putting some duct tape over them though and just try to be extra careful when working around them.

So any thoughts about the foundation we built today?

- - - Updated - - -

Just had a lesser catastrophe... the wall as leant up out of the way and the expanda foam hadn't set enough and just avalanched off the areas we had filled. The ordinary expanda foam dries much quicker but as it is turps based or some such it will eat the styrofoam anywhere the two come in contact. :(

So tomorrow I'll have to get another can and learn the lesson of patience. I'll apply a bit at a time, the advantage of it being water based is that unlike the other stuff I can clean the nozzle and still use the can later where as the other sort dries and clogs the nozzle no matter how hard you try to clean the hose etc.

Oh well I guess rendering will have to wait a couple of days.

- - - Updated - - -

now that's a bump ! - by the time you finish this enclosure I reckon you'll owe me a coffee:p

You're welcome to drop in for a coffee and inspect the handy work anytime you like. I'll even krank up the latte machine for you. ;)
 
Oh no! I'm not laughing AT you, really I'm not :D

Ive had some beauties - is any of it salvageable ?. A standard saw will work well to remove most of the excess, and expandable foam cuts a lot cleaner than normal styrene.

Nxt time lay it flat and remember 'less is more' with expanda foam, you can actually help it expand by misting with water...

i hope you got pics :) we've got to let the forum know what to watch out for !

PS: I only do 'double shot' caffeine which could probably explain a lot :shock:
 
Status
Not open for further replies.

Latest posts

Back
Top