Aussie Pythons & Snakes Forum

Help Support Aussie Pythons & Snakes Forum:

This site may earn a commission from merchant affiliate links, including eBay, Amazon, and others.
Status
Not open for further replies.
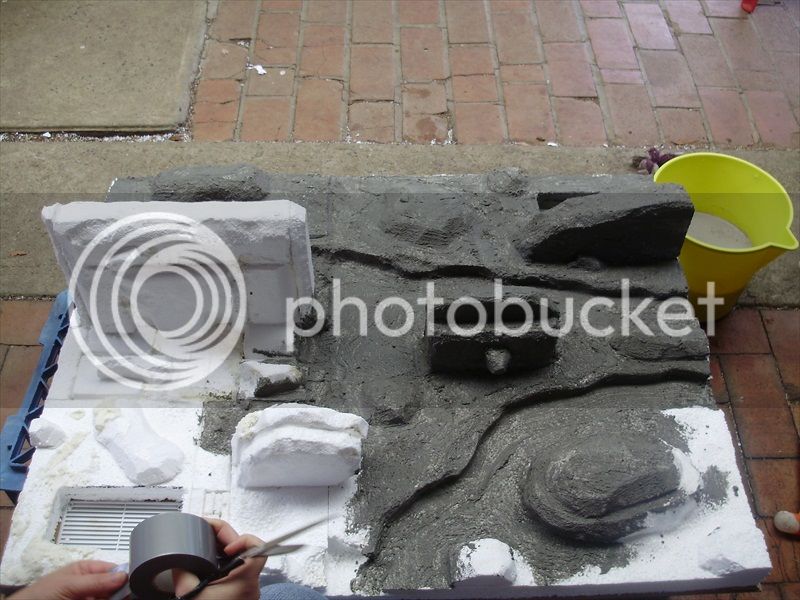
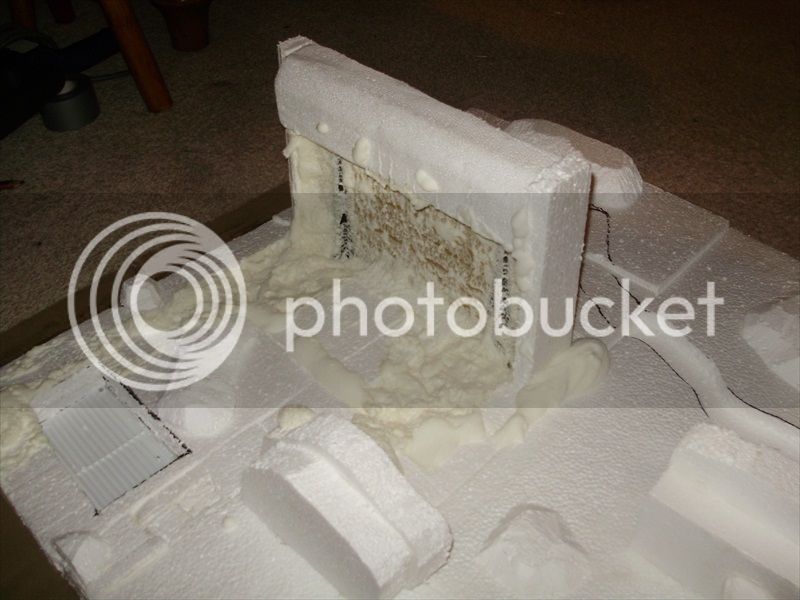
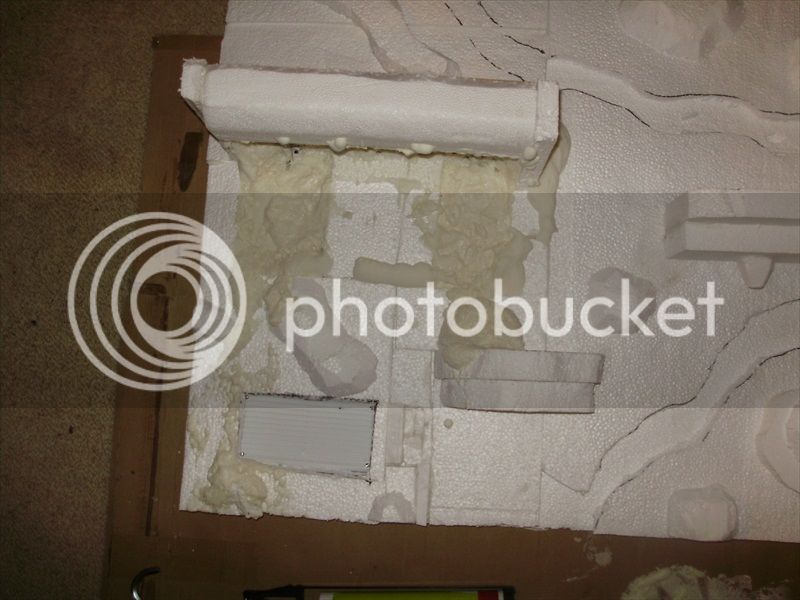
I salvaged some of it but the water based stuff seems to need forever to crust or set. I was too worried about what to do so I didn't get a pic when it happened. Does the regular foam melt the styrene or have I got it wrong on that front? Either way it is just a set back not a deal breaker. :lol:
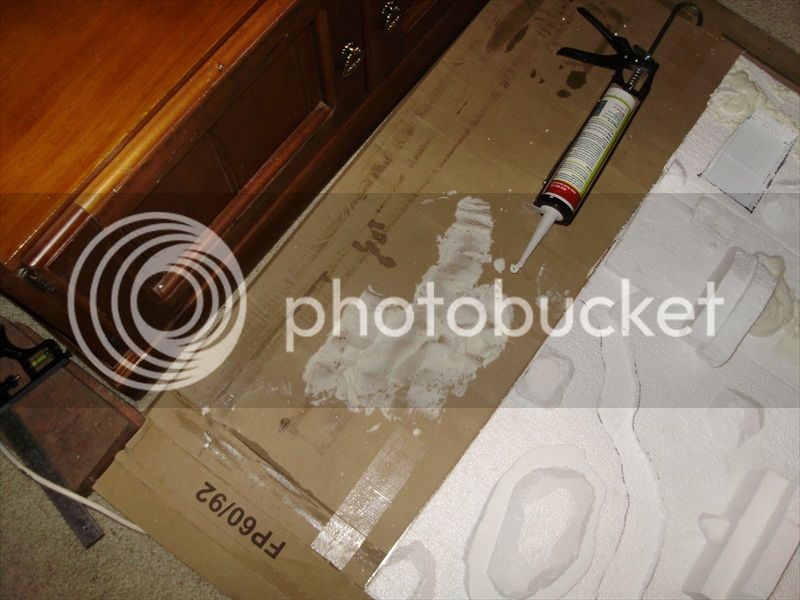
Where it went...


PC280033_zps4363df33.jpg


PC280034_zps9d59a144.jpg


Where it landed!

PC280035_zps380ee9f5.jpg


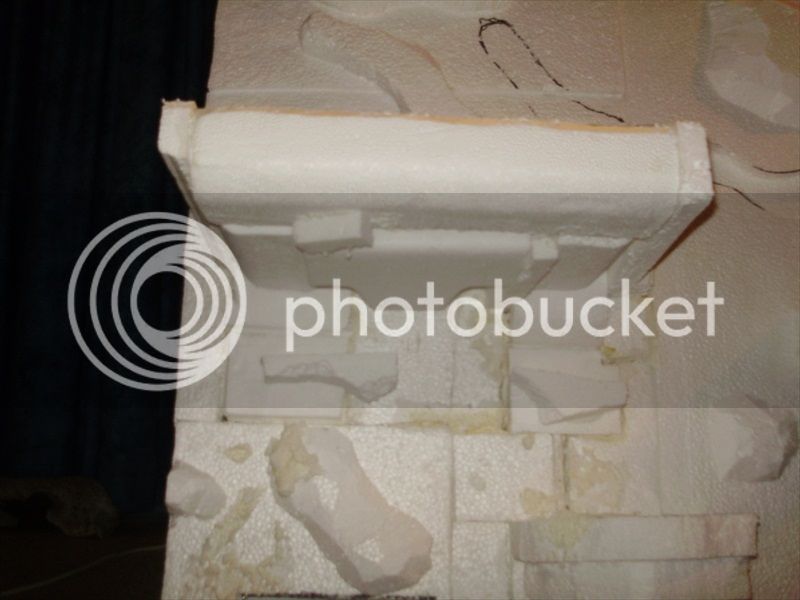
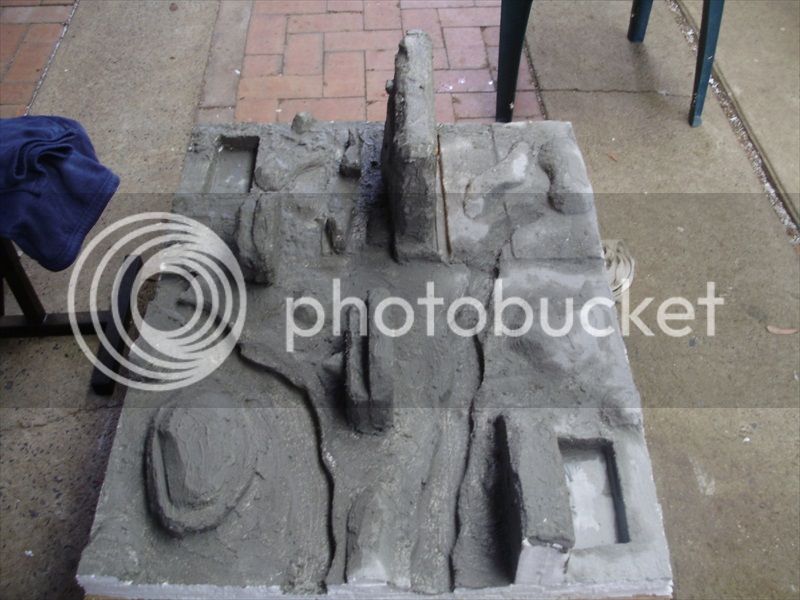
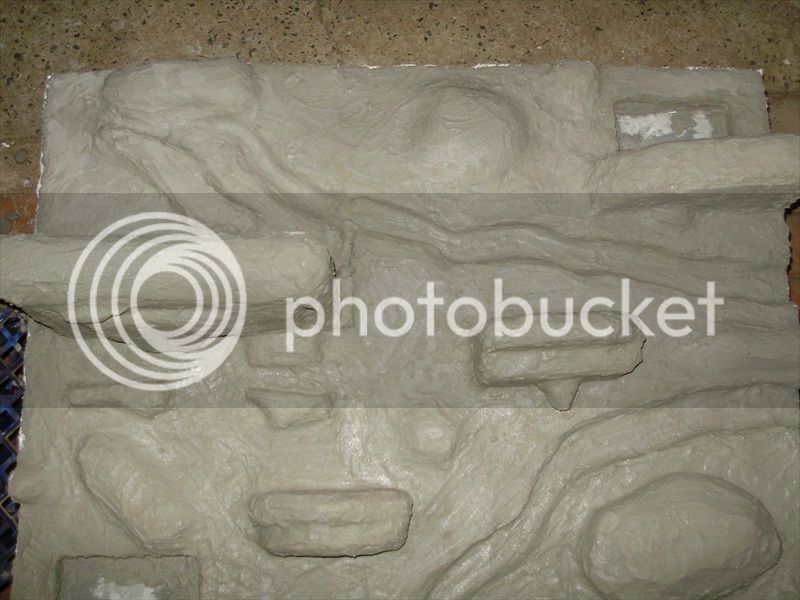
So Jax what do you think of the basic backwall design so far?
 
Last edited by a moderator:
I think you've done OK :)

Im Joking, I think its fantastic !

How can you call that a disaster ? It's just an unplanned feature :)

Once it's gone off, slice the worst bits off it ! The placement of the shelves and rock outcrops look good and well placed. Once you hit it with the heat gun it will look different.
Do yourself a favour. Step back for a few hours, then come back and look at it- it's the best thing you can do ( fresh eyes)
 
Thanks, I was pretty happy when we called it a day. I'm a bit nervous about the render and finishing off some of the gaps etc but I'm sure it'll come together nicely. We have picked out some greys and a brown or two for the colouration.

What about the expanda foam, should I stick with the water based stuff or not?
 
I don't see an issue with it ? Is it causing you any unmentioned problems?

the non water based stuff is harder to clean up, although a bottle of acetone comes in handy. Or pinch the mrs' supply of acetone nail polish remover ;) I never had a problem with it melting the styrene. It just stuck like the proverbial poo to a blanket :)
 
Last edited:
Well the toughened glass arrived Monday and last night when I went to fit it... it was too short by about 8mm. Grrrrr! Oh well after some thoughts of roaring at the glass place I decided to work with what I've got. I left the overlap to them and they said 50mm but now that it's in place the overlap is actually 90mm not that that is much of an issue. As for the height a good friend of mine who is a very handy cabinet maker milled an 8.5mm strip of beach that I stained and used to lower the top track slightly, so now the doors fit.

PC310003_zpsd5940bab.jpg


PC310002_zpsdd6c5ad8.jpg


The expanda foam was too much of a PITA and even after two days was still quite soft compared to the stuff I have used in the past so I went back to the styrene and did a bit of patch work which I am actually quite happy with and I think by the time it is rendered it should come up a treat. :)

PC310004_zps6406dbb7.jpg


The other thing is I made the clearence so small on the MDF I have to do some surgery to bring the styrene back within the limits as it won't fit at all at the moment. My mate gave me a nifty new tool, a type of Japanese hand saw that should make short work of it. I only plan to render the front face and paint the edges as Skittles can't do any damage to the sides.
 
Last edited by a moderator:
Just triple check there's nowhere for skittles to squeeze in behind it.

Oh the trials and tribulations of furniture conversion - dont ya just love it :)

No two are the same, there's always something different to contend with. The fun bit is working with it not against it - but then again I've always had a twisted sense of 'fun'

It's coming along very nicely !
 
When can I place my order?

It looks great mate, you should be proud!
 
Hope when I get my glass it's exact and not a few cms off! Ahh! I'd be so rank at them! I've finished making my foam backing wall too. I used a hot glue gun to attach my styrofoam "stones" to the backing. I've used it heaps of times before on making Christmas wreaths to sell and it works a treat at bonding styrofoam together. It's raining cats and dogs up here thanks to ex-cyclone Oswald, so I can't do any more work until the weather eases up. I received my light fittings and cords today so hopefully I can fit them maybe tomorrow...if it's not too wet...

Yours looks great! I prefer the styrofoam bits makeover to the expand-a whatever. Can't wait to see it finished!
 
Thanks everyone, I'm really happy with how it has come together. I think I'll be proud... once it's finished. :) Overall it has been cheaper than buying one built but when I think of the hours that have gone into it I fully understand why they are so expensive. Including the new thermostats, hides etc this has cost me around $350 or so for every last bit that has gone into it. I think I prefer not to add it all up too accurately... :lol:

Tonight I trimmed back the edges and I got the little blow torch out and rounded off most of the sharp edges, some will disapear when it gets rendered. I still have a couple of tight spots to prune back near the edges so it will fit properly when I'm done but otherwise I'm ready to start rendering it so that will probably start this weekend some time. Then next pay will mean a visit to the paint section so hopefully it will be completely done in the next fortnight and Skittles moved in about a week after that as I want to run it and test the temps before relocating her.
 
it's looking so awesome Gruni. Congrats. Awesome to see your family getting involved too!!!!
 
If you have sun up your way, put the tank, with rendered wall out in the sun for a week (wheel it back in overnight in case it gets damp) it speeds up the out gassing from the render, paints and glue. Then run it inside for a good week to let everything settle and get to temp. You'll be amazed how much heat the render will absorb. Then you should be good to move the new resident in
 
So this morning I started rendering. Seemed to go quite well and I made it really quite runny for the first coat... I did forget the PVA so here's hoping it sticks. :lol:

Must admit you need to keep moving with it as it loses it's soupiness quite quickly when you are working on a large area.

3 cups of render goes this far...
P1030001_zps5e8e8db8.jpg


Six cups gets you this...

P1030003_zps727b7e6b.jpg
 
Last edited by a moderator:
Looking good man. Really good. After seeing all these threads about rock walls people are making I think I might bin mine and re-start. :S

- - - Updated - - -

Hey gruni, quick question, how are you going to stick it into your enclosure? Just drill it from behind or use glue? My enclosure is some pretty thick pine and my rock wall weighs a fair bit so bit curious on how your gonna do it.
 
I have about 7 points where I reinforced the MDF with some pieces of ply and have predrilled through the back wall which is 10mm pine. The wall fits pretty snuggly into the cabinet anyway so I have had it free standing without issue but I will screw through the back into those 7 points and that will hold it nicely.

After the crappy rainy weather (which we seriously needed) over the weekend, I went out after work today and gave it a second coat of render that used up three times as much as the first coat. It went on quite thick and after water smoothing it back I am pretty happy with the result. So I'll see how it dries over the next few days and I may not bother with a third coat and jump straight to the painting.


P1060011_zps7816edfa.jpg


I'm still hunting for the plants I will use but the painting should be done next week and I'll post pics of it before fitting it and then I'll hold off until the last bits are done for the final reveal. :)
 
Last edited by a moderator:
$2 shops, OP shops, craft shops are all good sources of cheap plants :)

Can't wait for the big reveal !
 
I have checked out all of the above in our town... :'( Going to try some places in Armidale on the weekend and then I'll just have to bite the bullet and grab some of the online ones I've seen.
 
I have checked out all of the above in our town... :'( Going to try some places in Armidale on the weekend and then I'll just have to bite the bullet and grab some of the online ones I've seen.
i got some from spotlight that were cheap enough , does armidale have a spotlight though ?

looking good though gruni , dont know if you where going to anyway but on the final coat maybe get a hack saw blade or something similar and use it to help high light some of the different areas and cracks if you know what i mean
 
i got some from spotlight that were cheap enough , does armidale have a spotlight though ?

If you dont have a spotlight your way you can try to find a few people on here and get an idea of what may be available, they will post anywhere in australia as long as the item doesn't exceed 2m for $7
 
The nearest Spotlight is in Tamworth 2 3/4hrs from here and we ave no reason to go to Tamworth in the fore seeable future. I might try Lincraft though they have a store in Armidale. We'll see what happens yet, I'm bound to turn something up. One of the other guys on here PM'd me some Ebay links but it was for vines like Ivy but I am chasing some stuff for ground level. There is a seller on Ebay who has some grasses and stuff but I'm not sure how much you are actually getting for the coin and it's not the cheapest especially by the time you add the postage.

- - - Updated - - -

Just a little update... as the render oxiding didn't go to plan (not as dark as I wanted due to limited oxide) I was mulling around how to undercoat the wall and was having trouble finding a spray pack that was waterbased in the right colour. While discussing with my mate down the road he said 'Just bring it down to my place, I have some matt black that we can chuck through the spray gun using the compressor!' What a legend, I didn't even think of a spray gun as I have a compressor at home too. This way we can tint it to a more charcoal colour with some grey and I can learn a bit more about how to spray and maintaining/cleaning sprayguns. :)

So when we get back from Armidale (son getting his braces on) we will get the paint at the start of the week and things will be well underway! :)
 
Status
Not open for further replies.
Back
Top