J-A-X
Very Well-Known Member
Judging by the last pic, shine isnt going to be a major issue. I like what I see at the moment ")


 I can't wait to get started on mine
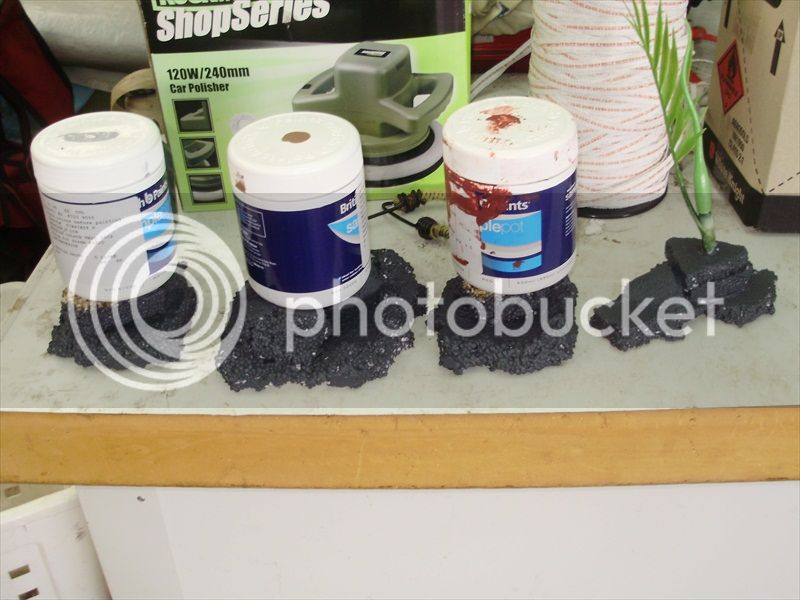
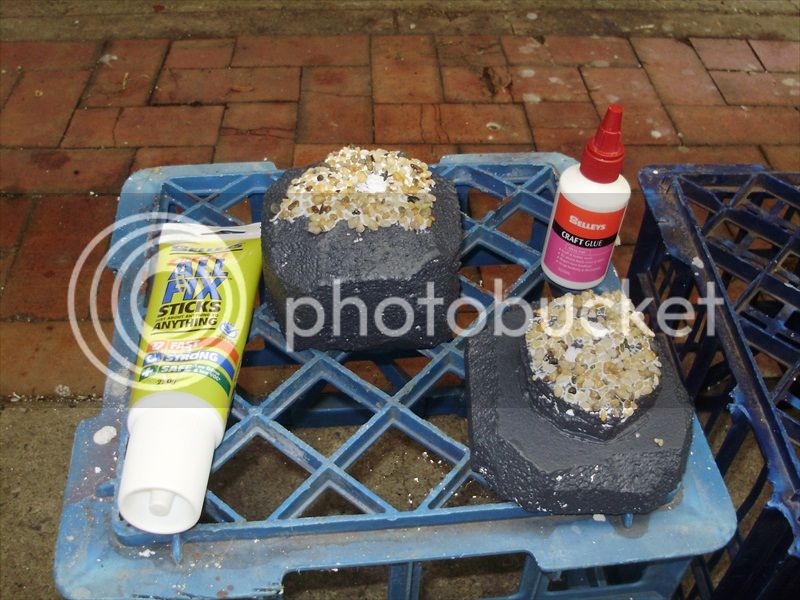
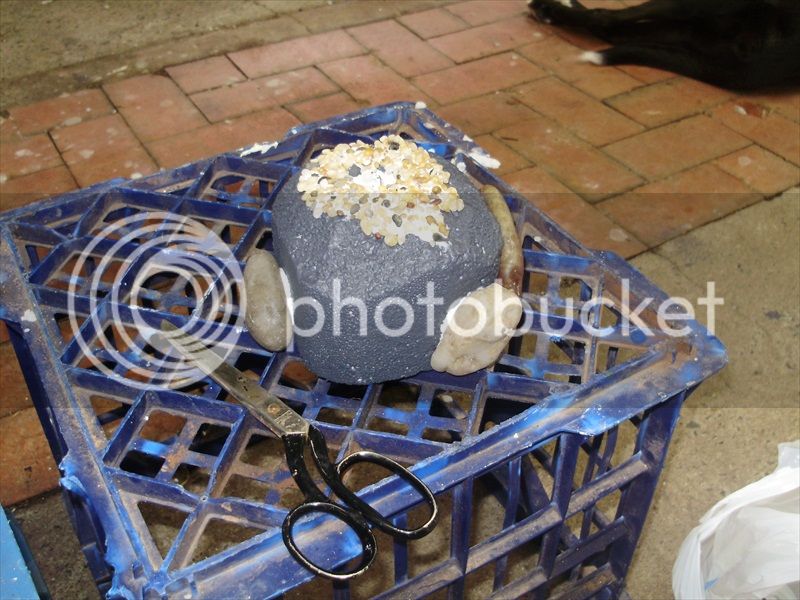
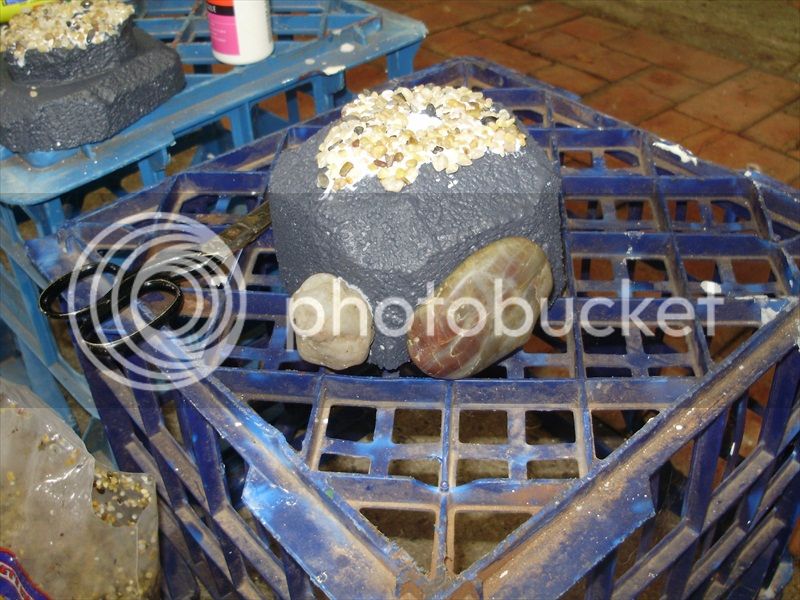
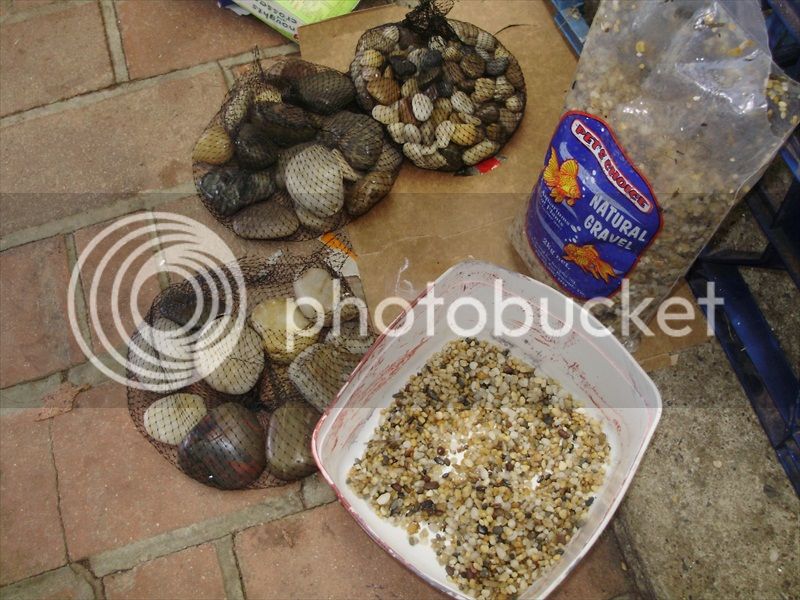
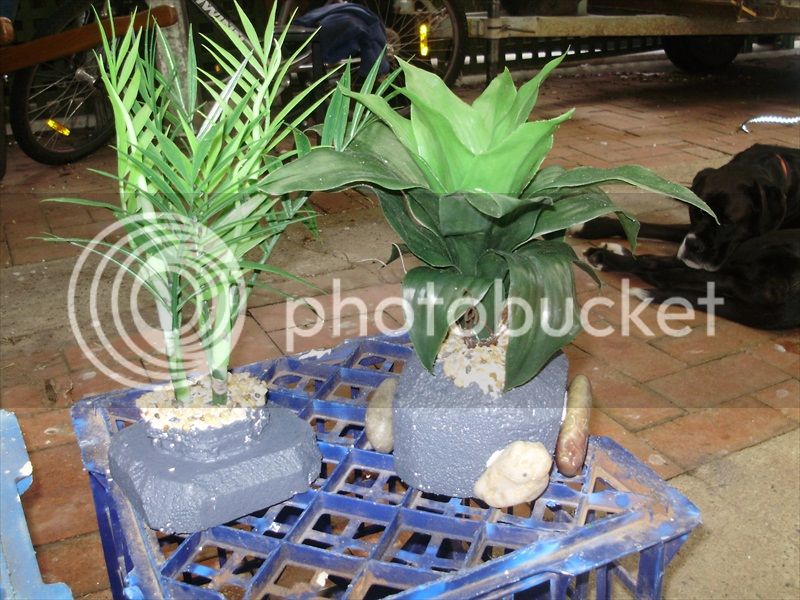
 They're good tease photos aren't they? Trying to save a bit for next weeks reveal...
I'll sit down tonight and try to do a bit of a costing etc for the project too.
Looks awersome gruni wats the story wit the thermostat is it hard to set?
They're good tease photos aren't they? Trying to save a bit for next weeks reveal...
I'll sit down tonight and try to do a bit of a costing etc for the project too.
So.. What are the chances of getting any more pics of this enclosure of yours before next weekend?
Of the enclosure... none.
But...
Two words:
Clear silicon
Enter your email address to join: