Chondrobsessed
Active Member
After picking up my first little GTP (on to my second now thanks Bryce) I wanted an enclosure that would really make her stand out. I had spent a lot of time day dreaming about the design and sketched many different combinations. I came up with a three in one 2 foot cubes. They would act as an intermittent enclosure between the hatchy/yearling and adult enclosure. Here is the design I came up with:
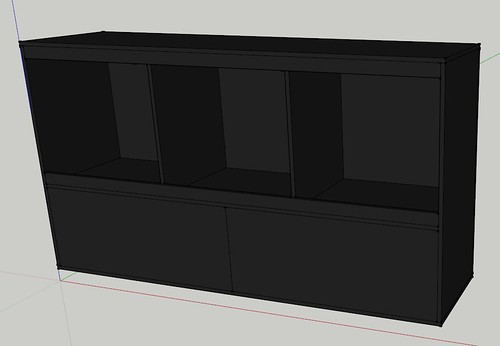
enclosure by zeawyatt, on Flickr
I tried to get someone to build it for me, but some snake enclosure businesses didn't reply. The quote I got was quite expensive, black melamine is like double the cost of white. Upon winging on this site some of you convinced me to build it my self!
So the call around for quotes begun!
I got seven quotes between $335 and $775 from cabinet makers.
I ordered from Allboards with exposed edges edged. They cut pretty well, I got me partners dad to pick the melamine up. I didn't realise that we would receive the off cuts too, one of which was much larger that the largest cut I needed!
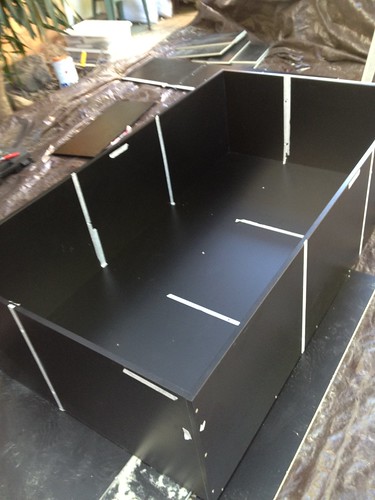
I started just making a box
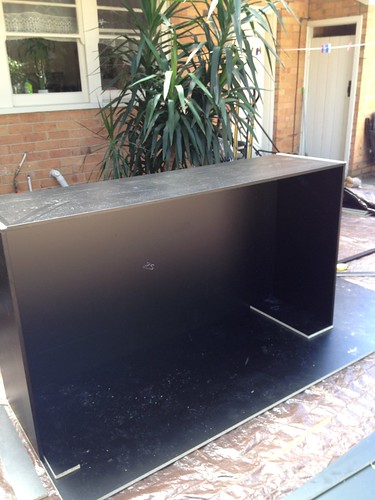
Enclosure1 by zeawyatt, on Flickr
with the help of my buddy
photo(8) by zeawyatt, on Flickr
Then measured up the dividers.
photo(9) by zeawyatt, on Flickr
Screwed in the cupboard dividers
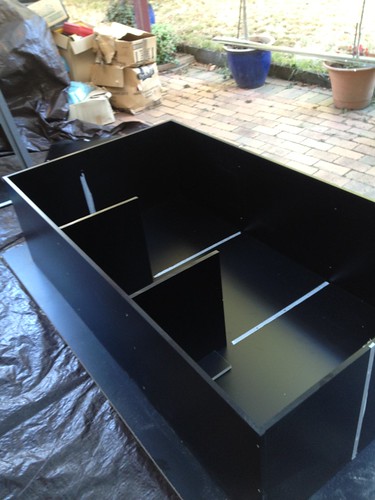
photo(10) by zeawyatt, on Flickr
I used the white plastic glass runners from Cowdroy ($19), I also included a 5cm strip of melamine for the upper and lower edges of the enclosure to keep substrate in and hide heat/light elements. The track just needed nailing and silicone to attach to the melamine.
photo(12) by zeawyatt, on Flickr
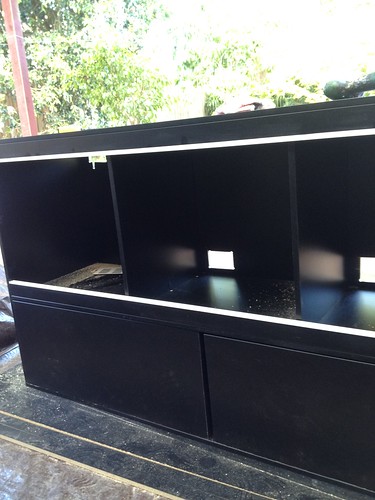
I then screwed in the middle divider and the two enclosure dividers and one of the glass tracks
photo(13) by zeawyatt, on Flickr
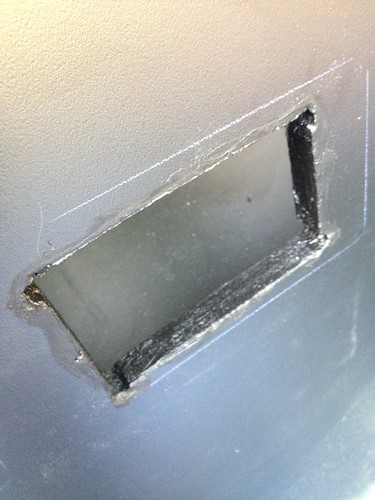
At this stage I tried out the cupboard doors and the didn't fit! I didn't take into account space between the cupboards for swing and also the edging takes up 2mm. I had also jig sawed out some vent holes, I also added a cord space so I could use the vents as an area I can pass electric cords through (idea from APS user! thank you!). I also siliconned all edges inside the enclosure and the vent holes.
photo(14) by zeawyatt, on Flickr
photo(7) by zeawyatt, on Flickr
photo(15) by zeawyatt, on Flickr
photo(17) by zeawyatt, on Flickr
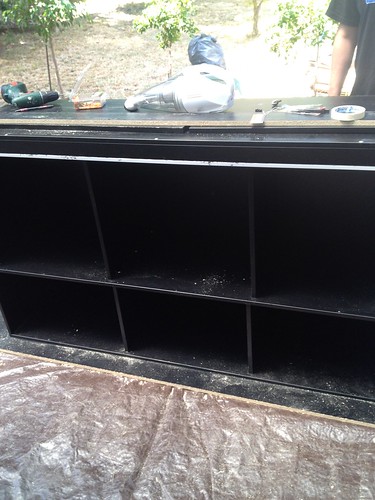
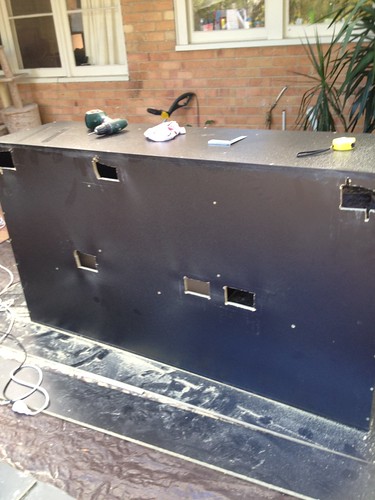
And after an unsuccessful attempt with the circular saw I chopped the size of the cupboards right down and just made shelves in the middle! Also put in some of the black spray painted vents. (vents x 6 =$31)

photo(18) by zeawyatt, on Flickr
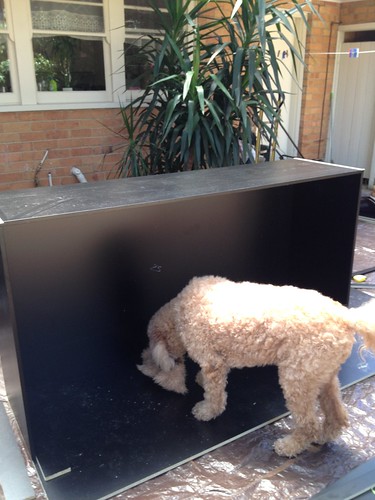
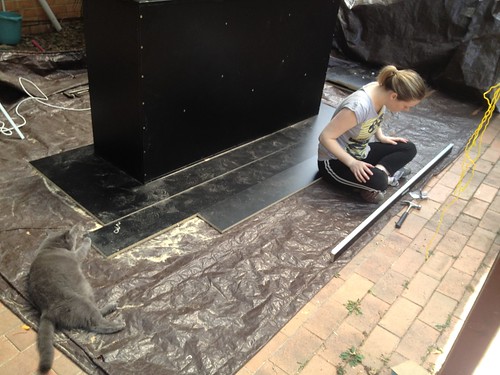
And fatty helping
photo(4) by zeawyatt, on Flickr
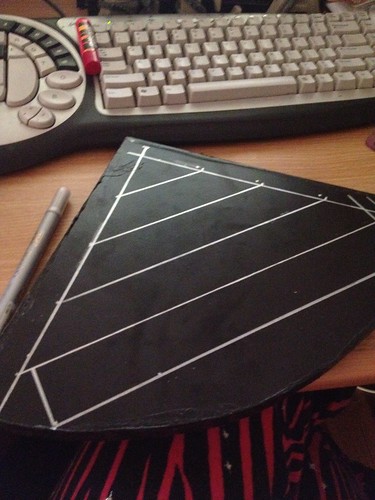
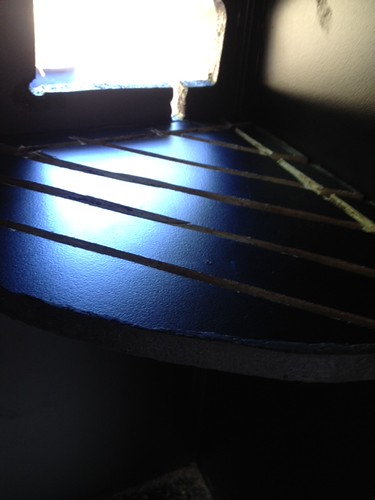
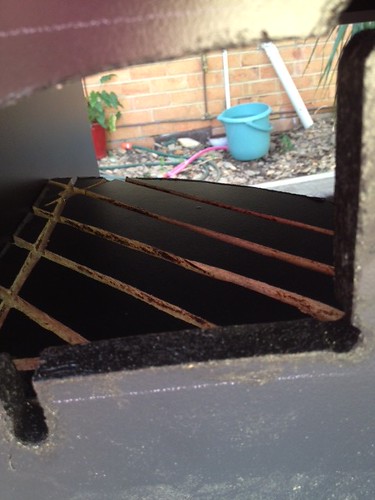
Next up I started on the ledges, I wanted the two outer enclosures to have heat cord heated ledges. I used a circular saw to create the grooves. Brackets under ledge $8.

photo(16) by zeawyatt, on Flickr
photo(5) by zeawyatt, on Flickr
photo(11) by zeawyatt, on Flickr
photo(4) by zeawyatt, on Flickr
imagve(4) by zeawyatt, on Flickr
imacge(2) by zeawyatt, on Flickr
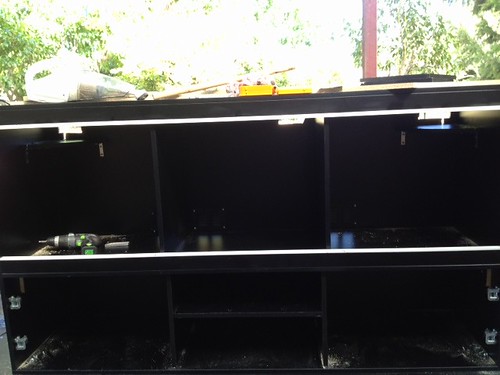
Here is a pic at this stage with the ledges in. I have also put in hinges for the cupboard $20 for four.
imcage(3) by zeawyatt, on Flickr
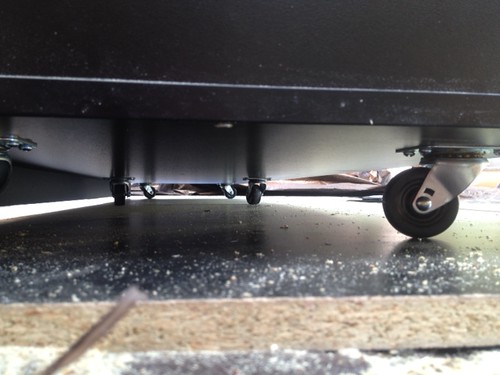
I then put 6 casters on (6 for $12)
image(1) by zeawyatt, on Flickr
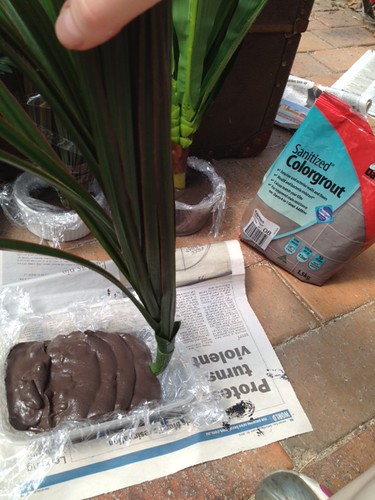
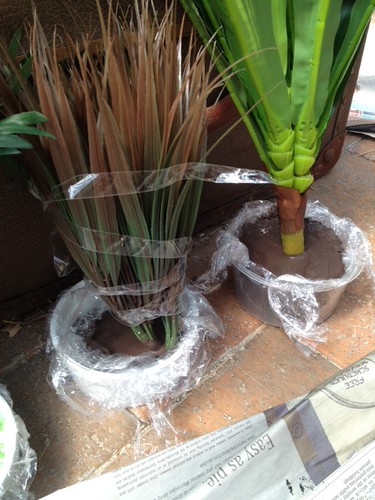
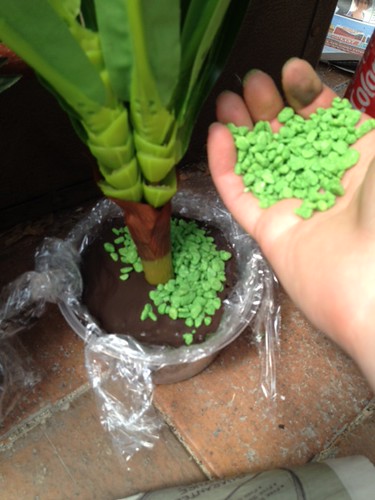
I had bought a whole bunch of fake plants from the $2 shop but wanted to anchor them so they could be free standing, I had bought some grout for later ($6.50) so just used that with some colourful pebbles on top
imagev by zeawyatt, on Flickr
imavge(1) by zeawyatt, on Flickr
imagbe(5) by zeawyatt, on Flickr
image by zeawyatt, on Flickr
Then came the fun bit! decorating! So I visited eBay
one of these for day light, they are waterproof, perfect for the GTP enclosure ($22.50).
photo(5) by zeawyatt, on Flickr
CT-35WP-600-White-4 by zeawyatt, on Flickr
Red LED for night time ($27), these two LED strips needed liquid nails to stay on, the sticky back on the LED strips didn't work very well and I didn't want them to stick on my little reptile buddies.

31AU by zeawyatt, on Flickr
I got one of these for each of the three enclosures for hot spot and humidity ($6.50).
difdp_6 by zeawyatt, on Flickr
And one of these for the cold end ($3).
ViewImage.aspx by zeawyatt, on Flickr
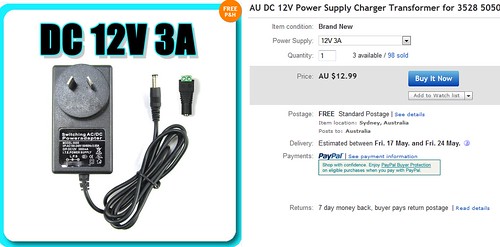
One of these each for the outer enclosures ($11)
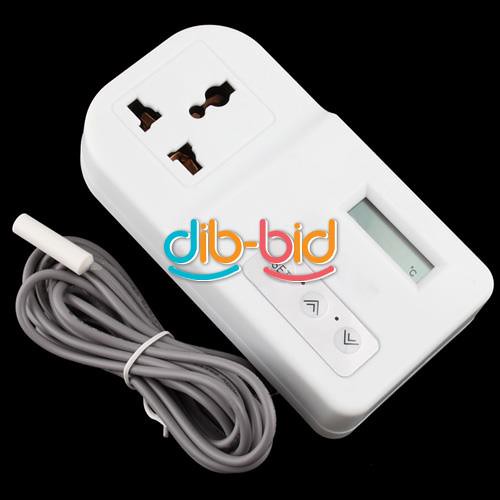
ViewPicture.aspx by zeawyatt, on Flickr
And this amazing day/night thermostat ($75) This is for the GTP enclosure and to control the white LED. The red LED are on all the time and during the day you cant even see the red.
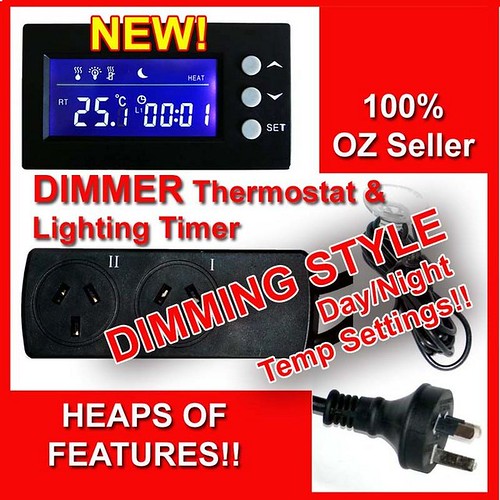
dimmer_thermo_tc100_plugtop_6 by zeawyatt, on Flickr
And Two 28watt heat panels for the outer enclosures ($109) and one 40watt ($119) for the middle enclosure, next day delivery, thanks proherp!
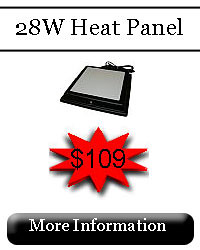
28watt by zeawyatt, on Flickr
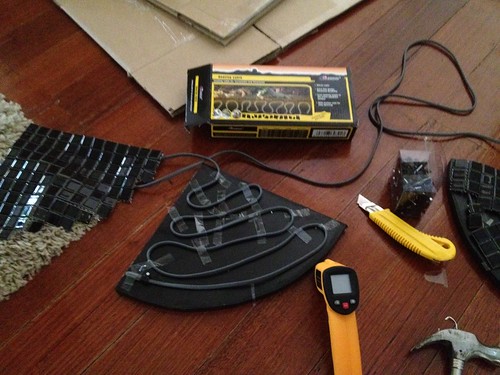
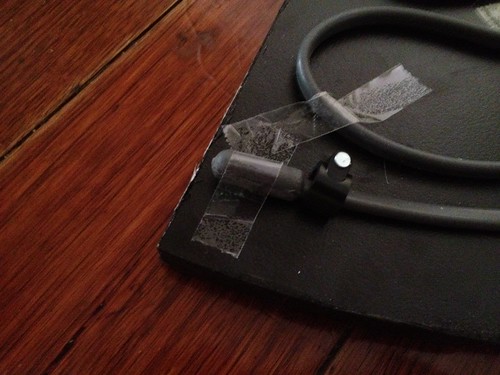
One 7.5m heat cord for the heated ledges ($35), the one cord was long enough to wind around one ledge and and travel across to the other and wind around that one. I didn't use a thermostat for the heat ledges, one tiles and grouted and waterproofed they gave temps from 28-36 Celsius.

$T2eC16JHJF0E9nmFQguLBQGggrb9Q!~~60_1 by zeawyatt, on Flickr
The glass I needed was three planes with polished edges and rounded corners, 5mm thick float with finger grooves, I got them for $108. The local place I used was crap, they took my order on Monday said it would be ready Thursday, I had to prompt them to take my phone number, Thursday came I received a call telling me they don't stock 5mm float and will either refund or order it. I got them to order it in, when I went to collect it a week later I was greeted as the "trouble customer" and they didn't even round the corners.
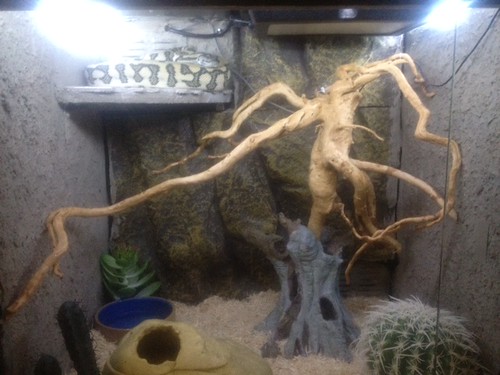
I wanted my Jag to have a dessert themed enclosure so I used shaved aspen ($15) because of the light colour (would have loved to used sand), I grouted the walls lol and used a 2ft square exo terra background from amazing amazon $30, I also picked up this awesome mangrove/root thing $24 and it jams in so nicely that it doesn't even touch the ground!
image(2) by zeawyatt, on Flickr
I also bought some dessert exo terra plants ($11-15 each). The Jag loves the ledge, its connected to a timer, on between 11am and 3pm.
image(6) by zeawyatt, on Flickr
I wanted the green trees's enclosure to be Japanese themed so I bought some real bamboo (at the back of the enclosure $4 each bunnings) and a big fakey and the back $2 cheap as chips, the two front plants are kmart $15 oh and the big bamgoo perches are removable, they are held in place by chair leg ends (bunnings) and wedged in tight.
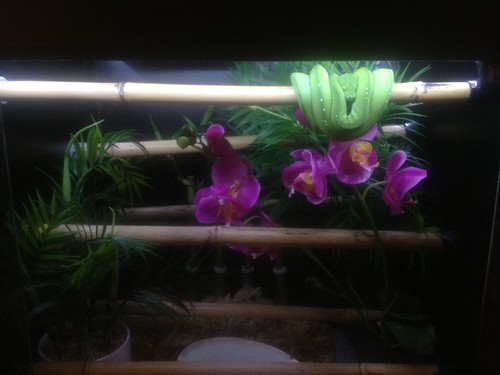
image(3) by zeawyatt, on Flickr
Pic of the heat panel

image(7) by zeawyatt, on Flickr
Pic of the LEDs
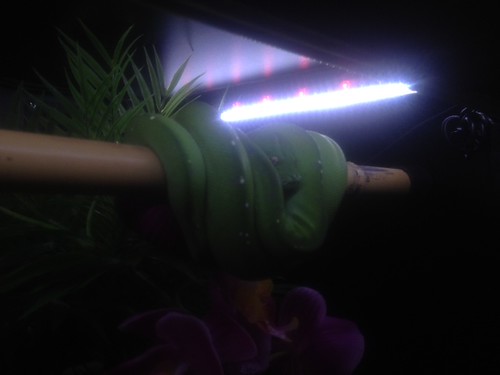
image(8) by zeawyatt, on Flickr
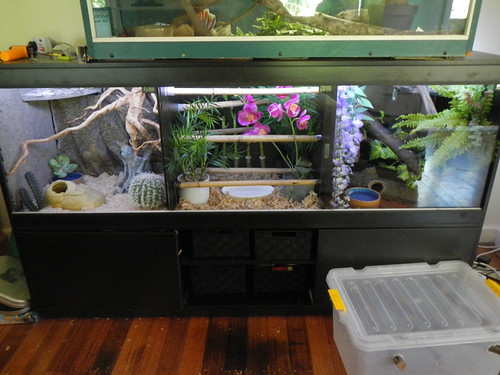
The last enclosure is rainforest themed and if for my jungle girl, but she is a bit big for it so, is in the ugly green 4fter old thing sitting on top that I will get rid of after my next build!
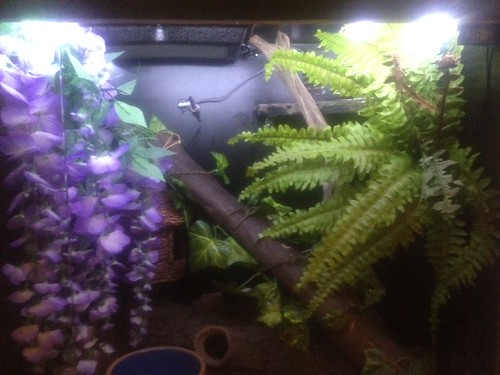
image(5) by zeawyatt, on Flickr

photo(6) by zeawyatt, on Flickr
DSCN0010 by zeawyatt, on Flickr
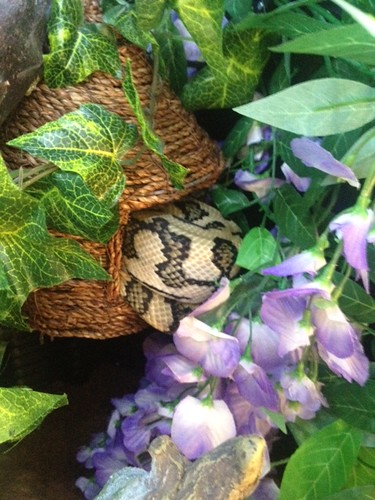
The woven bird house was an idea of a fellow APS user! I put the Jag in the enclosure to try it out and it was a hit, she looks a bit too fat for it though!
photo(6) by zeawyatt, on Flickr
You guys on APS gave me so many ideas for this build! And my next build has already made use of the search function! So hopefully I am giving back a little with this post!
Let me know what you think, any improvements? Any questions?
Thanks all!
enclosure by zeawyatt, on Flickr
I tried to get someone to build it for me, but some snake enclosure businesses didn't reply. The quote I got was quite expensive, black melamine is like double the cost of white. Upon winging on this site some of you convinced me to build it my self!
So the call around for quotes begun!
I got seven quotes between $335 and $775 from cabinet makers.
I ordered from Allboards with exposed edges edged. They cut pretty well, I got me partners dad to pick the melamine up. I didn't realise that we would receive the off cuts too, one of which was much larger that the largest cut I needed!
I started just making a box
Enclosure1 by zeawyatt, on Flickr
with the help of my buddy
photo(8) by zeawyatt, on Flickr
Then measured up the dividers.
photo(9) by zeawyatt, on Flickr
Screwed in the cupboard dividers
photo(10) by zeawyatt, on Flickr
I used the white plastic glass runners from Cowdroy ($19), I also included a 5cm strip of melamine for the upper and lower edges of the enclosure to keep substrate in and hide heat/light elements. The track just needed nailing and silicone to attach to the melamine.
photo(12) by zeawyatt, on Flickr
I then screwed in the middle divider and the two enclosure dividers and one of the glass tracks
photo(13) by zeawyatt, on Flickr
At this stage I tried out the cupboard doors and the didn't fit! I didn't take into account space between the cupboards for swing and also the edging takes up 2mm. I had also jig sawed out some vent holes, I also added a cord space so I could use the vents as an area I can pass electric cords through (idea from APS user! thank you!). I also siliconned all edges inside the enclosure and the vent holes.
photo(14) by zeawyatt, on Flickr
photo(7) by zeawyatt, on Flickr
photo(15) by zeawyatt, on Flickr
photo(17) by zeawyatt, on Flickr
And after an unsuccessful attempt with the circular saw I chopped the size of the cupboards right down and just made shelves in the middle! Also put in some of the black spray painted vents. (vents x 6 =$31)
photo(18) by zeawyatt, on Flickr
And fatty helping
photo(4) by zeawyatt, on Flickr
Next up I started on the ledges, I wanted the two outer enclosures to have heat cord heated ledges. I used a circular saw to create the grooves. Brackets under ledge $8.
photo(16) by zeawyatt, on Flickr
photo(5) by zeawyatt, on Flickr
photo(11) by zeawyatt, on Flickr
photo(4) by zeawyatt, on Flickr
imagve(4) by zeawyatt, on Flickr
imacge(2) by zeawyatt, on Flickr
Here is a pic at this stage with the ledges in. I have also put in hinges for the cupboard $20 for four.
imcage(3) by zeawyatt, on Flickr
I then put 6 casters on (6 for $12)
image(1) by zeawyatt, on Flickr
I had bought a whole bunch of fake plants from the $2 shop but wanted to anchor them so they could be free standing, I had bought some grout for later ($6.50) so just used that with some colourful pebbles on top
imagev by zeawyatt, on Flickr
imavge(1) by zeawyatt, on Flickr
imagbe(5) by zeawyatt, on Flickr
image by zeawyatt, on Flickr
Then came the fun bit! decorating! So I visited eBay
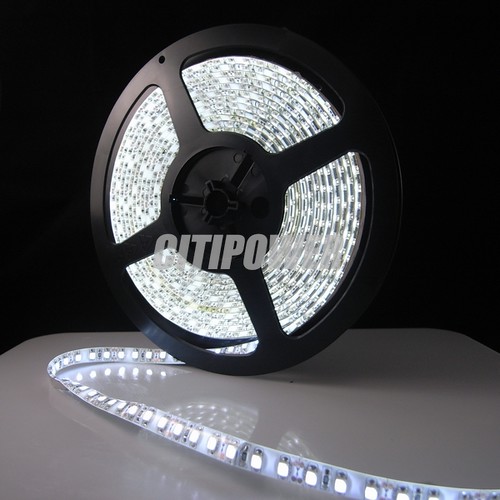
one of these for day light, they are waterproof, perfect for the GTP enclosure ($22.50).
photo(5) by zeawyatt, on Flickr
CT-35WP-600-White-4 by zeawyatt, on Flickr
Red LED for night time ($27), these two LED strips needed liquid nails to stay on, the sticky back on the LED strips didn't work very well and I didn't want them to stick on my little reptile buddies.
31AU by zeawyatt, on Flickr
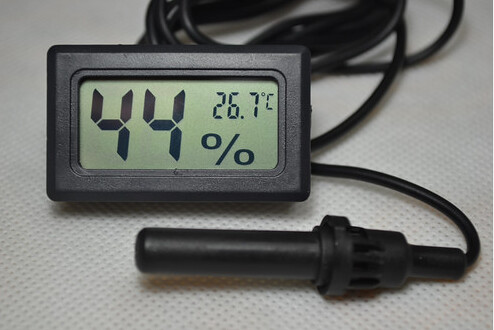
I got one of these for each of the three enclosures for hot spot and humidity ($6.50).
difdp_6 by zeawyatt, on Flickr
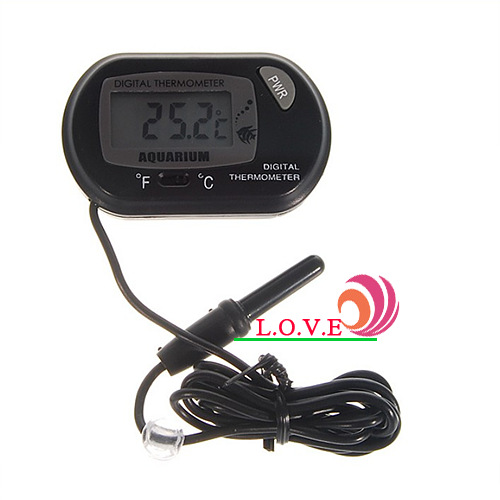
And one of these for the cold end ($3).
ViewImage.aspx by zeawyatt, on Flickr
One of these each for the outer enclosures ($11)
ViewPicture.aspx by zeawyatt, on Flickr
And this amazing day/night thermostat ($75) This is for the GTP enclosure and to control the white LED. The red LED are on all the time and during the day you cant even see the red.
dimmer_thermo_tc100_plugtop_6 by zeawyatt, on Flickr
And Two 28watt heat panels for the outer enclosures ($109) and one 40watt ($119) for the middle enclosure, next day delivery, thanks proherp!
28watt by zeawyatt, on Flickr
One 7.5m heat cord for the heated ledges ($35), the one cord was long enough to wind around one ledge and and travel across to the other and wind around that one. I didn't use a thermostat for the heat ledges, one tiles and grouted and waterproofed they gave temps from 28-36 Celsius.
$T2eC16JHJF0E9nmFQguLBQGggrb9Q!~~60_1 by zeawyatt, on Flickr
The glass I needed was three planes with polished edges and rounded corners, 5mm thick float with finger grooves, I got them for $108. The local place I used was crap, they took my order on Monday said it would be ready Thursday, I had to prompt them to take my phone number, Thursday came I received a call telling me they don't stock 5mm float and will either refund or order it. I got them to order it in, when I went to collect it a week later I was greeted as the "trouble customer" and they didn't even round the corners.
I wanted my Jag to have a dessert themed enclosure so I used shaved aspen ($15) because of the light colour (would have loved to used sand), I grouted the walls lol and used a 2ft square exo terra background from amazing amazon $30, I also picked up this awesome mangrove/root thing $24 and it jams in so nicely that it doesn't even touch the ground!
image(2) by zeawyatt, on Flickr
I also bought some dessert exo terra plants ($11-15 each). The Jag loves the ledge, its connected to a timer, on between 11am and 3pm.
image(6) by zeawyatt, on Flickr
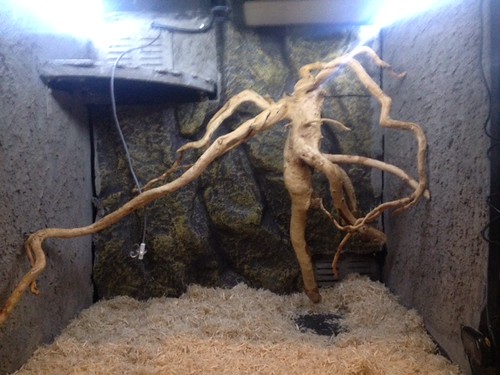
I wanted the green trees's enclosure to be Japanese themed so I bought some real bamboo (at the back of the enclosure $4 each bunnings) and a big fakey and the back $2 cheap as chips, the two front plants are kmart $15 oh and the big bamgoo perches are removable, they are held in place by chair leg ends (bunnings) and wedged in tight.
image(3) by zeawyatt, on Flickr
Pic of the heat panel
image(7) by zeawyatt, on Flickr
Pic of the LEDs
image(8) by zeawyatt, on Flickr
The last enclosure is rainforest themed and if for my jungle girl, but she is a bit big for it so, is in the ugly green 4fter old thing sitting on top that I will get rid of after my next build!
image(5) by zeawyatt, on Flickr
photo(6) by zeawyatt, on Flickr
DSCN0010 by zeawyatt, on Flickr
The woven bird house was an idea of a fellow APS user! I put the Jag in the enclosure to try it out and it was a hit, she looks a bit too fat for it though!
photo(6) by zeawyatt, on Flickr
You guys on APS gave me so many ideas for this build! And my next build has already made use of the search function! So hopefully I am giving back a little with this post!
Let me know what you think, any improvements? Any questions?
Thanks all!
Last edited: