


zan777
Active Member
Hey Guys,
I've seen lots of plans everywhere for DIY foam cutters and though i'd give it a crack at making my own from some relatively cheap parts. First of i must state that I am no electrician and can't verify how "SAFE" this device is, although as far as me testing it goes i haven't really found any problems.
Any parts i didnt have i bought from Jaycar Electronics (Jaycar Electronics - Better. More Technical.). I will post the price and product codes of the items i bought.
You will need:
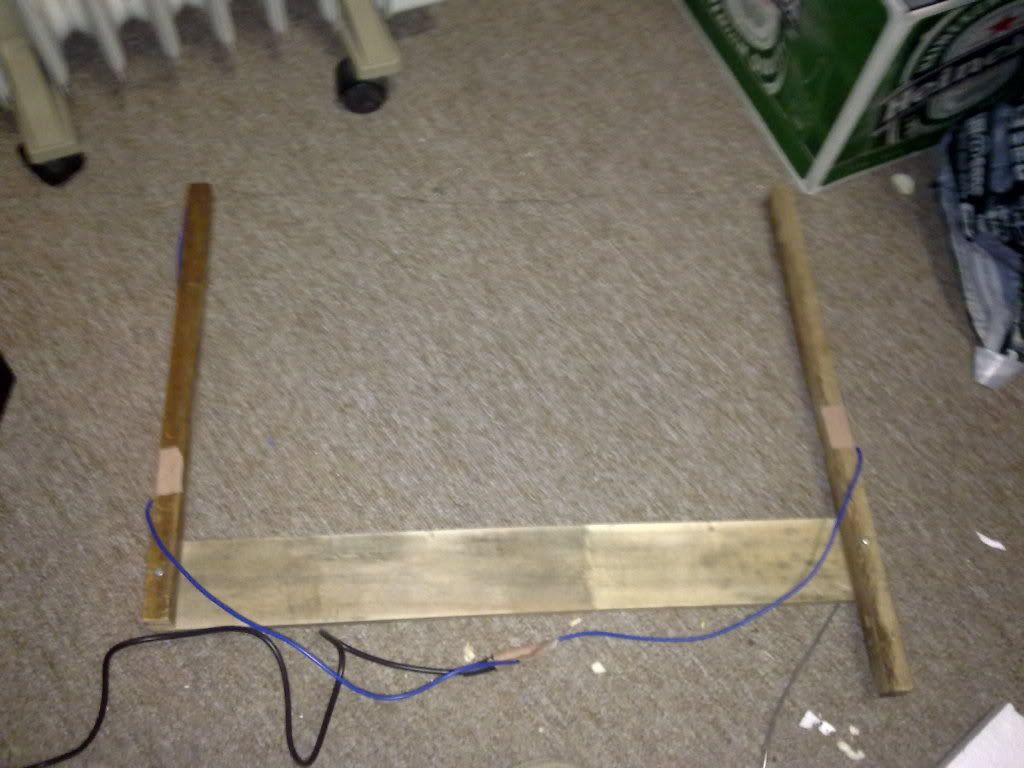
Here is my put together version:
Now i didn't take photos as i went but i will try to explain.
steps:
Some notes on the design:
This project was just mean't to be a little DIY project at home. In the end i spent $11.20 all up but could have bout only half the hookup wire and the DC line in adapter which would bring the total cost to $6.35
If you have any comments or questions please post (especially if its to say i have just created one almighty fire/electrocution hazard ). I will post in here what have been using it to create soon
I've seen lots of plans everywhere for DIY foam cutters and though i'd give it a crack at making my own from some relatively cheap parts. First of i must state that I am no electrician and can't verify how "SAFE" this device is, although as far as me testing it goes i haven't really found any problems.
Any parts i didnt have i bought from Jaycar Electronics (Jaycar Electronics - Better. More Technical.). I will post the price and product codes of the items i bought.
You will need:
- Scrap wood (amount will depend on design)
- Screws of various lengths (had these also)
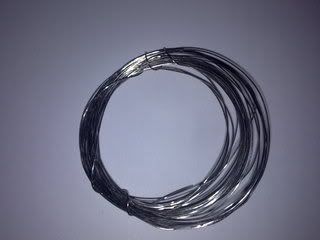
- Nichrome Wire (This wire heats up and can withstand high temps). I bought mine from jaycar its .32mm thick and comes in a 4m length [WW4040 $4.95]
- Hookup wire (I just grabbed 4m of the blue stuff at Jaycar at .70c a meter) [PS0528 $2.80]

- Power Supply - I started off with an old adapter for a wireless router. it was rated 12v and 1 amp. it worked alright although i swapped to a Toshiba Laptop charger rated 15v and 5 amps and it cuts alot easier
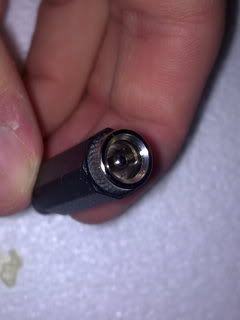
- (optional) DC line in adapter - if you want to still be able to use your DC adapter for whatever its original use was then buy one of these adapters. unfortunately the one i bought didn't find my adapter so i just wired up the adapter with some tape [PS0528 $3.45]
Here is my put together version:
Now i didn't take photos as i went but i will try to explain.
steps:
- at the top of your 2 "arm" lengths of wood cut a slight groove for your nichrome wire to sit in
- line your "arm" lengths against your base piece of wood and pre-drill for the "pivot" point of both your arm lengths attaching to the wood.
- screw your arm lengths into place.
- measure out your nichrome wire. you want enough so that when the arms are at right angles the wire is taught. also add about 10cm overhang each side for attaching.
- to create a connecting between the blue hookup wire and the nichrome wire wrap lengths of both wire around a screw and then screw it into the wood about 2cm from the end of the "arm" length of wood.
- Do the same on the other side ensuring the nichrome wire is taught when you screw the screw in
- you can tape the hookup wire to the side arms to stop them getting in the way. If you bought a DC line in connecter you would attach the two blue wires to it. in my case i placed one wire "inside" the adapter part, and the other "wrapped" around the outside. then just tape in place
- If you've done everything right you should have a DIY foam wire cutter!
Some notes on the design:
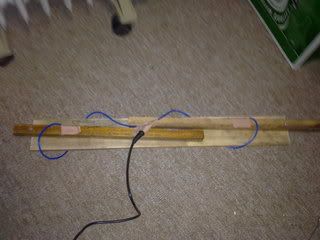
- If you only use one screw to attatch the arm lengths then they can fold down to for easy storage:
- The pivoting arms can make it quite hard to keep tension in the cutter + hold the item you want to cut. if portability isn't an issue i would use 2 screws to keep the arms in position
- The cutter cuts polystyrene foam really easily but it has some troubles cutting through the canned "expander foam"
This project was just mean't to be a little DIY project at home. In the end i spent $11.20 all up but could have bout only half the hookup wire and the DC line in adapter which would bring the total cost to $6.35
If you have any comments or questions please post (especially if its to say i have just created one almighty fire/electrocution hazard
). I will post in here what have been using it to create soon