


Trouble
Very Well-Known Member
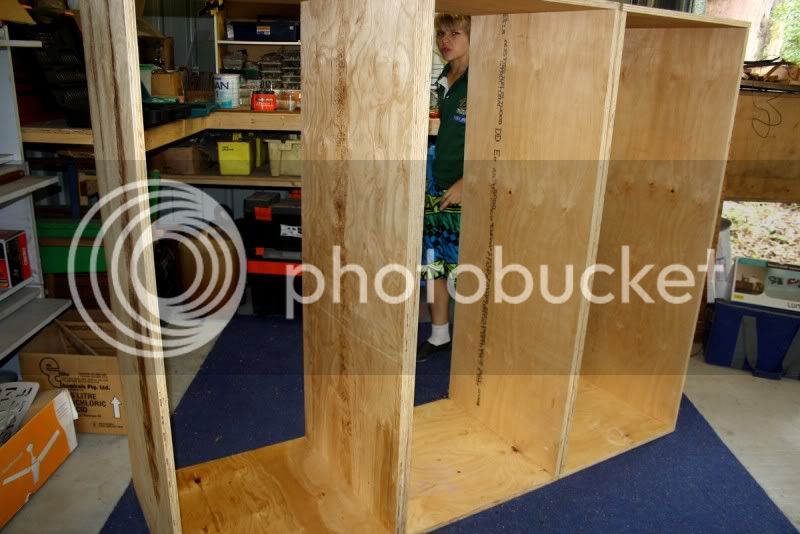
After crusing the DIY section for a while, I really wanted to start building my own snake enclosures for my bigger 'babies'.
While bored one day, I sketched up the 5-bay draft, and then handed it over to dad to see what he would say - amazingly he said yes!
Late Nov 2010 We bought 15mm ply to start the build. We had the frame built, and then I couldn't get the funds together for a month or so. They sat there for a little while in dads' shed...
Just over a month later, the 2011 January floods came, and we tried saving the enclosures by putting them in the gazebo, but the water level came up a 'bit' higher than that :?.
I wasn't going to risk the snakes health by using the ply, as I had no idea what was in that water. Dad has some nice new shelving in his shed now :lol:
I wrote a letter to my local hardwares, and Mitre 10 very kindly donated all the ply wood, liquid nails, screws, etc. which helped out so so much!! A BIG SHOUT OUT TO MITRE 10 MT.OMMANY (QLD) FOR ALL THEIR HELP!!!
April 2011, dad & I started the re-build. Thank you to my dad - if it wasn't for all his help, these enclosures would still be a pile of ply wood in the back of my ute :lol:
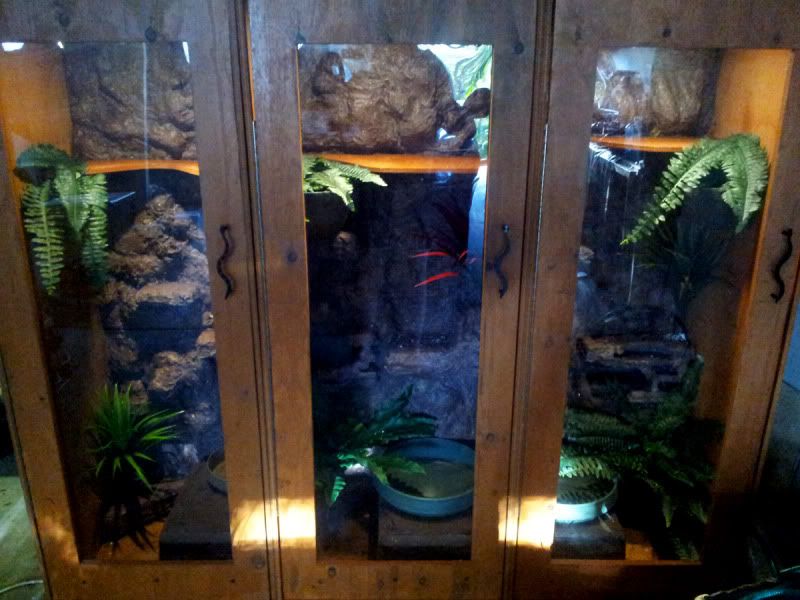
After 6 and a half months, we have finally finished them, and now they're moved up into my room!
Measurements are -
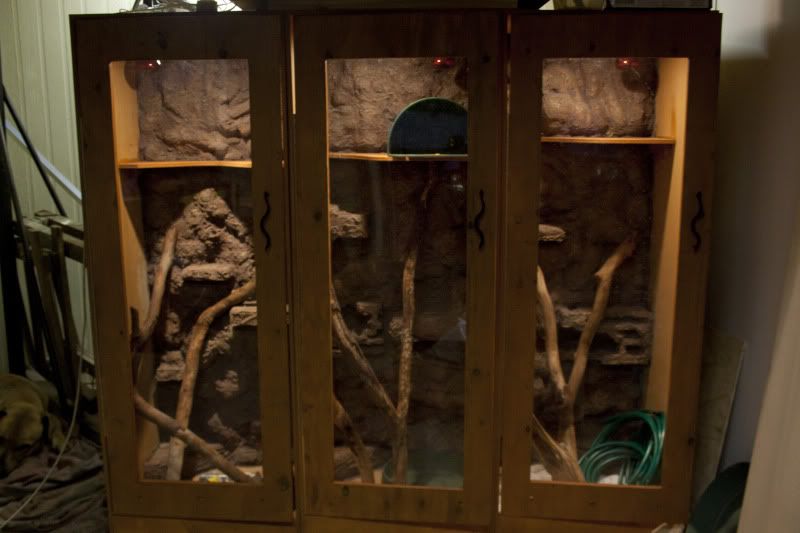
Morelia enclosures - 3x 1500 x 600 x 600
spotted enclosures - 2x 900 x 600 x 600
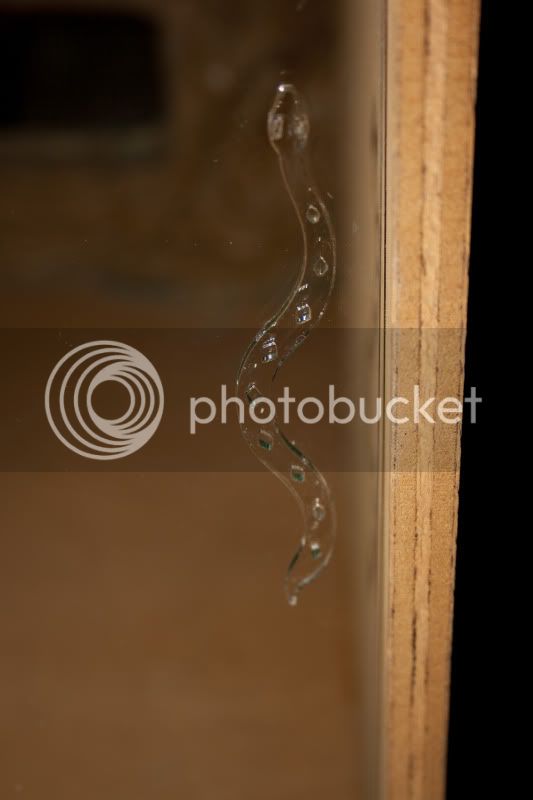
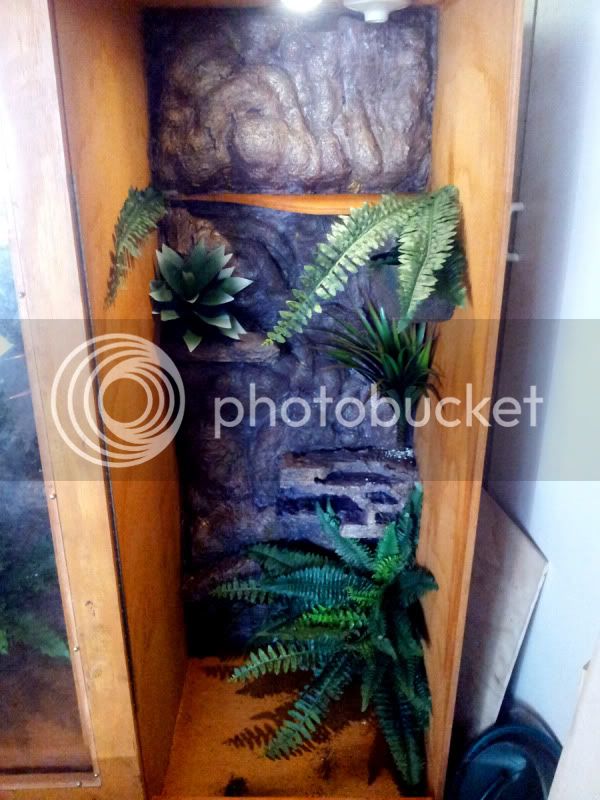
Thank you to - Mitre 10 for all the building materials, Bunnings for the expanda-foam, hides, glass tracks, etc. Ikea & eBay for the lighting, JP Glass booval for the spotteds enclosure glass, Brilliant Prints for the perspex, Virides - Stylish Enclosure Enhancements for the door handles and the glass finger sliders, Ben from Stein Enclosures for the plants. and last, but definitely not least - MY AWESOME-TASTIC DAD!!!
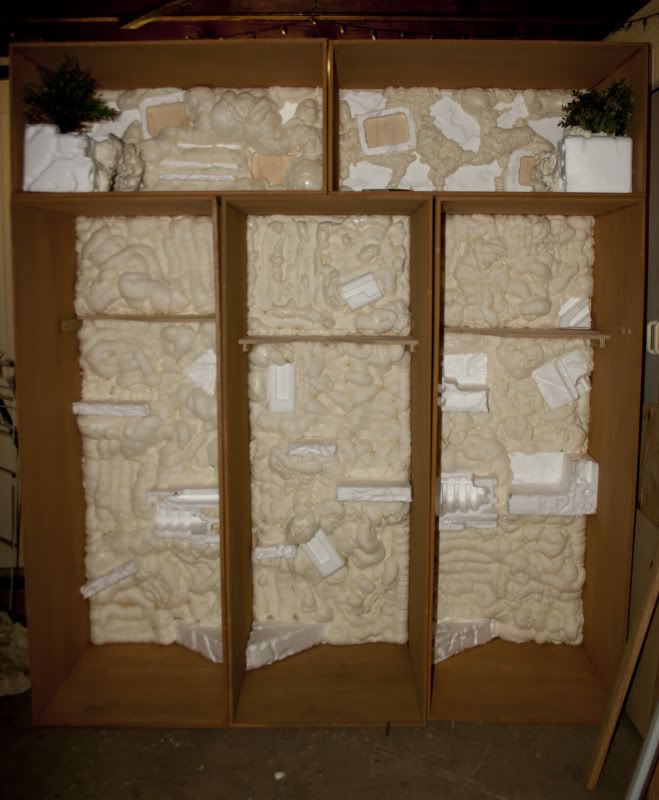
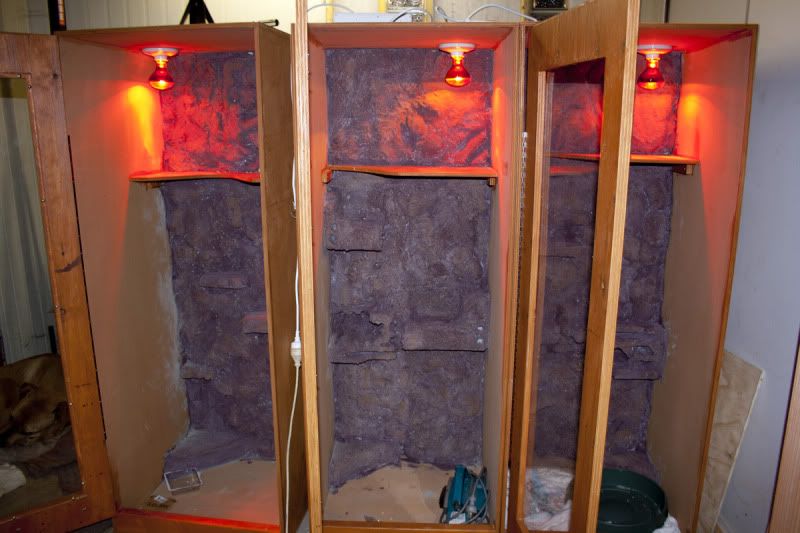
Photos -
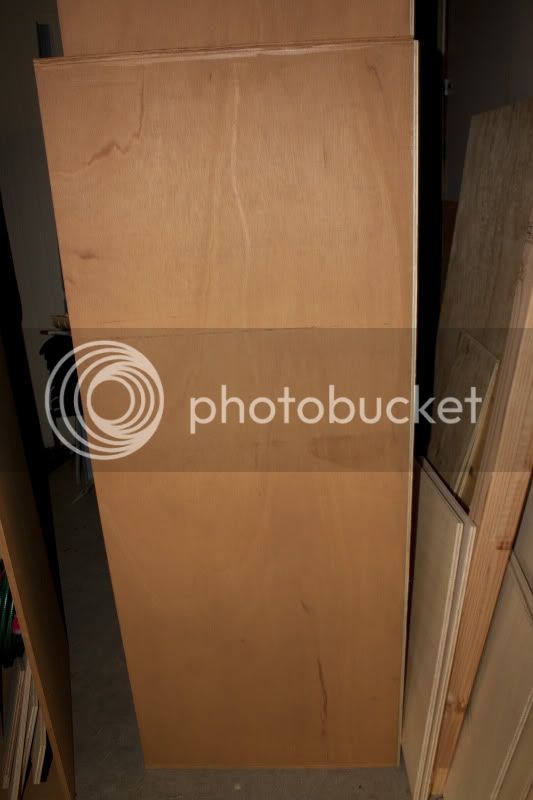
First build

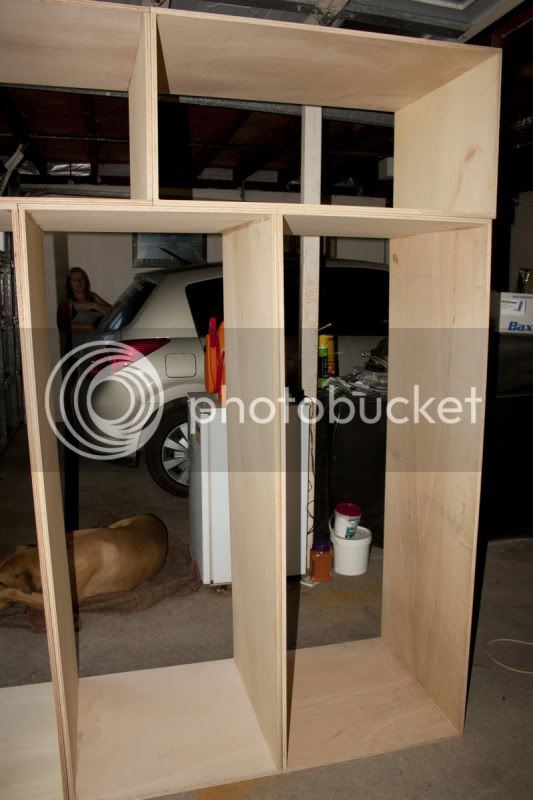
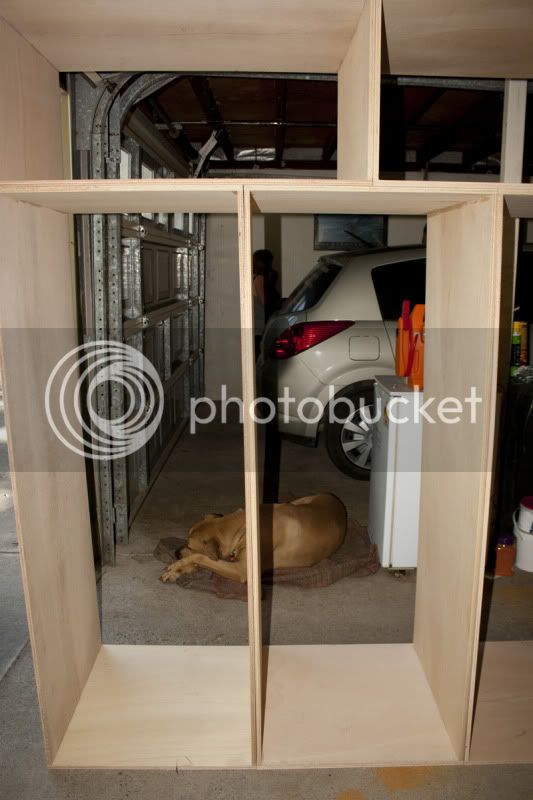
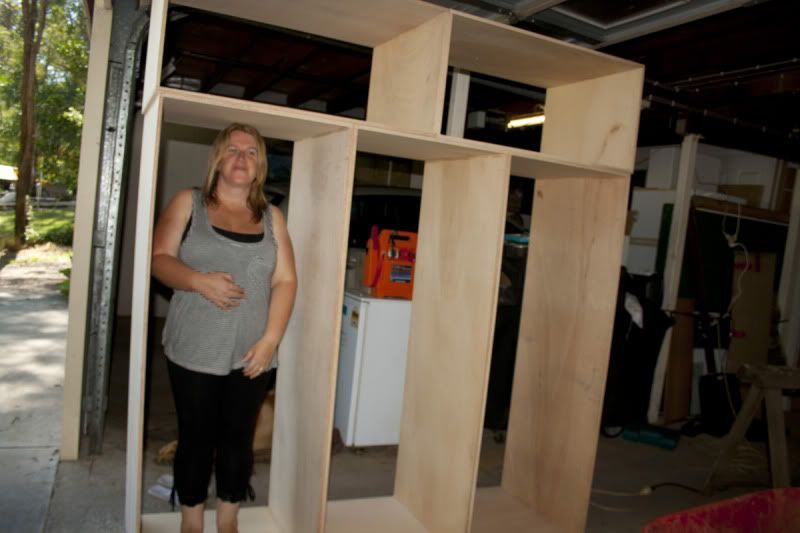
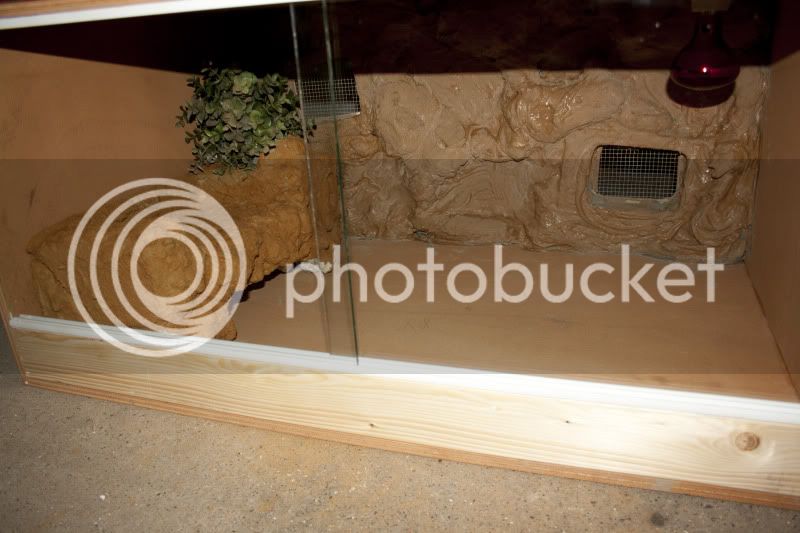
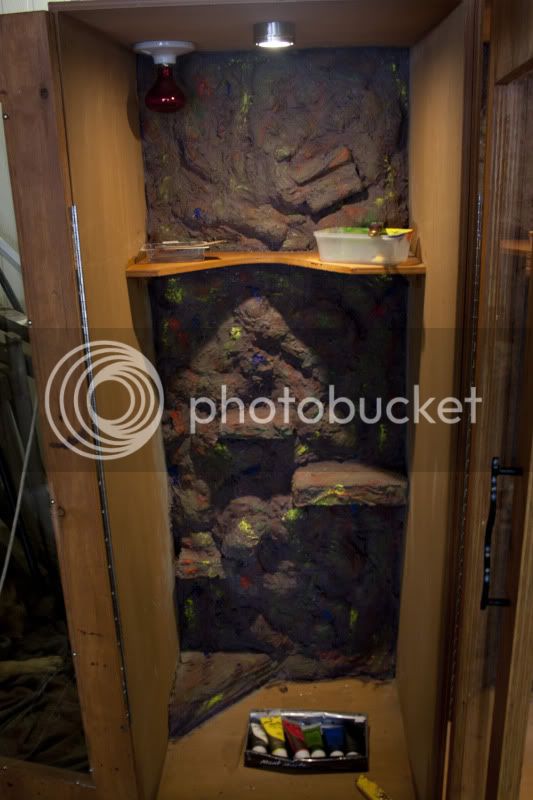
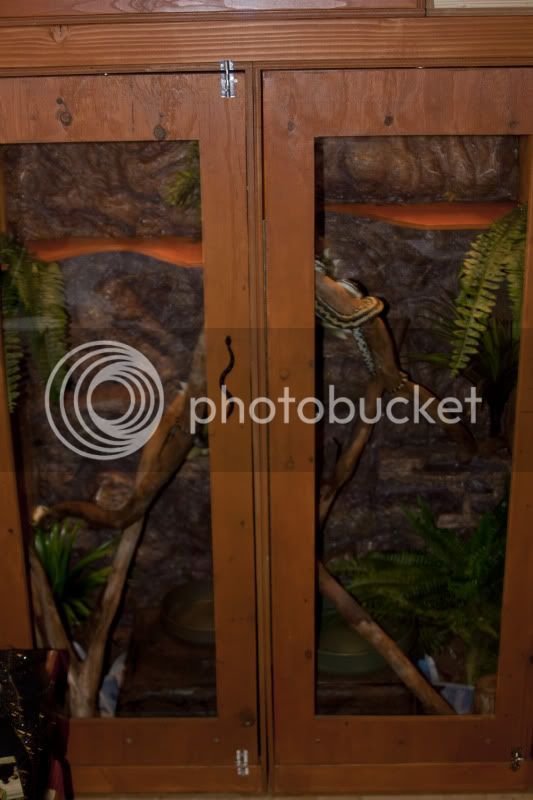
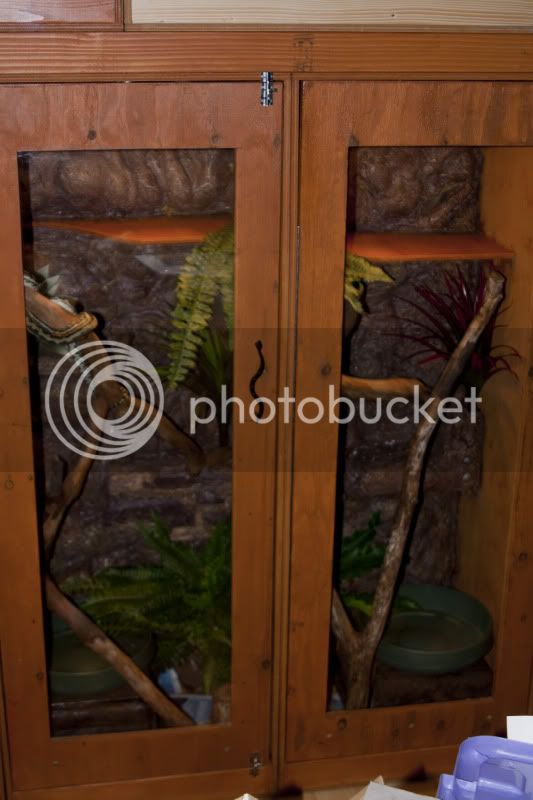
Second & final build -

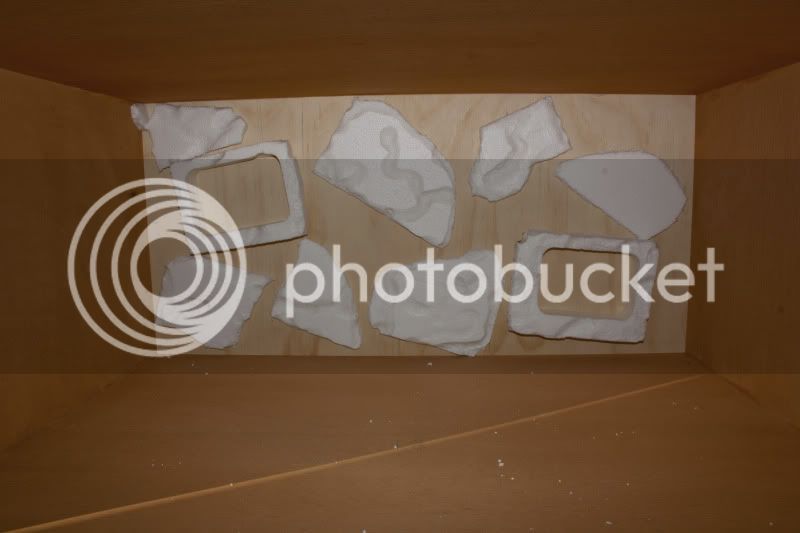
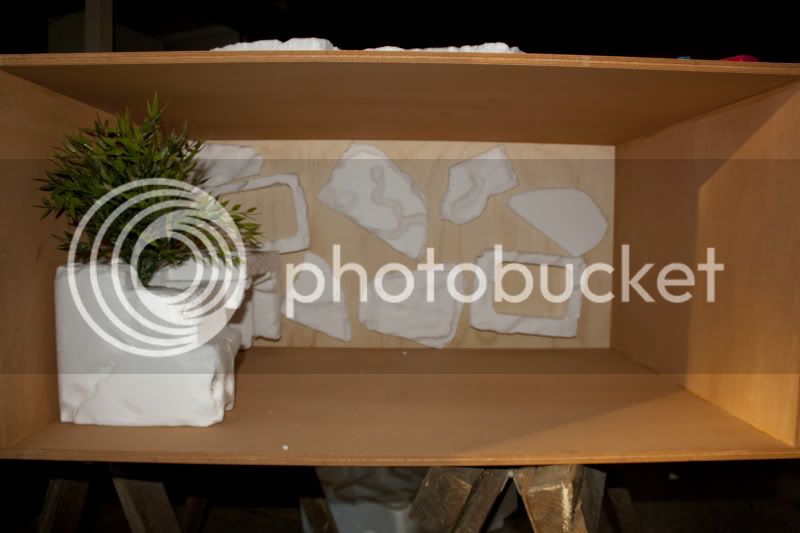

(I needed to finish off one of my spotted's enclosures before we headed to Cairns for two weeks, here's a rush job lol)
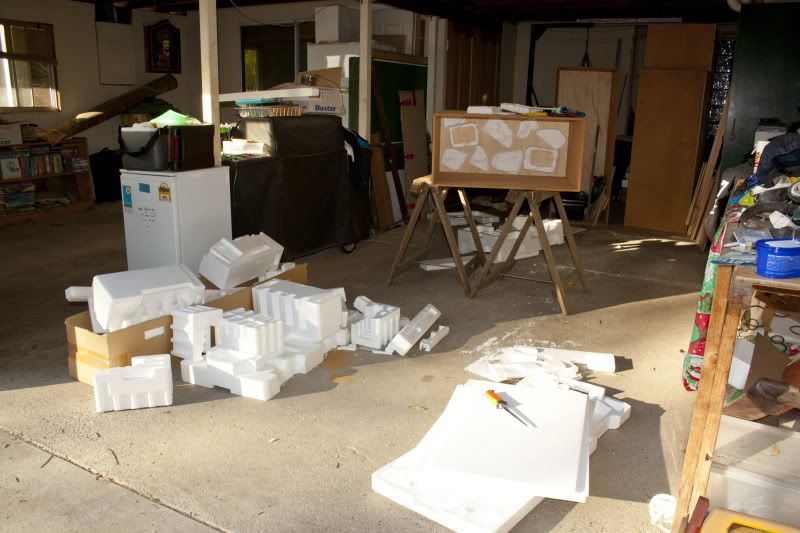
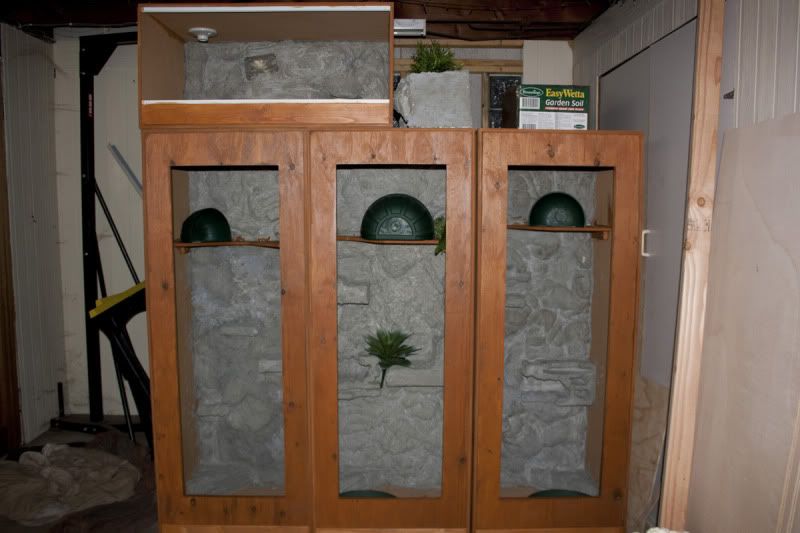
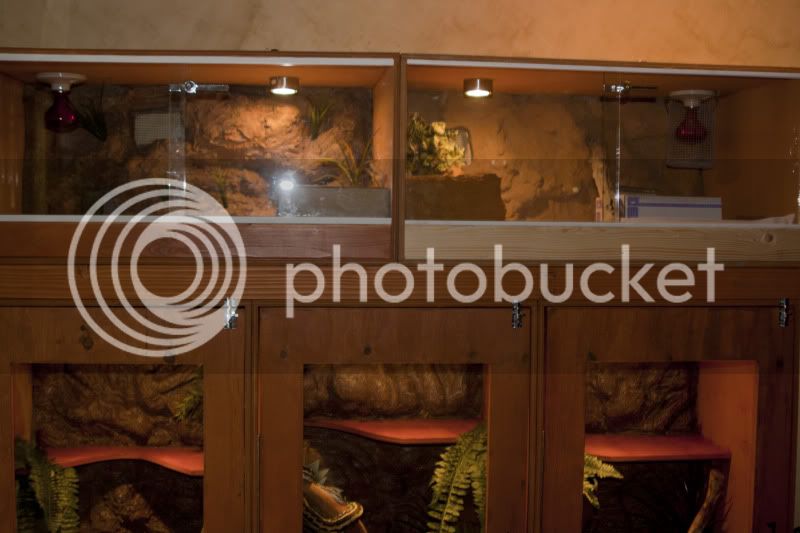
The rest of the building-

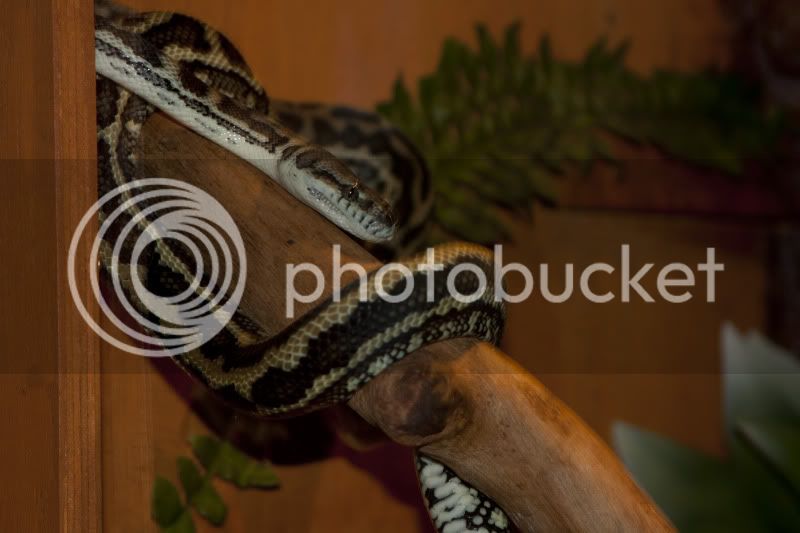
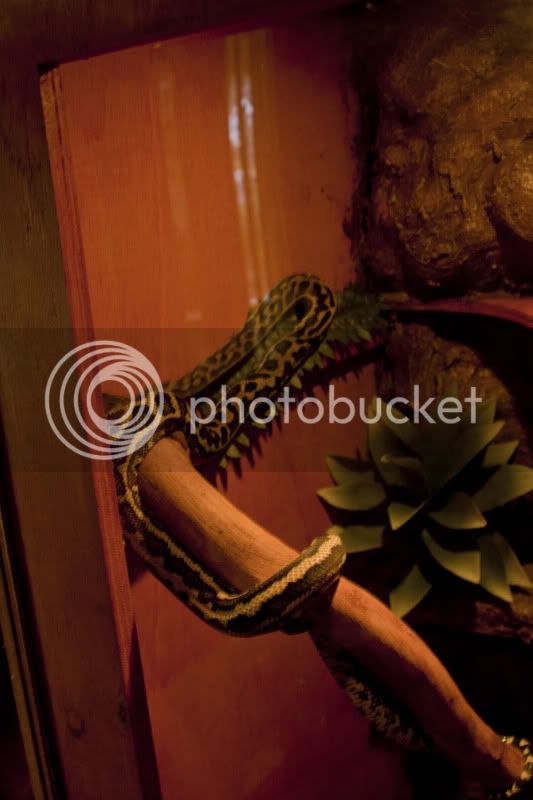
a couple of the new residents

Thank you for looking
While bored one day, I sketched up the 5-bay draft, and then handed it over to dad to see what he would say - amazingly he said yes!
Late Nov 2010 We bought 15mm ply to start the build. We had the frame built, and then I couldn't get the funds together for a month or so. They sat there for a little while in dads' shed...
Just over a month later, the 2011 January floods came, and we tried saving the enclosures by putting them in the gazebo, but the water level came up a 'bit' higher than that :?
.I wasn't going to risk the snakes health by using the ply, as I had no idea what was in that water. Dad has some nice new shelving in his shed now :lol:
I wrote a letter to my local hardwares, and Mitre 10 very kindly donated all the ply wood, liquid nails, screws, etc. which helped out so so much!! A BIG SHOUT OUT TO MITRE 10 MT.OMMANY (QLD) FOR ALL THEIR HELP!!!
April 2011, dad & I started the re-build. Thank you to my dad - if it wasn't for all his help, these enclosures would still be a pile of ply wood in the back of my ute :lol:
After 6 and a half months, we have finally finished them, and now they're moved up into my room!
Measurements are -
Morelia enclosures - 3x 1500 x 600 x 600
spotted enclosures - 2x 900 x 600 x 600
Thank you to - Mitre 10 for all the building materials, Bunnings for the expanda-foam, hides, glass tracks, etc. Ikea & eBay for the lighting, JP Glass booval for the spotteds enclosure glass, Brilliant Prints for the perspex, Virides - Stylish Enclosure Enhancements for the door handles and the glass finger sliders, Ben from Stein Enclosures for the plants. and last, but definitely not least - MY AWESOME-TASTIC DAD!!!
Photos -
First build
Second & final build -
(I needed to finish off one of my spotted's enclosures before we headed to Cairns for two weeks, here's a rush job lol)
The rest of the building-
a couple of the new residents
Thank you for looking
Last edited:
