


Nephrurus
Very Well-Known Member
G'day all,
As the season has progressed I've decided it's time to build a new incubator to accomadate a few more eggs. I'm modelling the new one on the old one I've had because I've had a very good hatch rate in the old one. I've hatched geckos and snakes in the old incubator, so it seems to work.
NOW.... before anyone criticises my design or my dodgey techniques, this is not meant to be flash and amazing. It's meant to be knocked up in an afternoon, usually while unexpected eggs wait in the laying box. So, I've had this design work wonderfully in the past with a few different species. It's not pretty but it's practical for small volumes of eggs.
Some aspects of this design are probably totally unnecessary, but i put them in the old design and I'm putting it in the new one.
Step 1. Procure your incubator box. Styrofoam broccoli boxes from the back of your grocers are great. I wanted something a little larger so I got some spare styrofoam fish transport boxes from the local Petshop. I picked up 2 boxes. Cost so far: $0
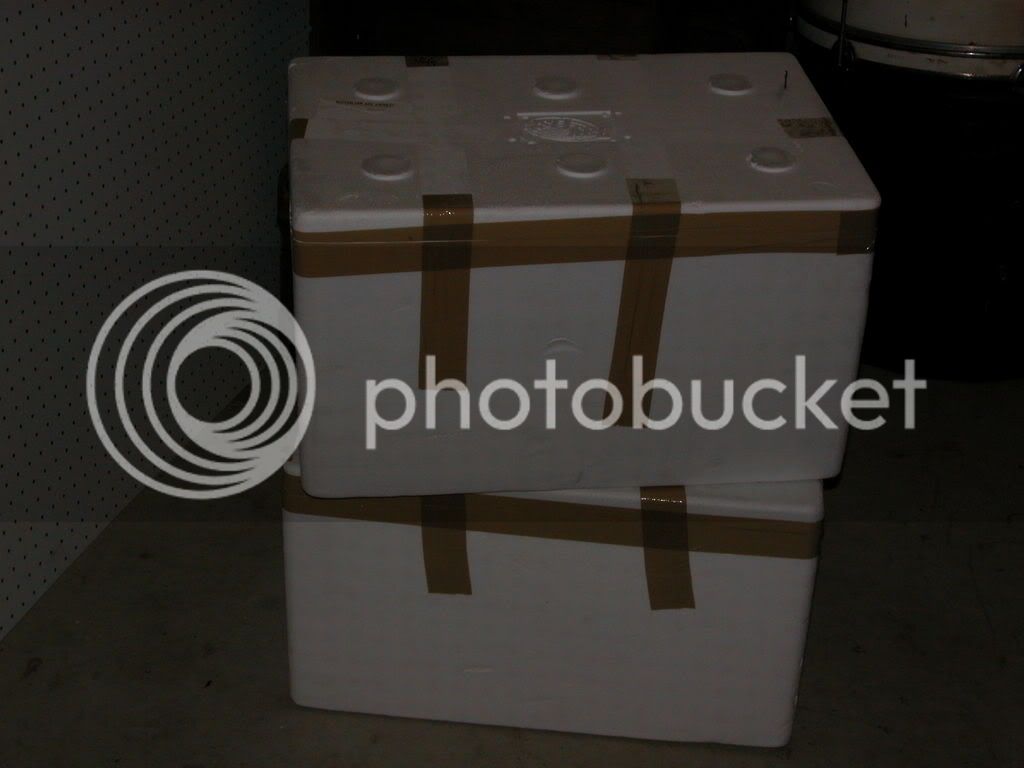
Fish boxes!
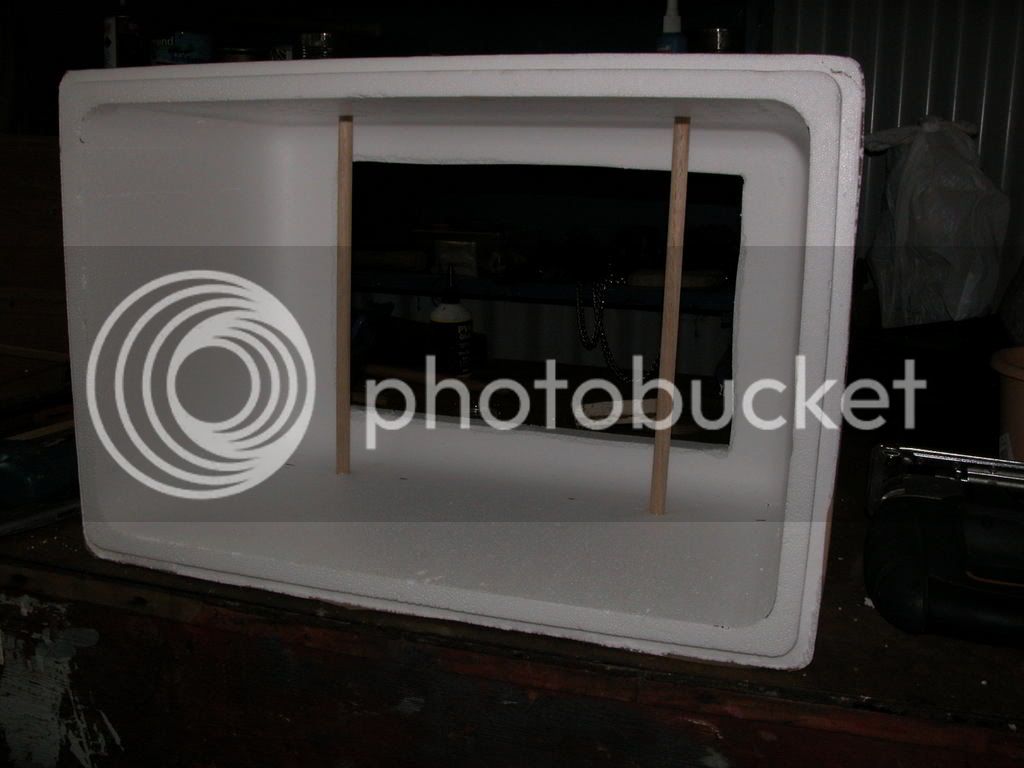
Step 2. Attack your styrofoam boxes with a very sharp knife or razorblade. As you can see there is a hole cut in the lid of one box and the base of the other. They will eventually fit on top of each other. The one with the hole in the lid will be the bottom box. The one with the hole in the base will be the top box. Make sure the holes line up and a fairly large.
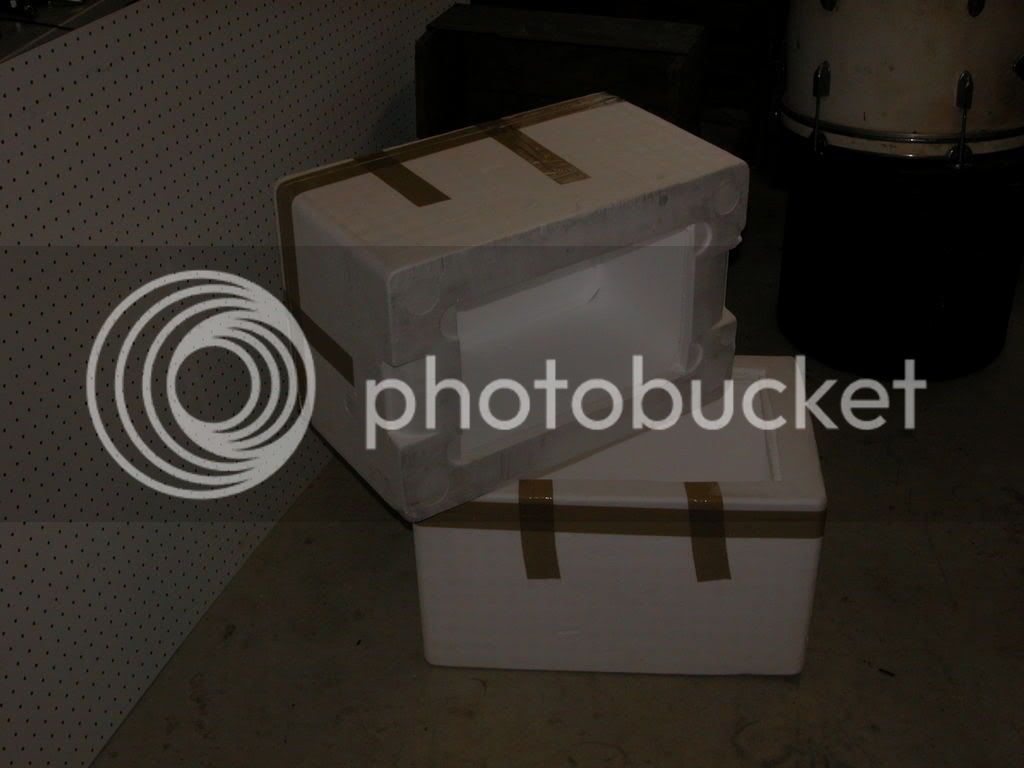
Note attack holes
Step 3. Cut a piece of pegboard to fit over the bottom hole. If you're cunning and adept with the blade you can recess the hole to fit the pegboard. I was building in a hurry so just cut a piece to fit over the top. I rammed a few nails through some of the holes to hole it to the lid.
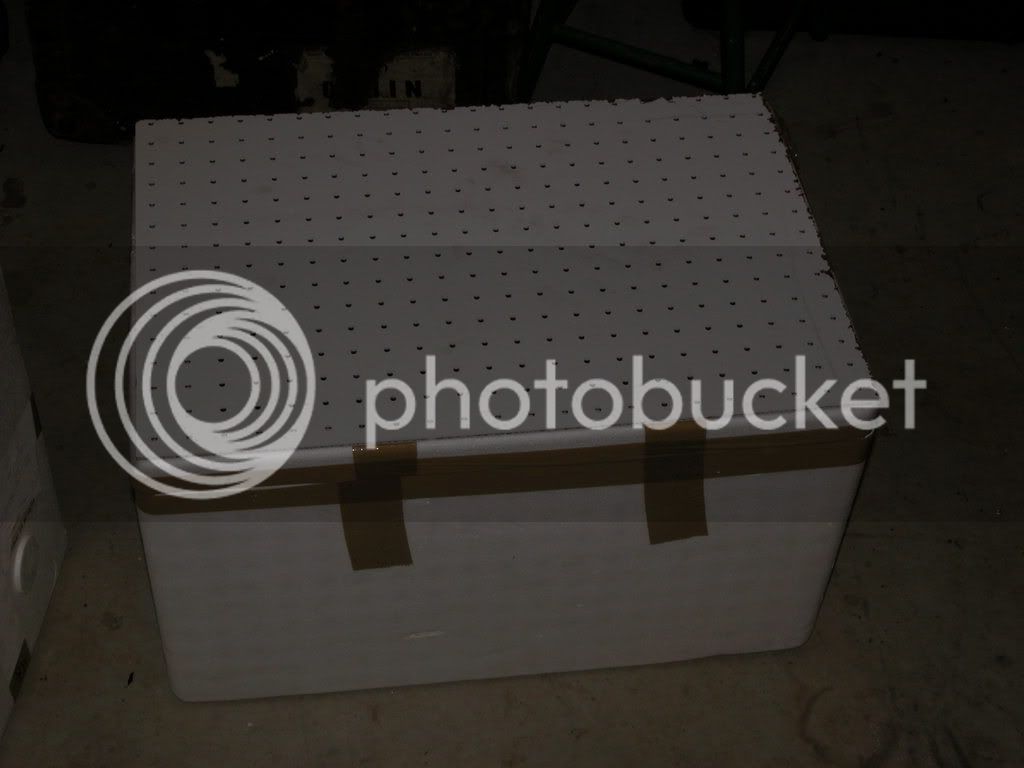
Bottom box with pegboard!
Step 4. Time to frig around with the heating system. I use heat cord wrapped around an appropriate object, largely suspended off the stryofoam as it'll melt through it. Here the appropriate object is a spare piece of pegboard, but to fit into the bottom box with a few legs made of left over doweling and some small self tapping screws. I didn't even predrill it. By chance at one end i cut across the holes, so these provide nifty notches for holding the heat cord in place. I used a 9 meter heat cord. Just cut a notch in the lid of the bottom box so the power lead can stick out. Now the bottom box is more or less finished. Put it to one side.
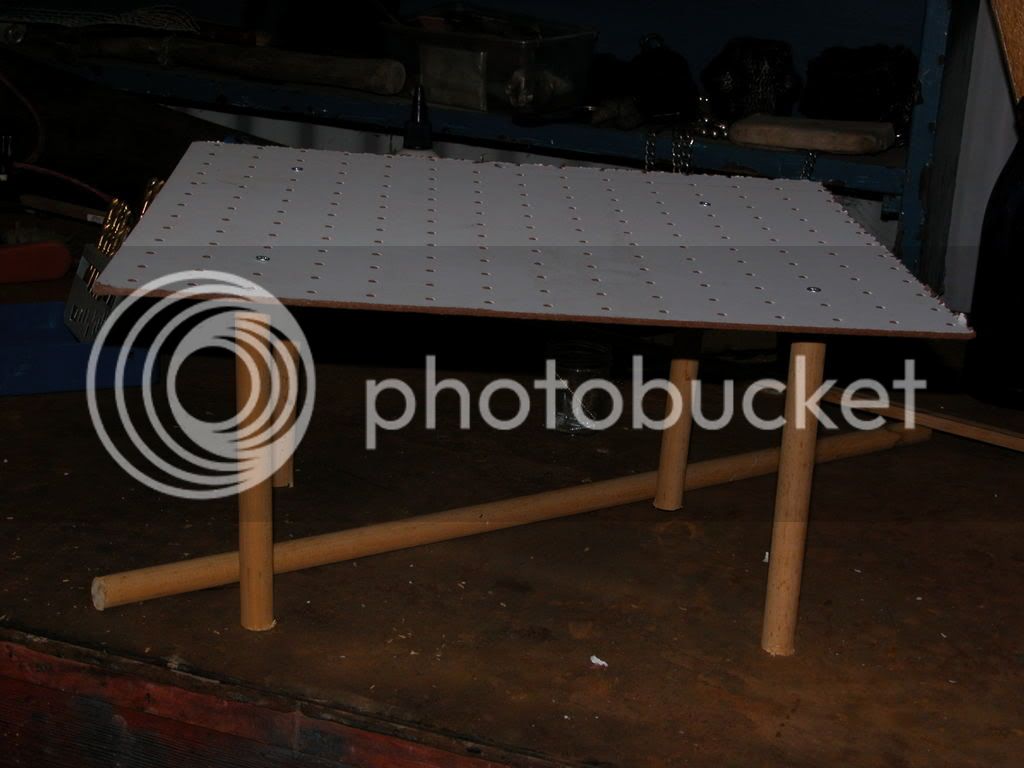
Heating stand
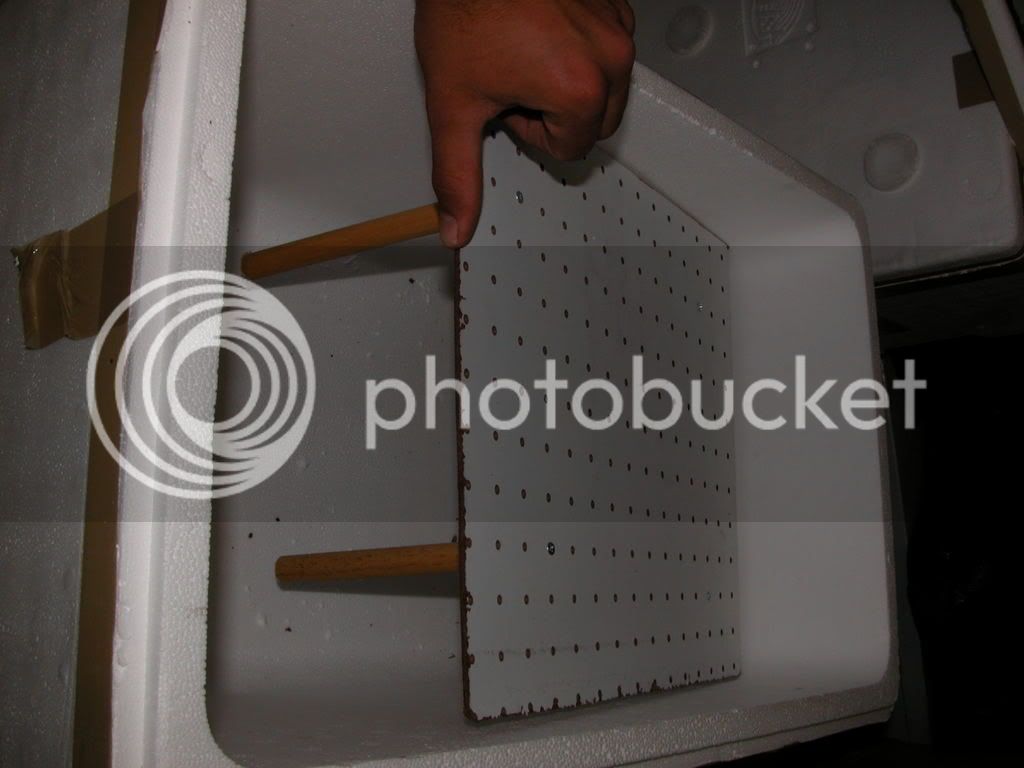
Fits in the bottom box!

Stand with heat cord
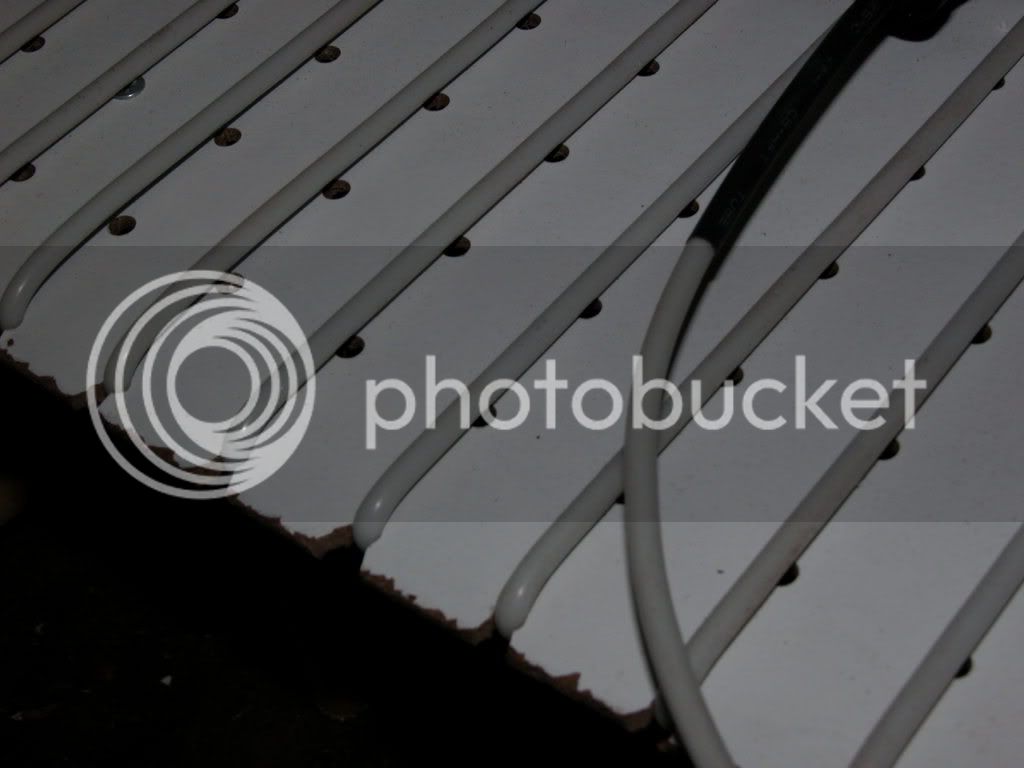
Close up of heat cord with notches
All installed
Bottom box with pegboard.
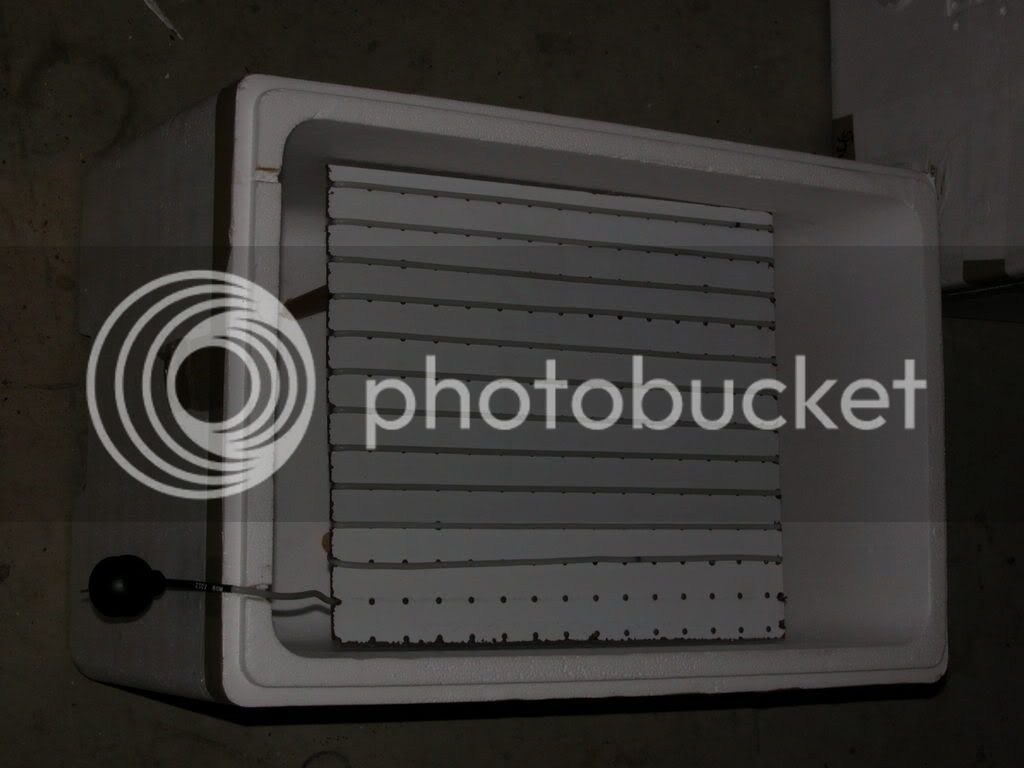
Step 5. With the heating dealt with, it's time to mess with the rest of the incubator. I was going to install dowel shelving across the incubator to hold the egg boxes, but mid way through i got distracted and by the time I'd come back to the incubator I'd found an old piece of fridge shelving. Now I've installed 2 pieces of dowelling about 60mm from the bottom of the box then put a slightly modified piece of fridge shelving over the top. Now the top box is more or less complete.
Top box with dowelling
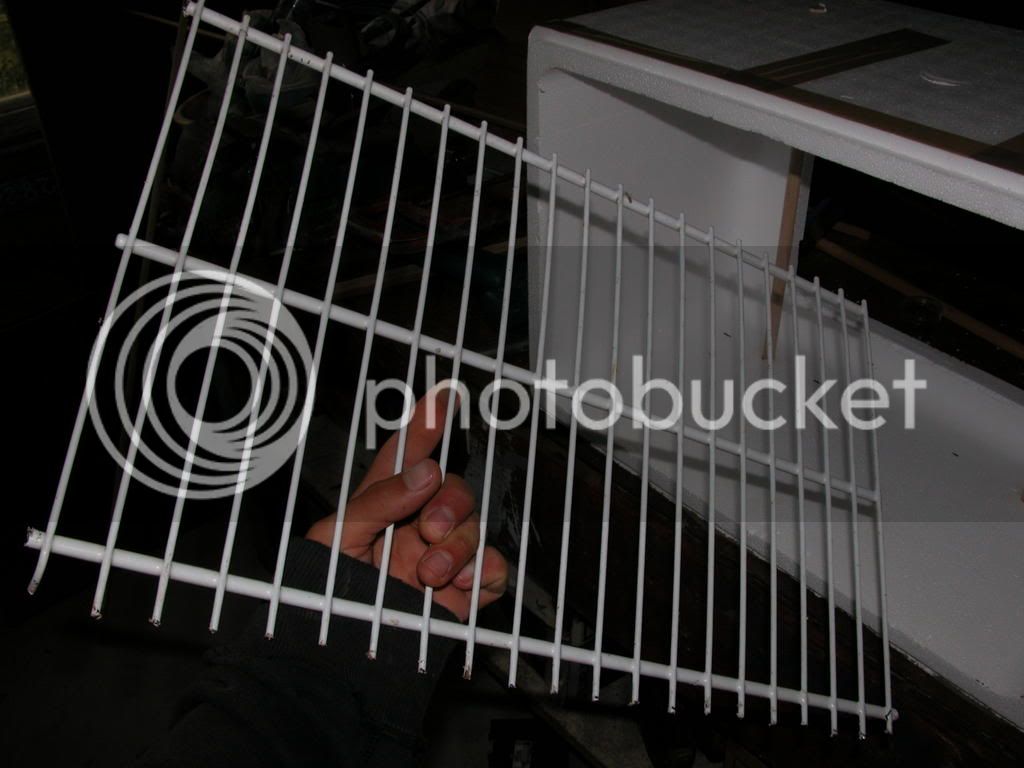
Fridge shelving after hacksaw attack.

the melding of the above 2 photos
Step 6.
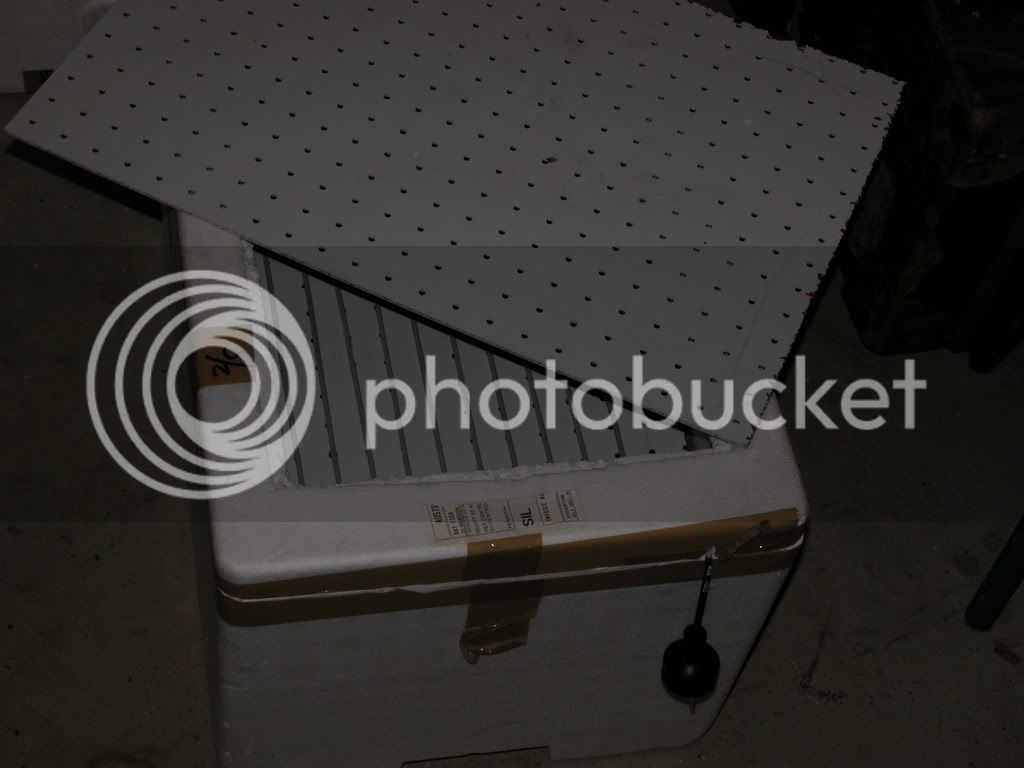
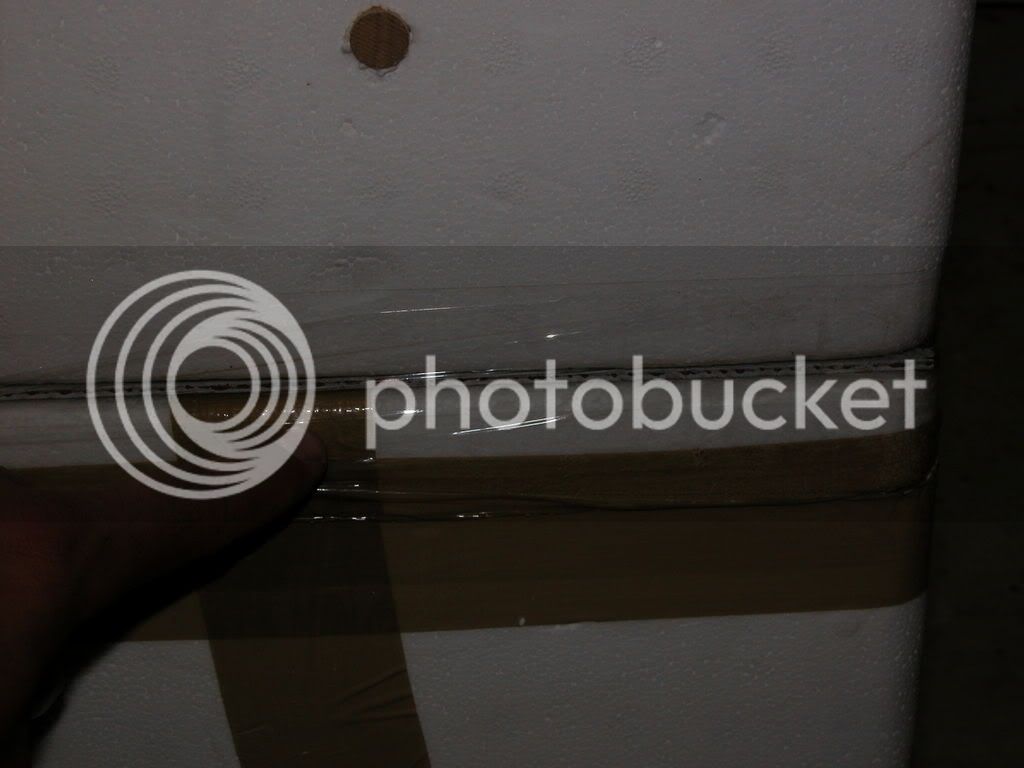
Not comes the really cheap and nasty part. Connecting the two boxes could be done in a variety of ways.... right? But I'm in a hurry so I use what works best and is quick. Sticky tape is wonderful stuff. I used some broad sticky tape to attack the top box to the bottom box. A few laps of that holds it fast against each other.
The completed incubator!
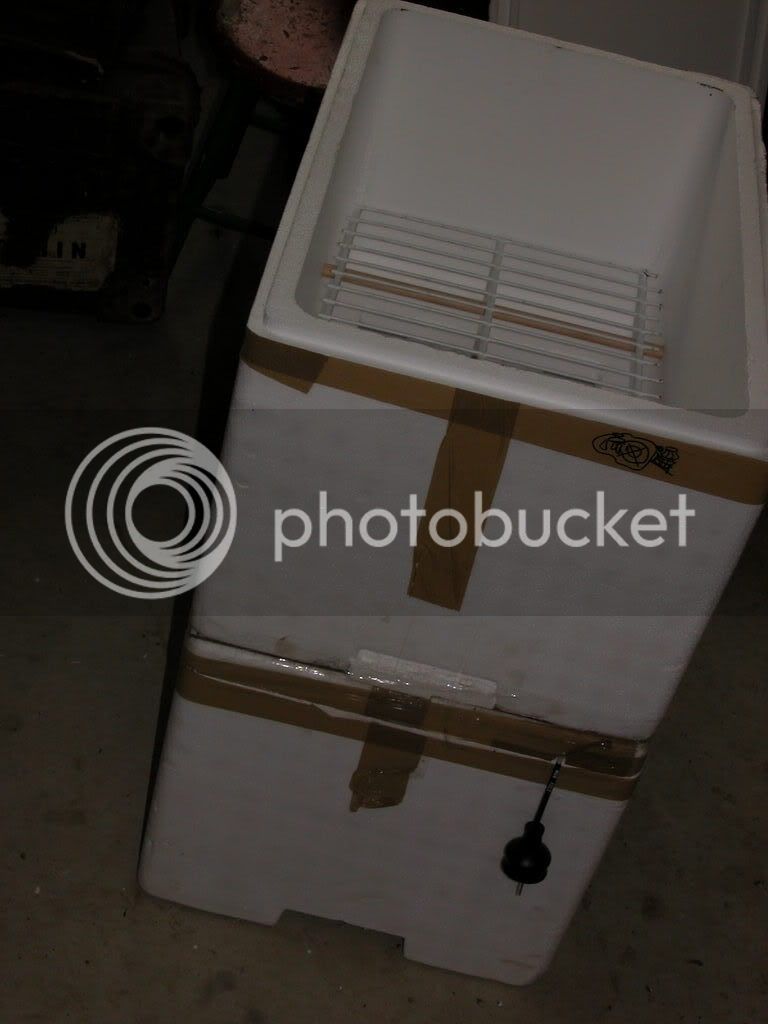
The final step is installing a thermostat. I use the best i can get, a Microclimate B2 pulse proportional thermostat (around $150?) that works wonderfully with a 9metre heat cord (around $60). It generally keeps a very stable temp. Definetly stable enoug for most lizards. I've sucessfully hatched out Antaresia three years in a row as well. The thermostat really is the most expensive part of the excercise, but if you hatch 10 bearded dragons the incubator will pay for itself (providing you sell the hatchlings).
Again, this cheap and ugly incubator works well for me and it's an example of how you can save a bit here and there instead of buying a $2000 incubator for bearded eggs.
Good luck!
-H
As the season has progressed I've decided it's time to build a new incubator to accomadate a few more eggs. I'm modelling the new one on the old one I've had because I've had a very good hatch rate in the old one. I've hatched geckos and snakes in the old incubator, so it seems to work.
NOW.... before anyone criticises my design or my dodgey techniques, this is not meant to be flash and amazing. It's meant to be knocked up in an afternoon, usually while unexpected eggs wait in the laying box. So, I've had this design work wonderfully in the past with a few different species. It's not pretty but it's practical for small volumes of eggs.
Some aspects of this design are probably totally unnecessary, but i put them in the old design and I'm putting it in the new one.
Step 1. Procure your incubator box. Styrofoam broccoli boxes from the back of your grocers are great. I wanted something a little larger so I got some spare styrofoam fish transport boxes from the local Petshop. I picked up 2 boxes. Cost so far: $0
Fish boxes!
Step 2. Attack your styrofoam boxes with a very sharp knife or razorblade. As you can see there is a hole cut in the lid of one box and the base of the other. They will eventually fit on top of each other. The one with the hole in the lid will be the bottom box. The one with the hole in the base will be the top box. Make sure the holes line up and a fairly large.
Note attack holes
Step 3. Cut a piece of pegboard to fit over the bottom hole. If you're cunning and adept with the blade you can recess the hole to fit the pegboard. I was building in a hurry so just cut a piece to fit over the top. I rammed a few nails through some of the holes to hole it to the lid.
Bottom box with pegboard!
Step 4. Time to frig around with the heating system. I use heat cord wrapped around an appropriate object, largely suspended off the stryofoam as it'll melt through it. Here the appropriate object is a spare piece of pegboard, but to fit into the bottom box with a few legs made of left over doweling and some small self tapping screws. I didn't even predrill it. By chance at one end i cut across the holes, so these provide nifty notches for holding the heat cord in place. I used a 9 meter heat cord. Just cut a notch in the lid of the bottom box so the power lead can stick out. Now the bottom box is more or less finished. Put it to one side.
Heating stand
Fits in the bottom box!
Stand with heat cord
Close up of heat cord with notches
All installed
Bottom box with pegboard.
Step 5. With the heating dealt with, it's time to mess with the rest of the incubator. I was going to install dowel shelving across the incubator to hold the egg boxes, but mid way through i got distracted and by the time I'd come back to the incubator I'd found an old piece of fridge shelving. Now I've installed 2 pieces of dowelling about 60mm from the bottom of the box then put a slightly modified piece of fridge shelving over the top. Now the top box is more or less complete.
Top box with dowelling
Fridge shelving after hacksaw attack.
the melding of the above 2 photos
Step 6.
Not comes the really cheap and nasty part. Connecting the two boxes could be done in a variety of ways.... right? But I'm in a hurry so I use what works best and is quick. Sticky tape is wonderful stuff. I used some broad sticky tape to attack the top box to the bottom box. A few laps of that holds it fast against each other.
The completed incubator!
The final step is installing a thermostat. I use the best i can get, a Microclimate B2 pulse proportional thermostat (around $150?) that works wonderfully with a 9metre heat cord (around $60). It generally keeps a very stable temp. Definetly stable enoug for most lizards. I've sucessfully hatched out Antaresia three years in a row as well. The thermostat really is the most expensive part of the excercise, but if you hatch 10 bearded dragons the incubator will pay for itself (providing you sell the hatchlings).
Again, this cheap and ugly incubator works well for me and it's an example of how you can save a bit here and there instead of buying a $2000 incubator for bearded eggs.
Good luck!
-H
")

