Froggiestyle
Active Member
OK only a few of you people know i was making a custom background.
This background cost me around $60 in total.
The ingredients i used was:
1. Styrofoam block (can get for free if you know people in transport) i just brought it from Clark rubber.
2. Liquid Nails
3. Grout, they say try to get it without fungicides but have fun trying to find that. but i red an article about it and its not toxic when fully set.
4. Paintbrushes (got mine from bunnings)
5. Non toxic acrylic paint ( which nower days is enviroment friendly so its all children safe)
6. A non toxic sealer ( which i used "Mod Podge" its good for high humidity enclosures or you could use "shields all")
7. Clear toxic free silicone. (aquarium silicone is fine.
OK This is how i made my custom background with a waterfall.
Before i start this is my first attempt at something like this so its not 100% perfect but looks ok.
Step 1.
First of all i got a thin layer of Styrofoam which i used for my basic backing in case i made a mistake and could easily start over again instead of stick it straight to the tank and there for would have a lot of problems trying to remove it if i made a mistake.
This is the backing piece i used.
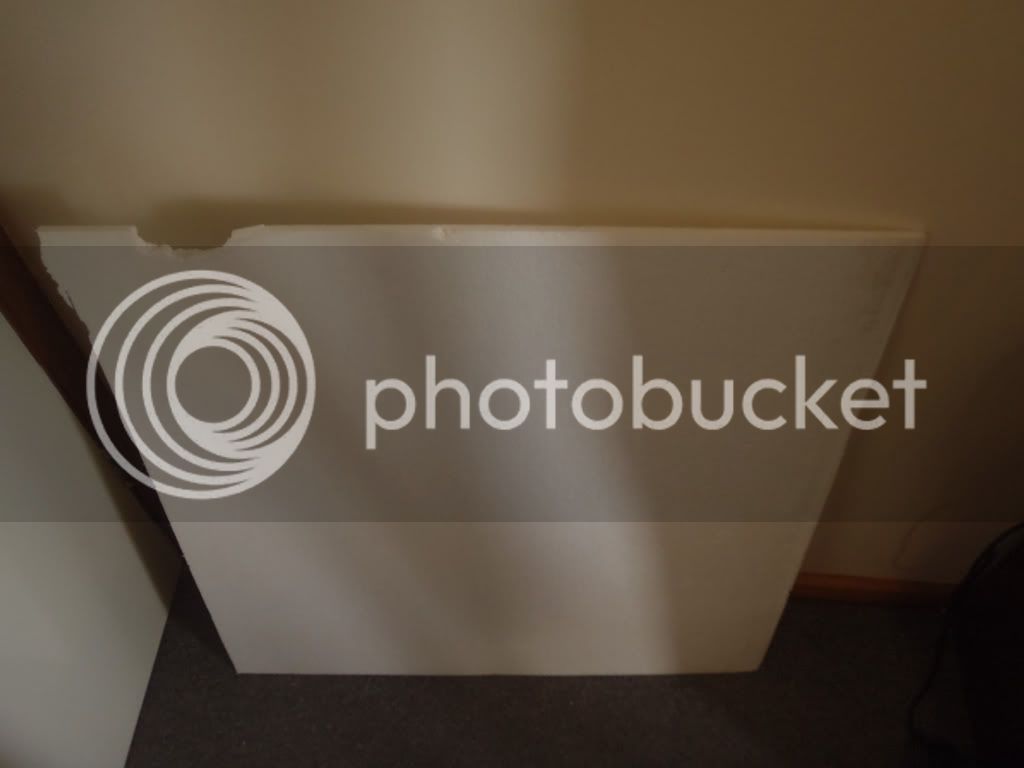
Step 2.
This one was the most messiest part of the whole project. Styrofoam goes everywhere once you cut it up. so its best you do it outside in the shed or a spare room or something and not do it like i did on the dinning table. This was everywhere and when i girlfriend saw what i was doing when she got home i ended up sleeping in the spare room for almost a week :-( this my project.
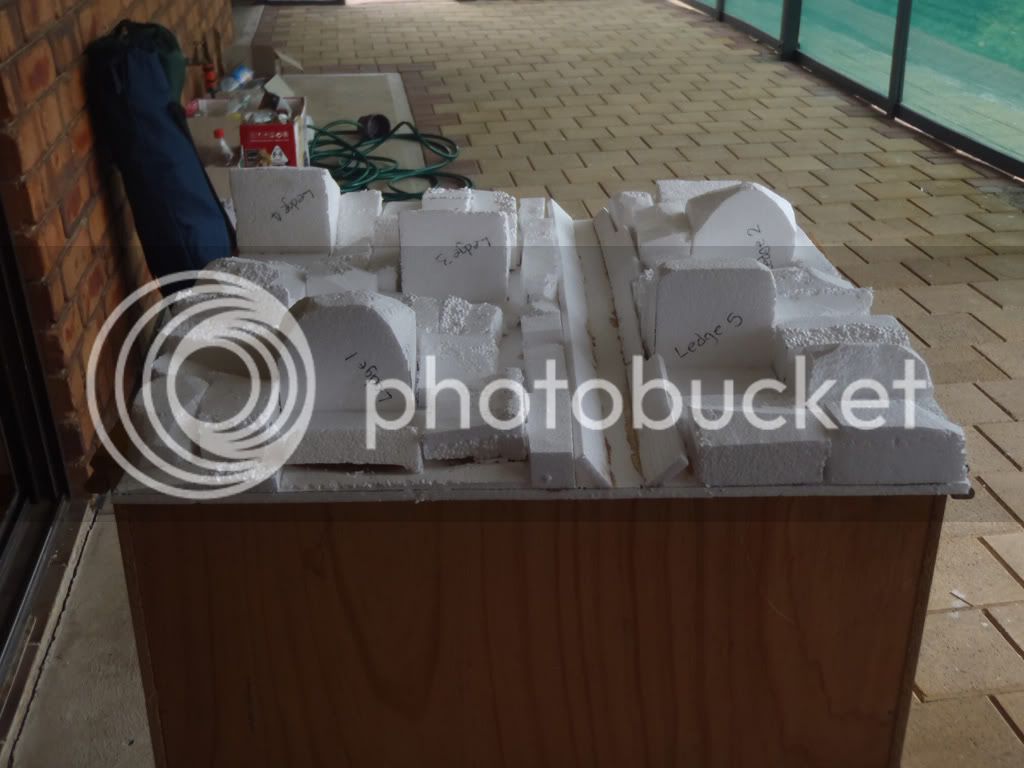
Ok what i did was i cut all sorts of different size blocks/cubes and then i made 5 Large blocks to use them as my ledges for my frogs to sit on and i have them in varies spots for them to regulate there body temperatures.
Then i used the liquid nails once i was happy with the position with my blocks/cubes and stuck them all down on my backing thin layer of Styrofoam and also the same with my waterfall, for my waterfall i used the off cuts of the backing layer to make it. then it left a gap either side for the hose to go through to the top for the waterfall.
This is what i came up with.
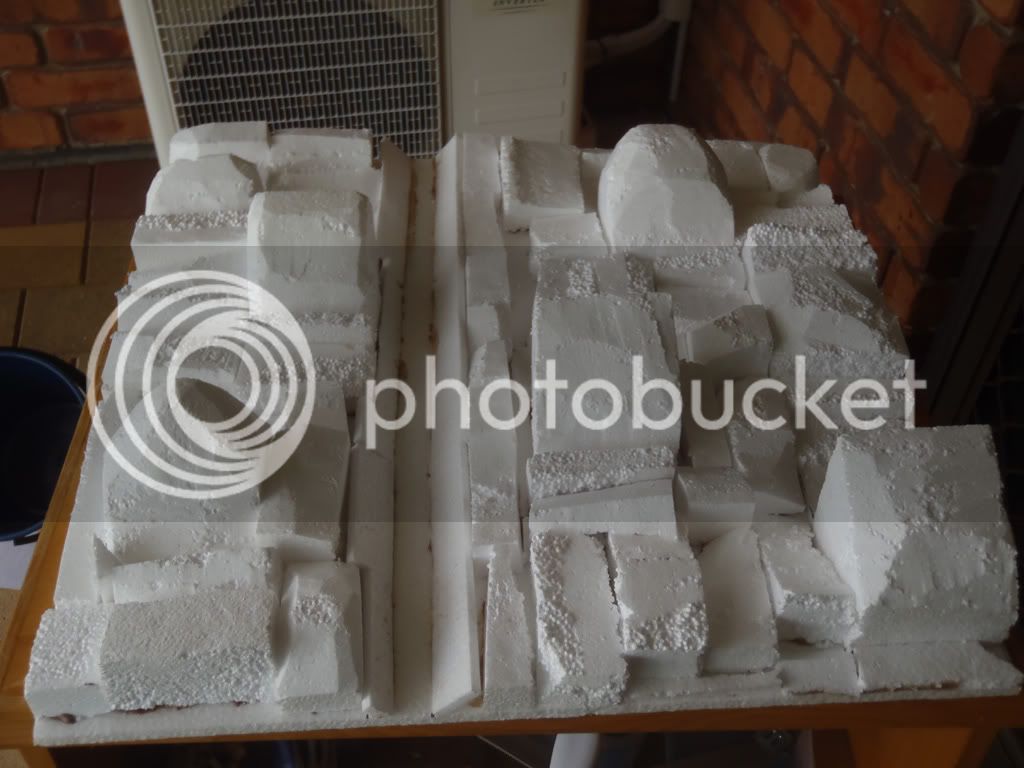
I let that dry for about 24 hours before moving to the next step.
Step 3.
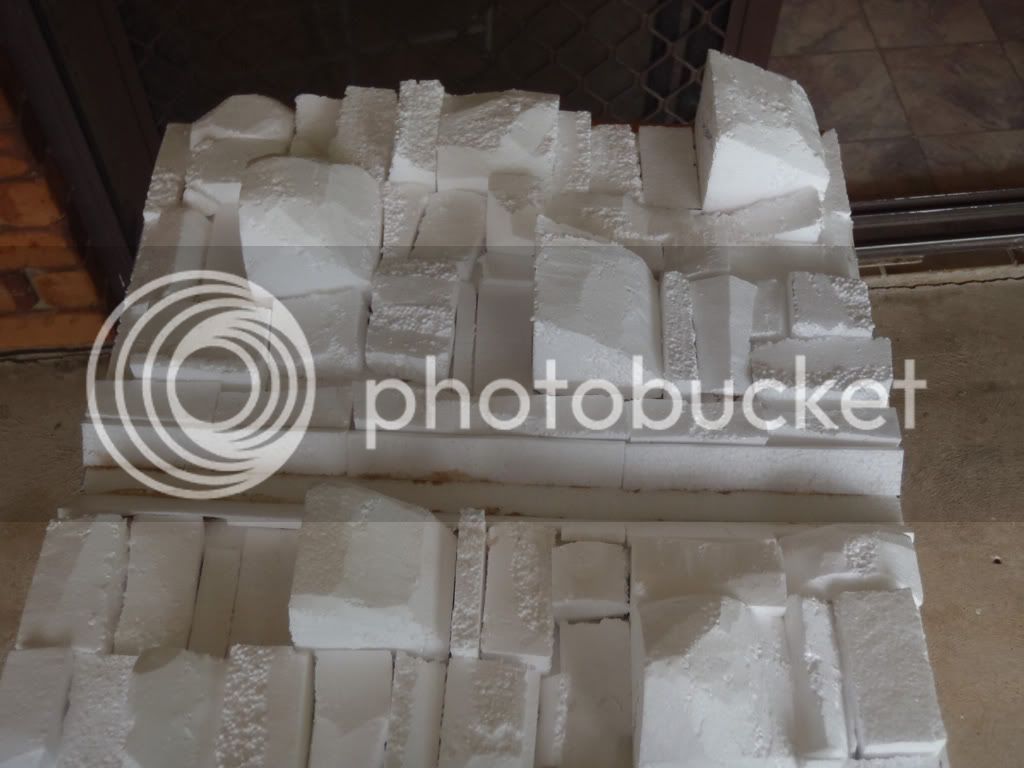
Before i started grouting i got my Stanley knife and cut off all the bits i think wouldn't look good and the finish and made them all kind of shapes.
Once that was done i used the OLD vacuum cleaner and sucked up all the loose Styrofoam so i had nothing left on there.
Then Comes the grout i used daveo Sanitized color grout from bunnings and has biocides added which is basically the same as fungicides.
I brought 3 packets of that and it happened to be on special when i got some. $18 in total. i got a white, mocha and a dark brown so when i did the first coat and 2nd n 3rd using different colors i knew where i had been and what i had missed. You can use the same color of you like and just add some acrylic paint to make the grout different color but i did it that way because the dark brown was my finish color of the background.
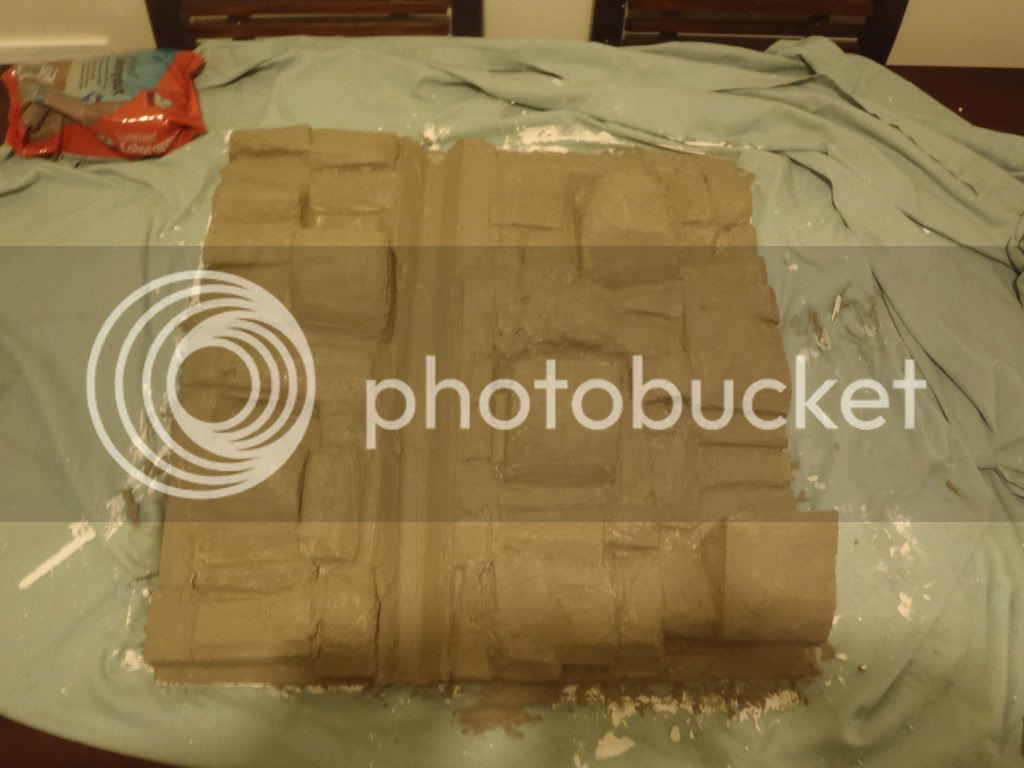
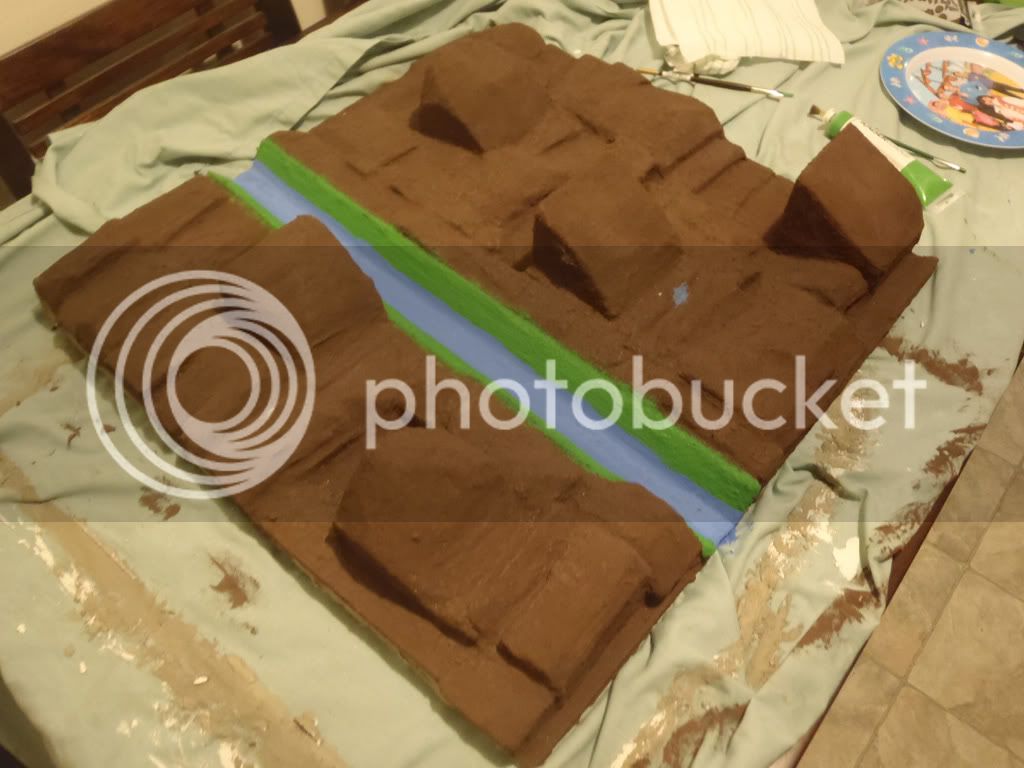
This is the 1st layer of grout ( i let this sit for 24 hours before applying more and this has a total of 4 layers.
1st layer which is the white.

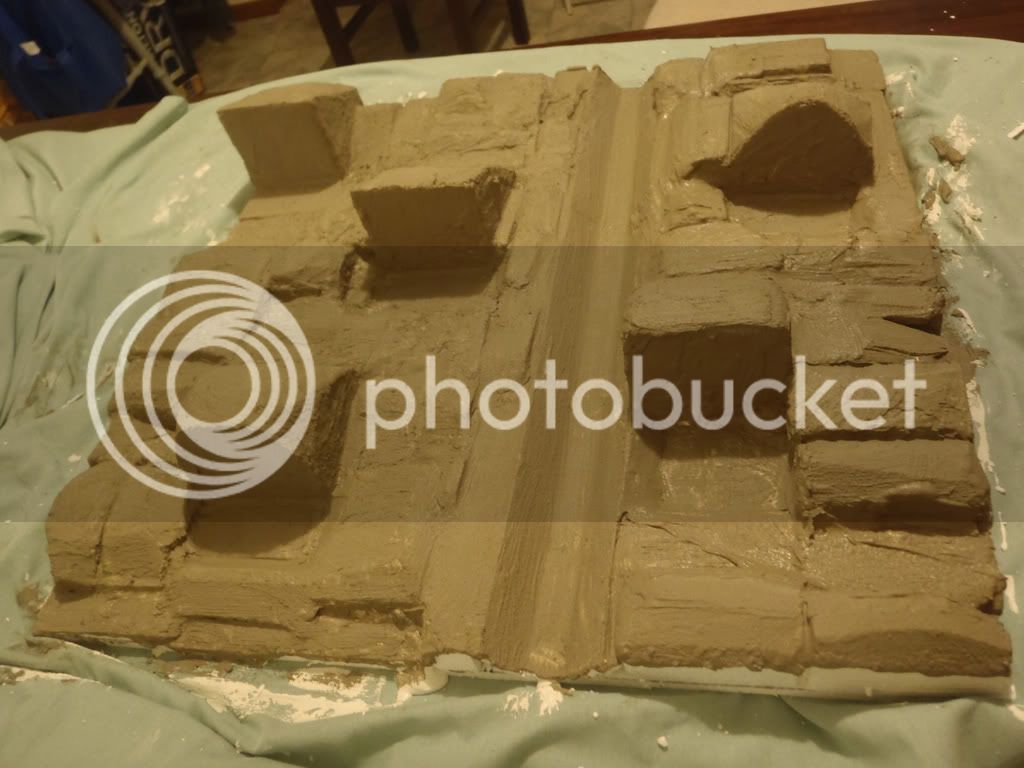
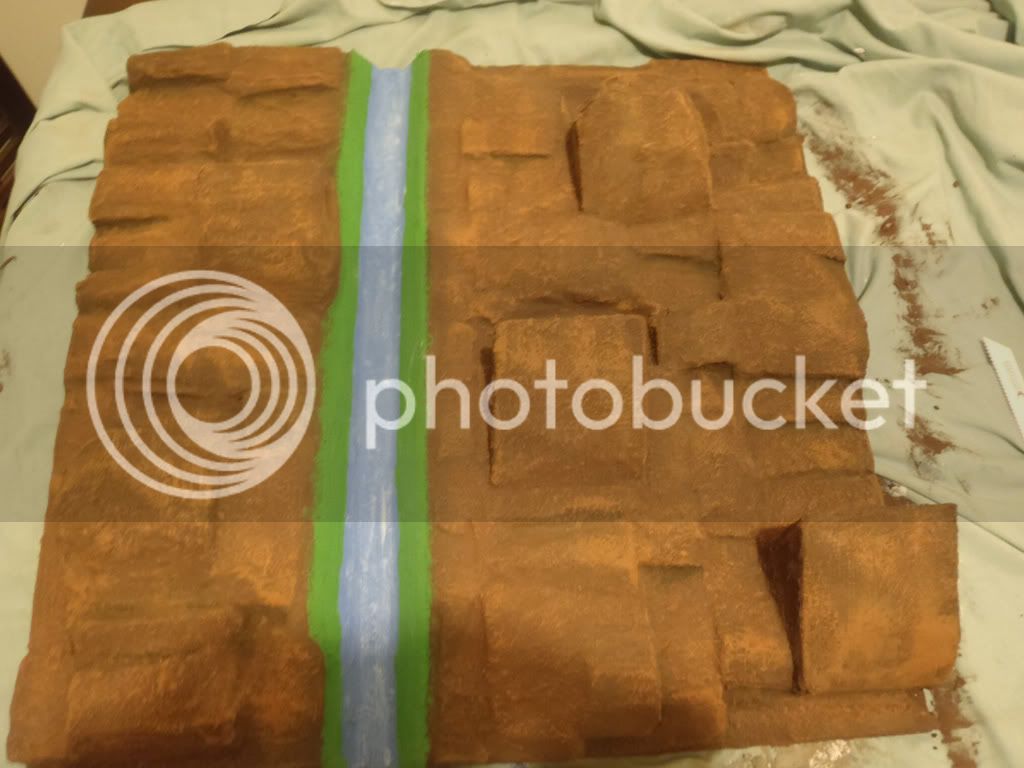
2nd and 3rd layer which i used mocha and i little added brown acrylic paint.
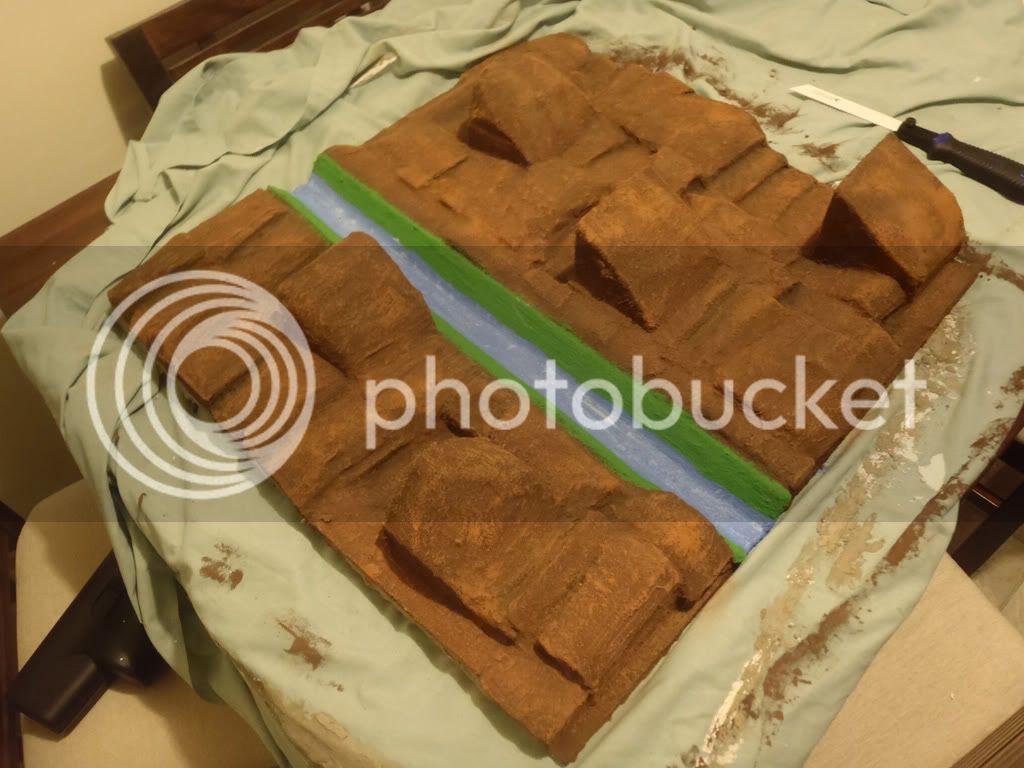
and the 4th layer which finshed off with my final color.
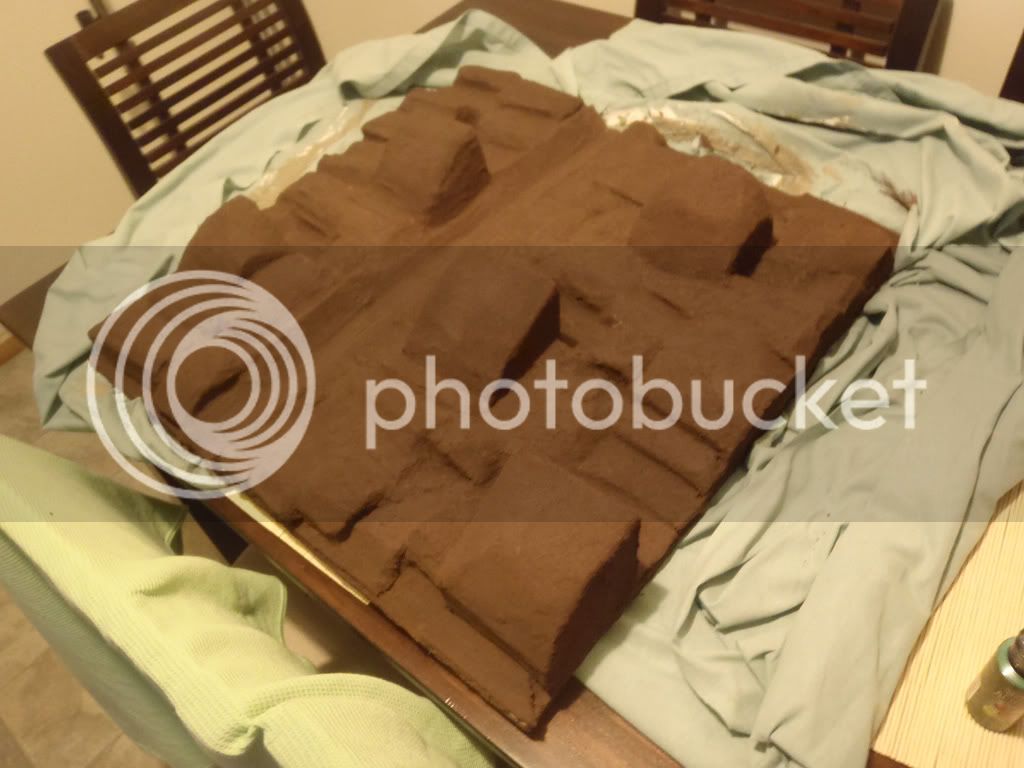
That took me a total of 4 days to finish the grouting and let it sit for another 36 hours.
Step 4.
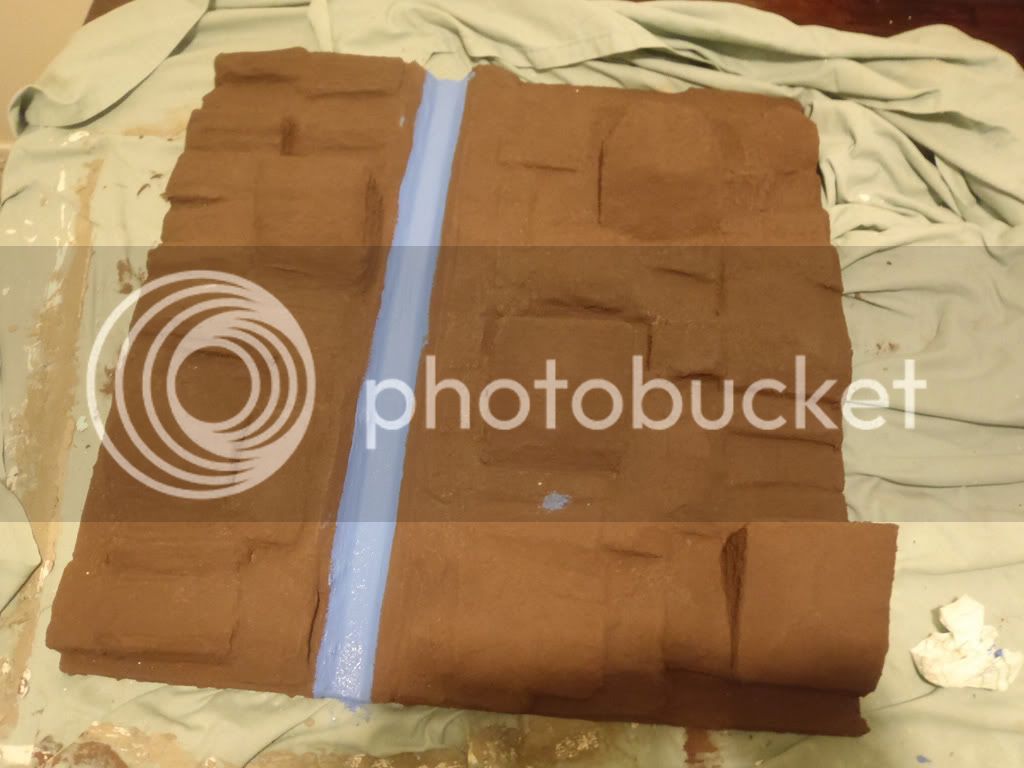
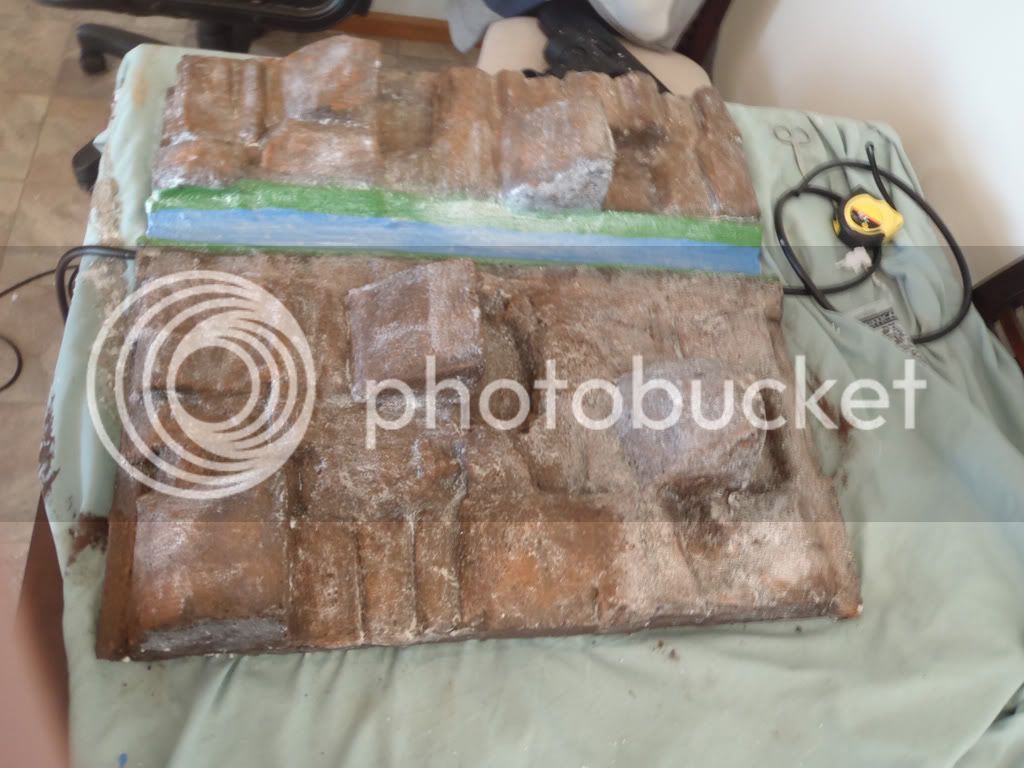
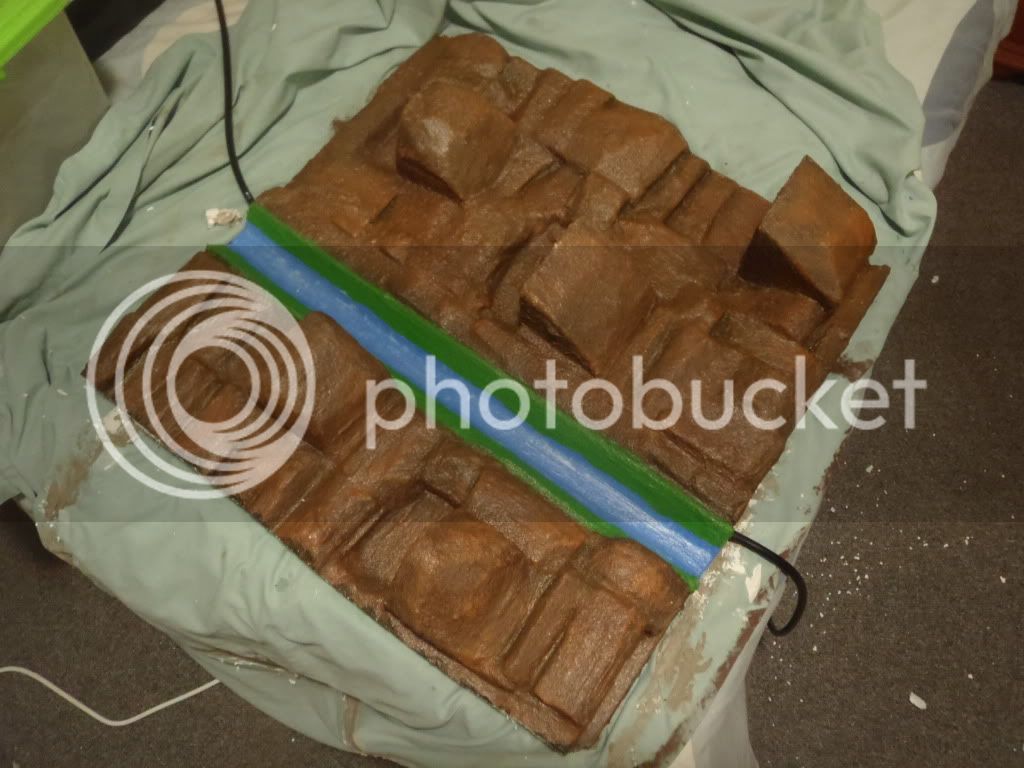
once it was dry then it came to painting the water fall to make it stand out.
i used a French blue and i applyed 3 layers on it and let it sit for about 2 hours before doing anther coat, total of 8 hours to let the last coat dry.
This is it.
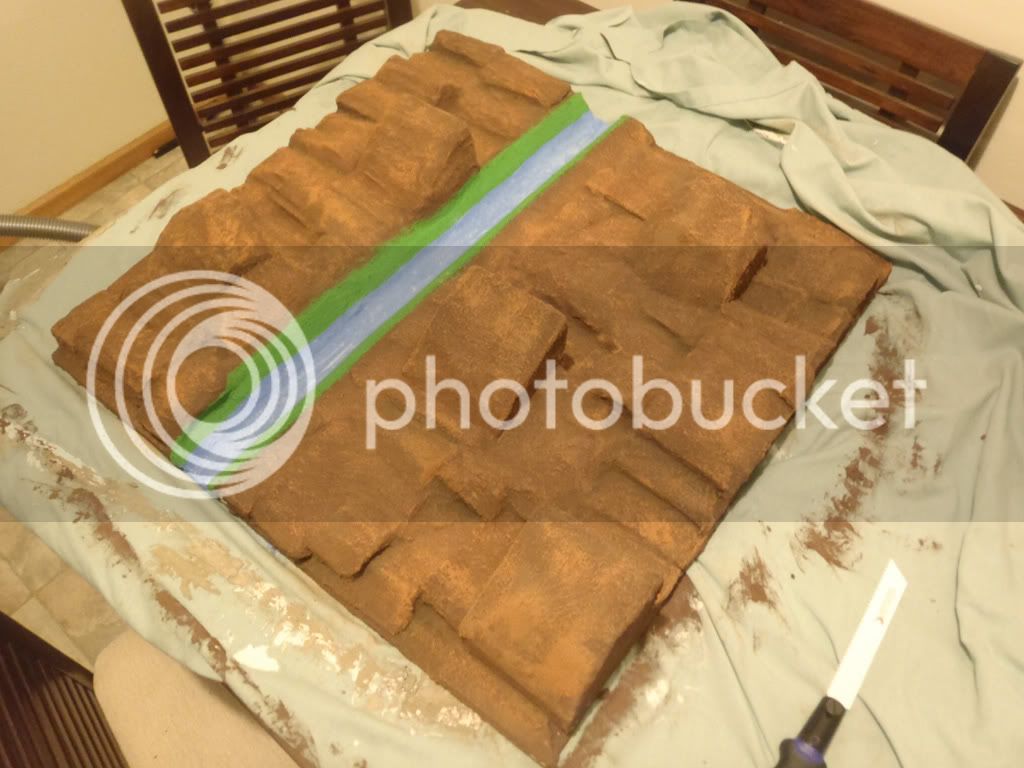
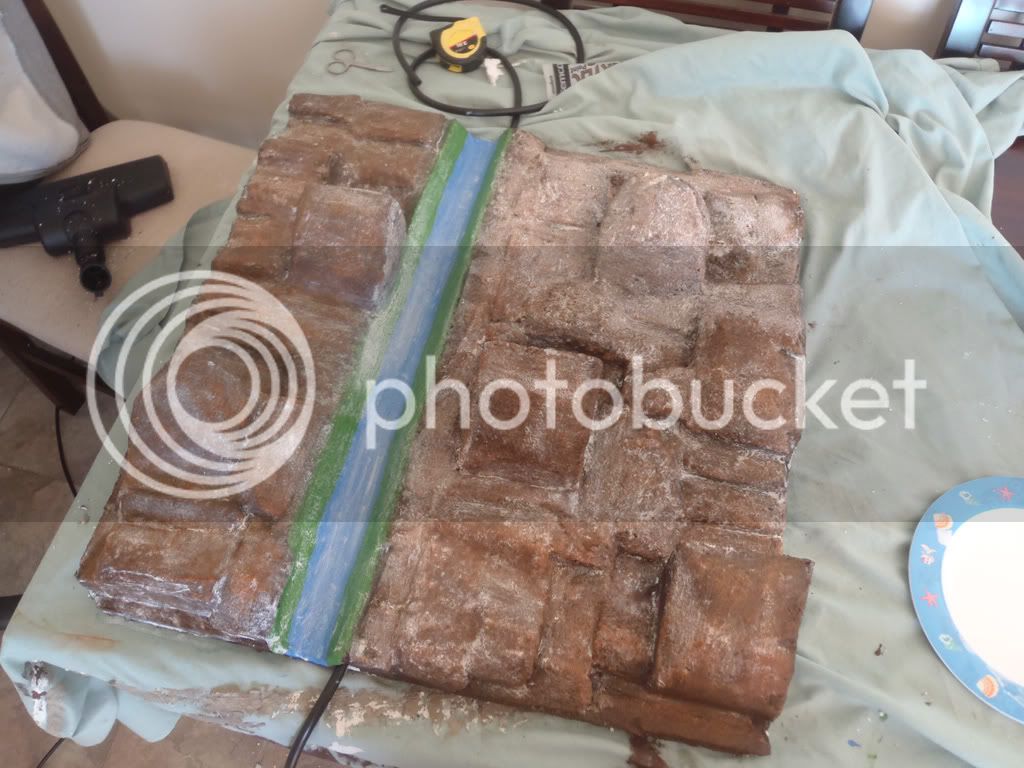
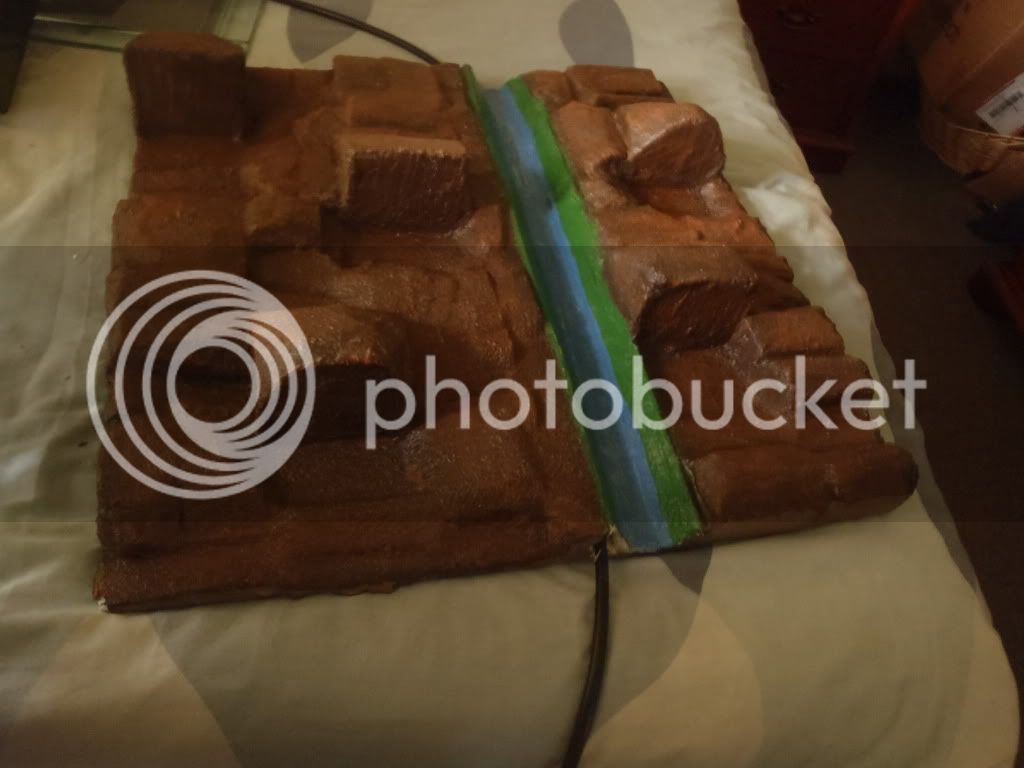
Then once it dryed i didnt know what to do next but i ended up coming up with this, again another 3 layers.
Ok once that was done i waited another 8 hour but it was 11 pm when i did that so i attacked it the next day after work.
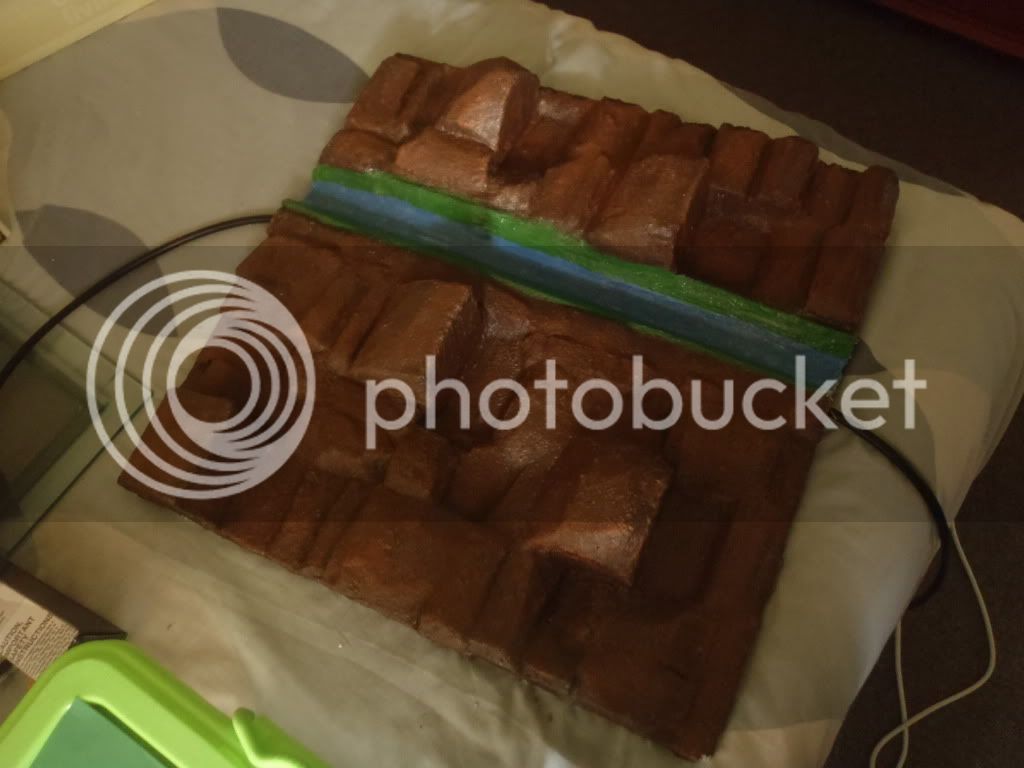
What i did here was i got some white then i once i dipped it in the white i wiped basically all the white off then then i went over the blue and it left white spots and strips over the blue to give it a little of an affect also did the same affect with a light brown which is called raw sienna it gave it a really nice look ( i was actually surprised how good it came out.
This is what it came out like.
Step 5.
Once all the painting was done i left it another 24 hours. i got some 6mm hose and stuck it up the side so it was ready for when i had to install it in the tank otherwise i wouldnt have a hope in hell.
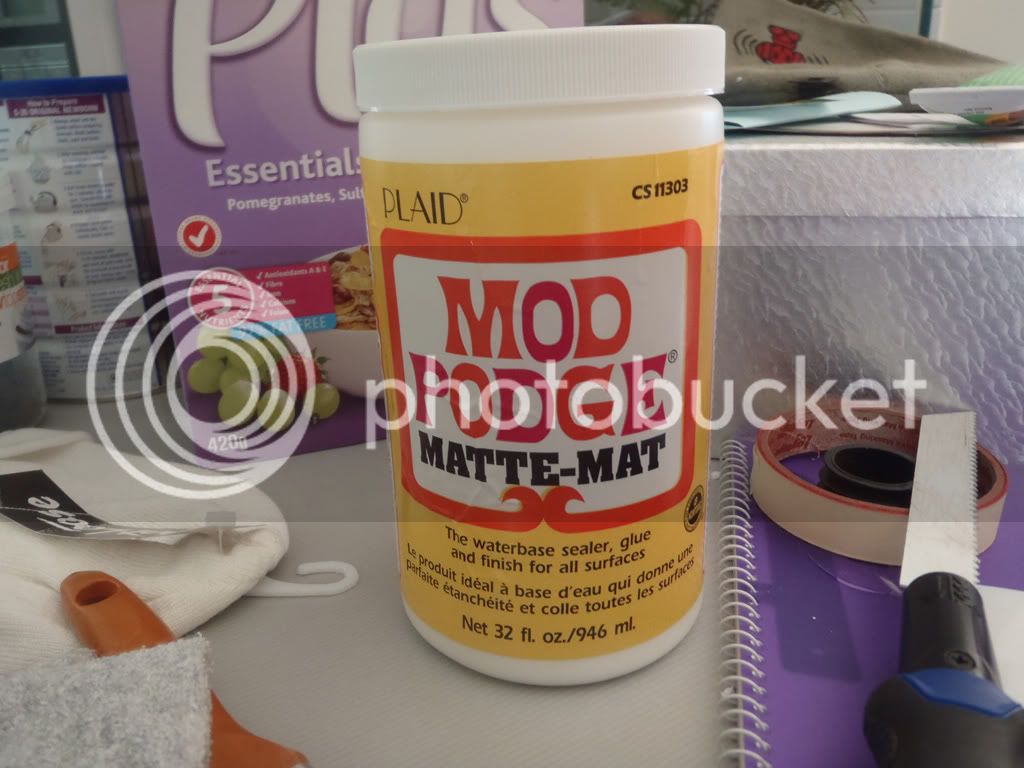
Now it came to the "mod Podge" i put 4 layers on it, but you can put more on it if you like but 4 is enough as its only for frogs not lizards or monitors then you would have to add more.
this is some picture of me applying the Mod Podge and pictures of when it dried out.
This is the picture of the mod podge i used, i used a Matt finish so it wasn't as shiny as a gloss finish.
This is the pictures after all layers are done and dried for about 24 hours.
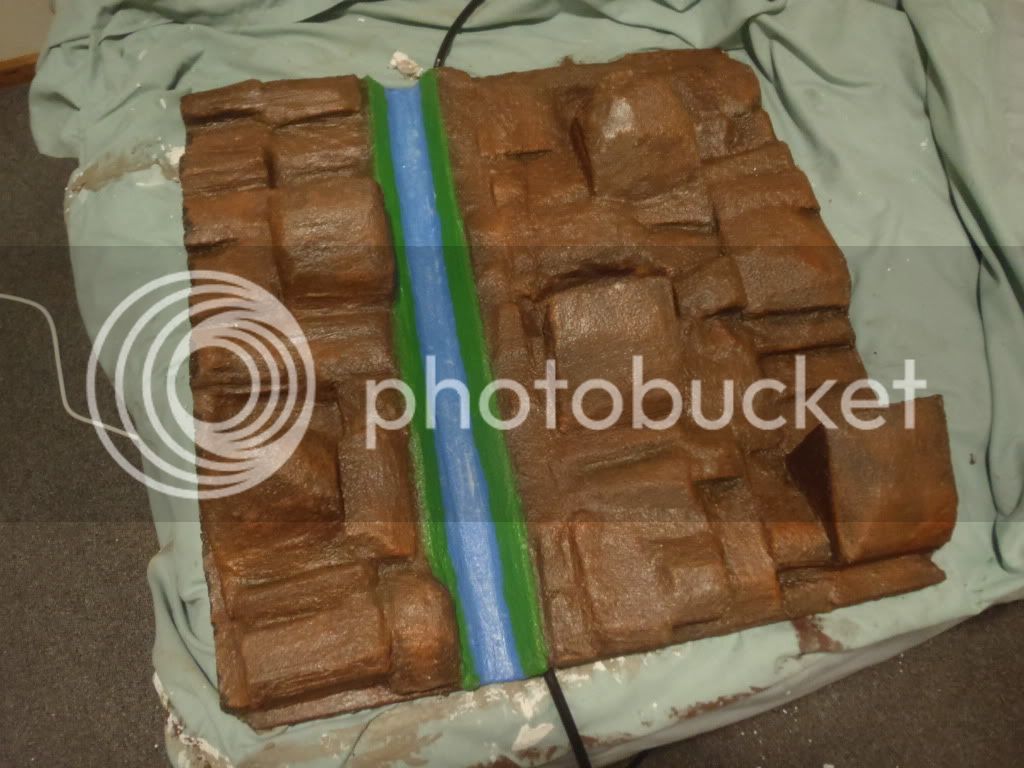
Last Step before i install it, what i did was grab some left over silicone i had for previous tanks and i put silicone over where the water is going to run down so it don't eat away the mod podge and the acrylic paint that i applied.
This background cost me around $60 in total.
The ingredients i used was:
1. Styrofoam block (can get for free if you know people in transport) i just brought it from Clark rubber.
2. Liquid Nails
3. Grout, they say try to get it without fungicides but have fun trying to find that. but i red an article about it and its not toxic when fully set.
4. Paintbrushes (got mine from bunnings)
5. Non toxic acrylic paint ( which nower days is enviroment friendly so its all children safe)
6. A non toxic sealer ( which i used "Mod Podge" its good for high humidity enclosures or you could use "shields all")
7. Clear toxic free silicone. (aquarium silicone is fine.
OK This is how i made my custom background with a waterfall.
Before i start this is my first attempt at something like this so its not 100% perfect but looks ok.
Step 1.
First of all i got a thin layer of Styrofoam which i used for my basic backing in case i made a mistake and could easily start over again instead of stick it straight to the tank and there for would have a lot of problems trying to remove it if i made a mistake.
This is the backing piece i used.
Step 2.
This one was the most messiest part of the whole project. Styrofoam goes everywhere once you cut it up. so its best you do it outside in the shed or a spare room or something and not do it like i did on the dinning table. This was everywhere and when i girlfriend saw what i was doing when she got home i ended up sleeping in the spare room for almost a week :-( this my project.
Ok what i did was i cut all sorts of different size blocks/cubes and then i made 5 Large blocks to use them as my ledges for my frogs to sit on and i have them in varies spots for them to regulate there body temperatures.
Then i used the liquid nails once i was happy with the position with my blocks/cubes and stuck them all down on my backing thin layer of Styrofoam and also the same with my waterfall, for my waterfall i used the off cuts of the backing layer to make it. then it left a gap either side for the hose to go through to the top for the waterfall.
This is what i came up with.
I let that dry for about 24 hours before moving to the next step.
Step 3.
Before i started grouting i got my Stanley knife and cut off all the bits i think wouldn't look good and the finish and made them all kind of shapes.
Once that was done i used the OLD vacuum cleaner and sucked up all the loose Styrofoam so i had nothing left on there.
Then Comes the grout i used daveo Sanitized color grout from bunnings and has biocides added which is basically the same as fungicides.
I brought 3 packets of that and it happened to be on special when i got some. $18 in total. i got a white, mocha and a dark brown so when i did the first coat and 2nd n 3rd using different colors i knew where i had been and what i had missed. You can use the same color of you like and just add some acrylic paint to make the grout different color but i did it that way because the dark brown was my finish color of the background.
This is the 1st layer of grout ( i let this sit for 24 hours before applying more and this has a total of 4 layers.
1st layer which is the white.
2nd and 3rd layer which i used mocha and i little added brown acrylic paint.
and the 4th layer which finshed off with my final color.
That took me a total of 4 days to finish the grouting and let it sit for another 36 hours.
Step 4.
once it was dry then it came to painting the water fall to make it stand out.
i used a French blue and i applyed 3 layers on it and let it sit for about 2 hours before doing anther coat, total of 8 hours to let the last coat dry.
This is it.
Then once it dryed i didnt know what to do next but i ended up coming up with this, again another 3 layers.
Ok once that was done i waited another 8 hour but it was 11 pm when i did that so i attacked it the next day after work.
What i did here was i got some white then i once i dipped it in the white i wiped basically all the white off then then i went over the blue and it left white spots and strips over the blue to give it a little of an affect also did the same affect with a light brown which is called raw sienna it gave it a really nice look ( i was actually surprised how good it came out.
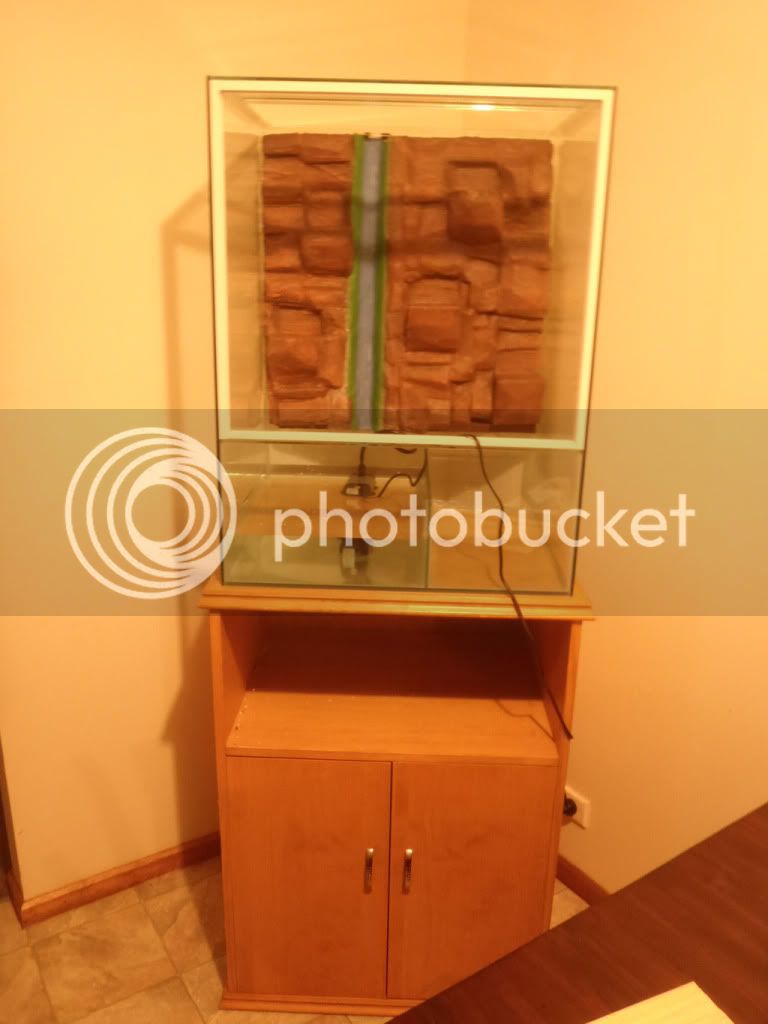
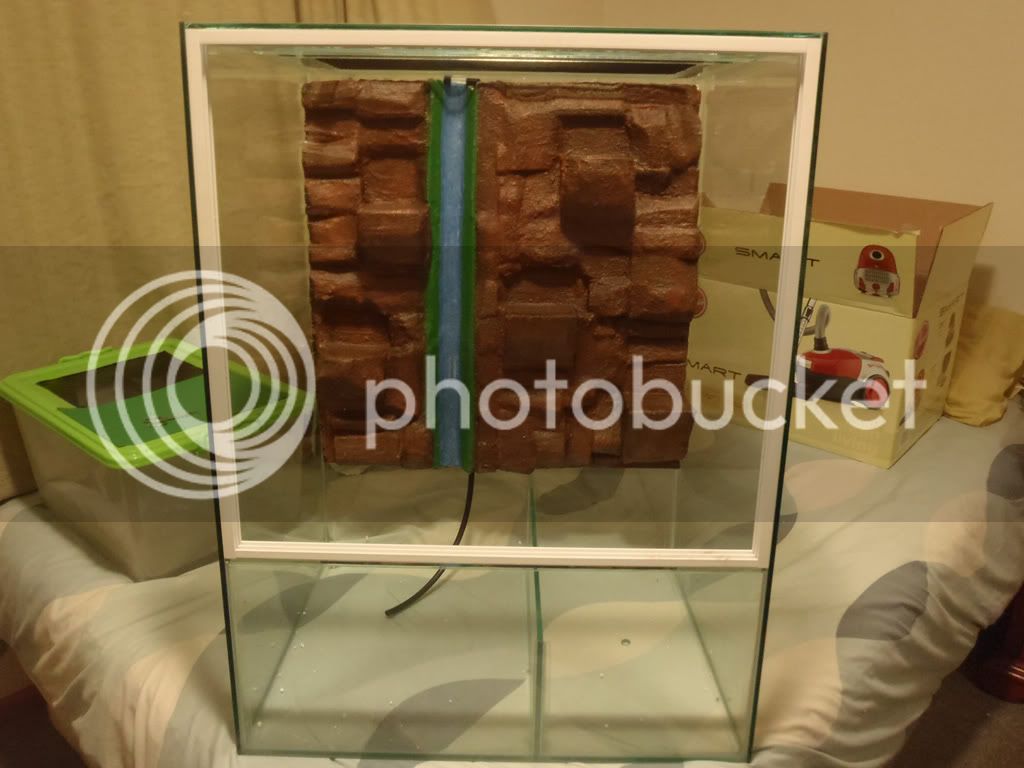
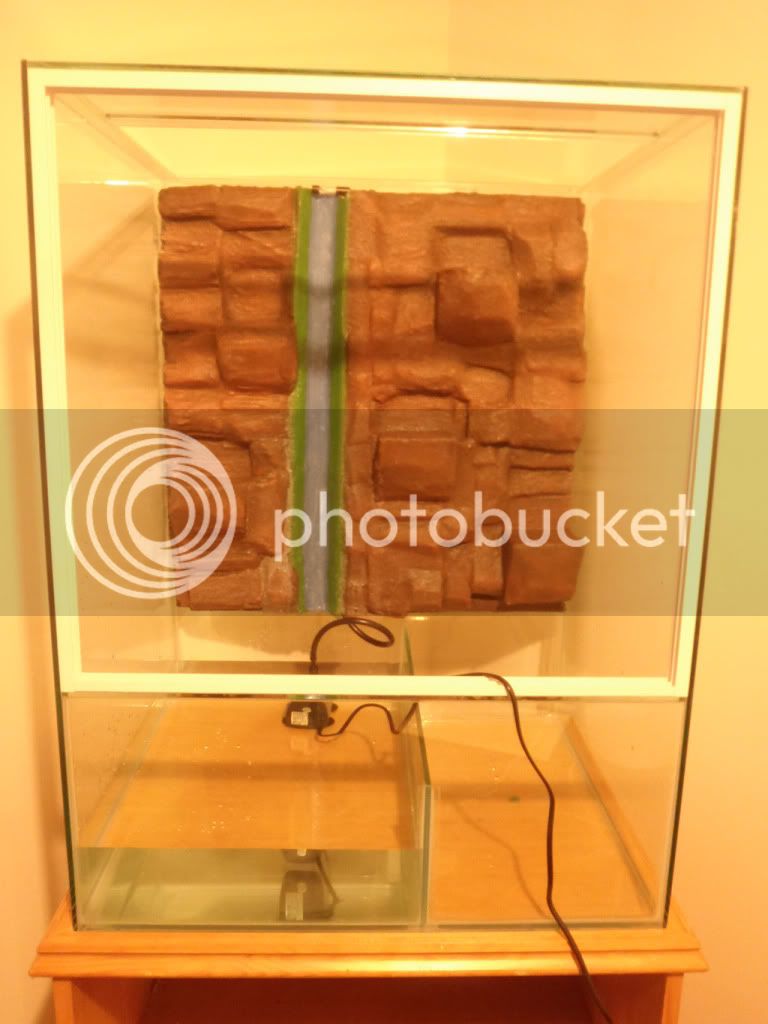
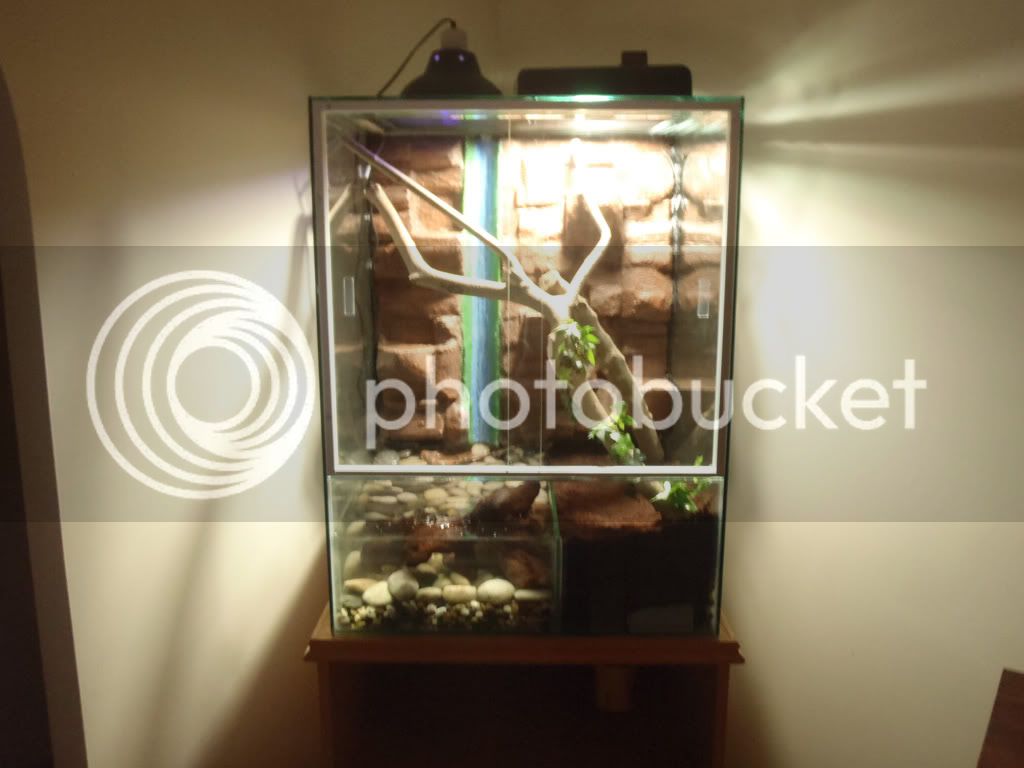
This is what it came out like.
Step 5.
Once all the painting was done i left it another 24 hours. i got some 6mm hose and stuck it up the side so it was ready for when i had to install it in the tank otherwise i wouldnt have a hope in hell.
Now it came to the "mod Podge" i put 4 layers on it, but you can put more on it if you like but 4 is enough as its only for frogs not lizards or monitors then you would have to add more.
this is some picture of me applying the Mod Podge and pictures of when it dried out.
This is the picture of the mod podge i used, i used a Matt finish so it wasn't as shiny as a gloss finish.
This is the pictures after all layers are done and dried for about 24 hours.
Last Step before i install it, what i did was grab some left over silicone i had for previous tanks and i put silicone over where the water is going to run down so it don't eat away the mod podge and the acrylic paint that i applied.
")