Correctly installing lighting fixtures.

Aussie Pythons & Snakes Forum

Help Support Aussie Pythons & Snakes Forum:

This site may earn a commission from merchant affiliate links, including eBay, Amazon, and others.
Status
Not open for further replies.
B

B_STATS

Guest
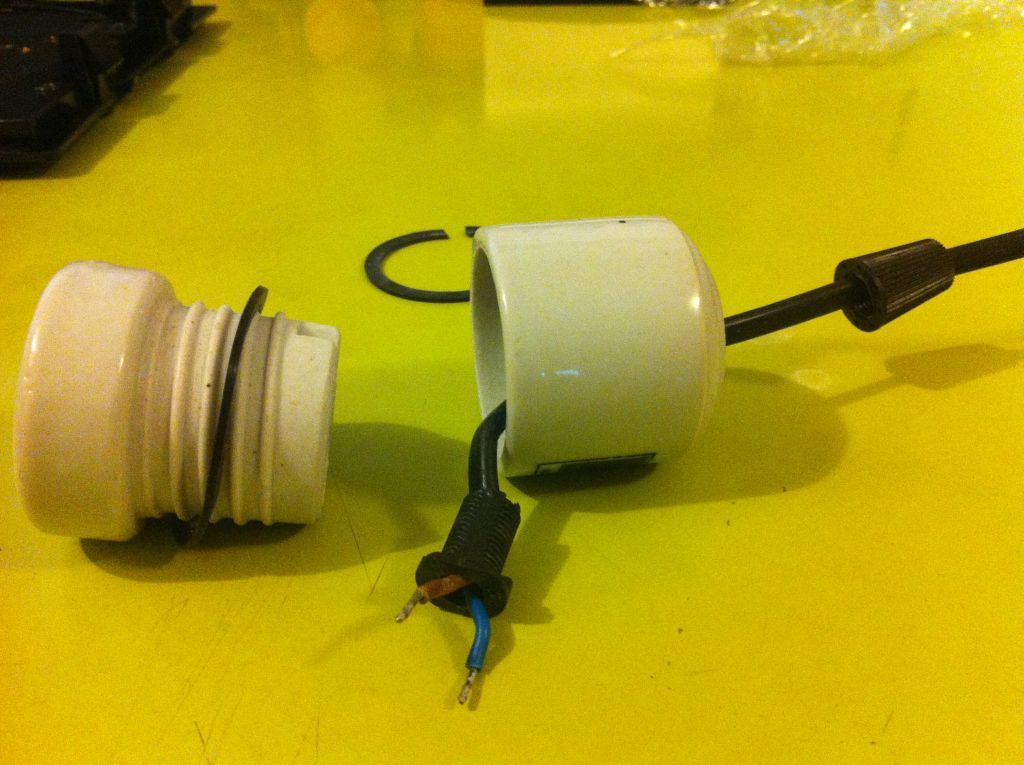
Okay so I have two ceramic heat light fixtures that are attached through holes in the roof of the enclosure. Problem is I've never installed them before and I think I've put the first one in wrong. As you can see from the pics I've screwed it in on the outside allowing for very little of the fixture to sit inside the enclosure. I'm thinking I did the old 50/50 guess and got it wrong as usual. Reckon if I screwed it in from the inside then more of the cage would have been filled and the light would hang lower. I put a globe in so you can see how high it sits. This is my first enclosure build and like always in my life I am learning my lessons the hard way.
DSC02752.JPG DSC02755.JPG
 
Either way would work I reckon. Your way actually seems to make more sense to me because you don't actually need to screw the bracket down and if, for whatever reason, you need to remove the fixture you could do it with much less fuss. Don't worry about it not hanging low enough either. You're only going to make up an extra ~20mm so it won't affect your basking spot temps or anything
 
I was looking at those fittings today. I would have screwed it in the other way, but that looks really good and is less bulky in the actual enclosure. :)
 
I believe that fitting is designed to be fixed internally. The reason for the channel is so that the cable can be ran along the ceiling and out through a side hole (rather than a hole drilled in the top) - This allows for stacking (of enclosures), etc.

However, as Sax has said, I can see no reason why it won't work just as well the way you have installed it.
 
I believe that if you look at the second picture (DSC02755.JPG) you will notice a groove about 5 mm up from the bottom. I believe this groove may be where the fitting can screw apart for correct mounting. I think that the correct size hole would need to be drilled for the threaded part of the fitting to go through and then that end piece screwed back on to secure it in place. I am also not sure who has done the wiring but it would appear to be not legal with the fitting being attached to a metal bracket without an earth attached.
 
Picture one has the fitting that looks like yours and picture two has the fitting unscrewed.
 

Attachments

  • Light 1.jpg
    Light 1.jpg
    161.2 KB · Views: 152
  • Light 2.jpg
    Light 2.jpg
    87.9 KB · Views: 140
I believe this groove may be where the fitting can screw apart for correct mounting.

This is correct if you're installing on a wire mesh roof. You cannot fit it this way on say 1/2" melamine (there isn't enough thread), hence the mounting bracket attached.
 
This is correct if you're installing on a wire mesh roof. You cannot fit it this way on say 1/2" melamine, hence the mounting bracket attached.
I would either buy the correct fitting for the enclosure type or use this fitting mounted on a piece of 9mm fibre cement sheeting correctly and then screwed the sheeting to the timber. The way it is mounted seems to be using the electrical wire for mechanical support and even though it may work it is not the ideal scenario and possibly illegal. Also if a metal object is to be used it must be earthed. I am not 100% sure on the earthing of the metal in the way that the OP has it because there is double insulation provided between the live wire and the bracket.
 
Last edited:
The way it is mounted seems to be using the electrical wire for mechanical support...

It's not. This type is similar but different to your one. The black nut is made of plastic and screws to a plastic threaded support specifically designed for use the way it has been installed.
 
It's not. This type is similar but different to your one. The black nut is made of plastic and screws to a plastic threaded support specifically designed for use the way it has been installed.
Is the black plastic clamped down on the wire or does it attach to the ceramic?
 
Is the black plastic clamped down on the wire or does it attach to the ceramic?

Hope this iPhone pic gives you an idea:

IkWkLfG.jpg
 
Hope this iPhone pic gives you an idea:/QUOTE]
That looks like mine URS brand and appears to be slightly different to the posters one. That you you have has the plastic to hold the wiring in place and fill the gap between the hot ceramic and the plastic insulation This is for two reasons , firstly and mainly so no object can be poked into the gap and contacting exposed live parts and also to prevent the insulation from melting and exposing live conductor.
 
Is the black plastic clamped down on the wire or does it attach to the ceramic?

On mine it's attached to the ceramic. It is slightly different again though so might have to wait for OP to reappear to see if his does too
 
On mine it's attached to the ceramic. It is slightly different again though so might have to wait for OP to reappear to see if his does too
Yours is probably meant to be mounted like that and so may the OP and I will stand corrected but imo using a plastic nut and screw to mount a light fitting that you will be putting pressure on everytime that you screw in or unscrew a light globe is less than the ideal situation not to mention the possible melting of the plastic from the hot ceramic.
 
Here's a series of photos to help show how the fixture goes together. The part that confuses me though is the raised edges on the metal platform piece with the screw holes. Think I should have screwed it to the roof from the other side.

DSC02764.JPG DSC02763.JPG DSC02762.JPG DSC02761.JPG DSC02765.JPG
 
Last edited by a moderator:
Oh spewing! I posted them like I always do though :( re-uploaded them.
 
Last edited by a moderator:
The part that confuses me though is the raised edges on the metal platform piece with the screw holes. Think I should have screwed it to the roof from the other side.

As per my previous post, that bracket is designed to be fixed internally. The raised edges are so that you have the room to route your cable to a side hole (not top), this is important if you plan on stacking your enclosures, or using these fittings in a multi bay enclosure, etc.
 
Status
Not open for further replies.
Back
Top