


Ailurus
New Member
I built this a while back (3years ago) with my Dad, thought some people on here may find it useful.
This is a post copied from another forum about my build:
Me and my dad decided to take the plunge and build a viv stack to house all my reptiles when they grow out of there tubs. So i took some pics as we went along, and thought i would share, might give some people some ideas.
we got all the wood from my local hardware store, they cut it for us for free. all the wood is beech affect melamine faced chipboard, we had some white as well so we used that up. everything was screwed together, by drilling first and then screwing, most pieces of wood are attached to another by at least 6 screws.
right here we go.
the ingredients
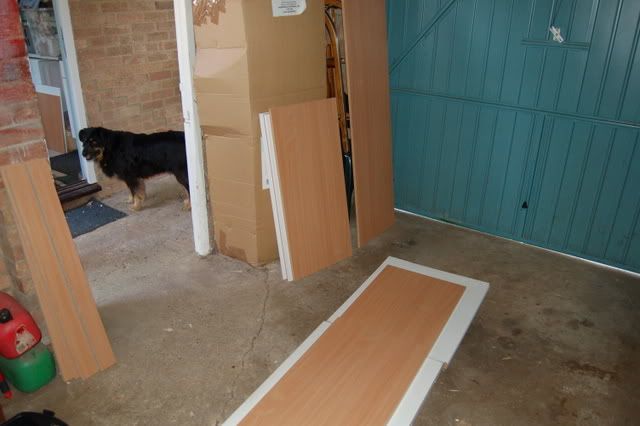
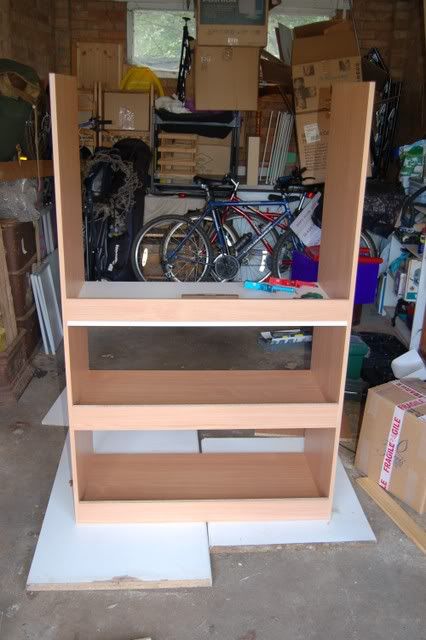
the piece on the floor is a side piece, we screwed this side to the bottom, and then the other side to the bottom, and then screwed on a plinth, to hold the substrate in and put the glass runners on, this also made it alot more secure
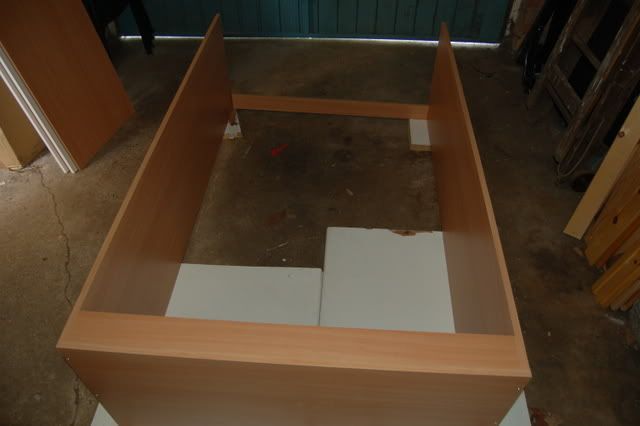
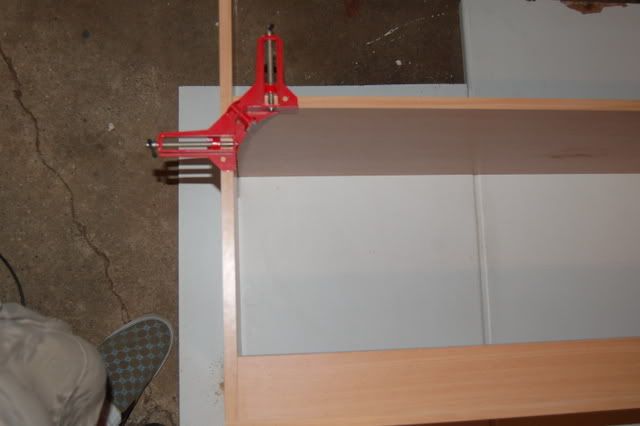
Next we put in the top of this viv, which is the bottom of the viv above, my dad found some 90 degree clamps buried deep in the shed, so we used those, they are the most useful things in the world, every single right angle joint in this build was clamped with one
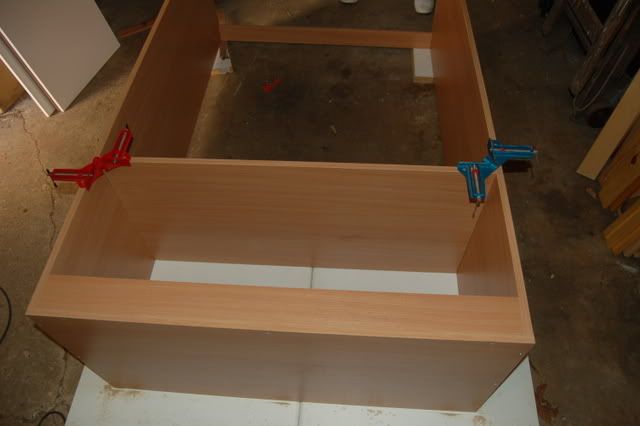
when that was done we attached another plinth and put the next floor in and attached another plinth
the white one looks a bit stupid, but we are going to cover it up at some point lol.
next floor in
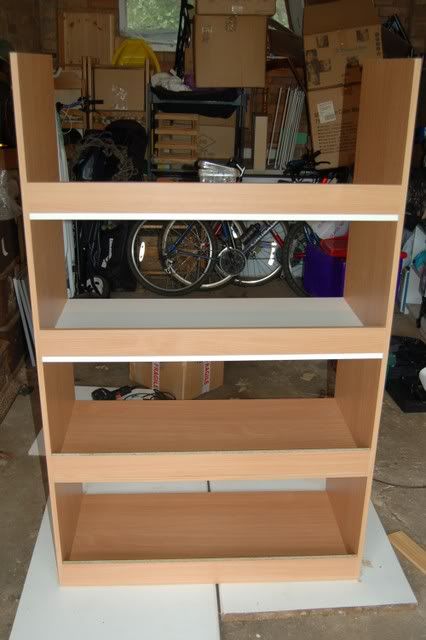
and then the roof was screwed on
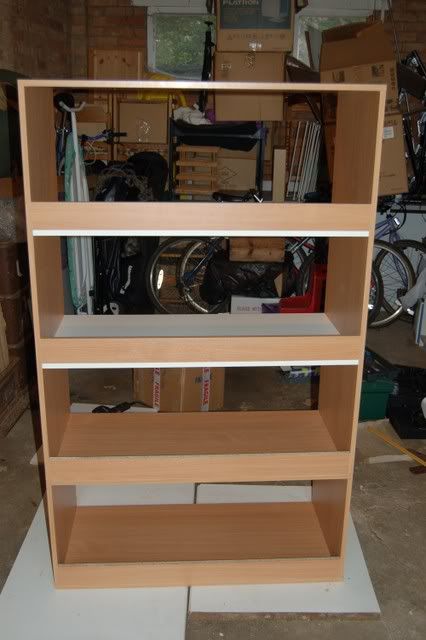
each viv measures 3 foot long x 18 inches wide x 15 inches high.
next part backing and ventilation.
for the back we used one side white melamine faced hardboard, the thin flexible stuff. the ventilation is 6mm mesh.
we lay the vivs down on their front
just noticed hadnt got many pics of this bit, so i shall try to explain
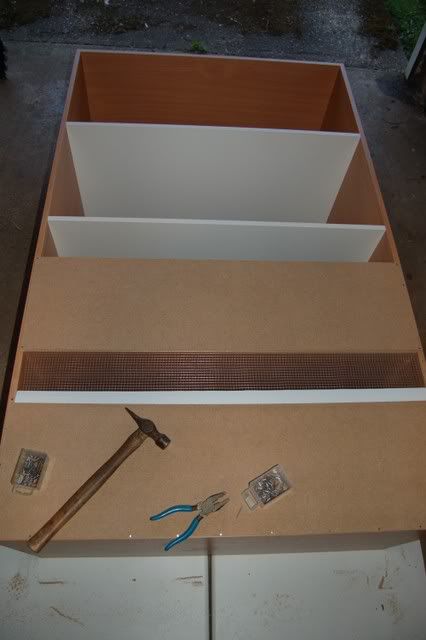
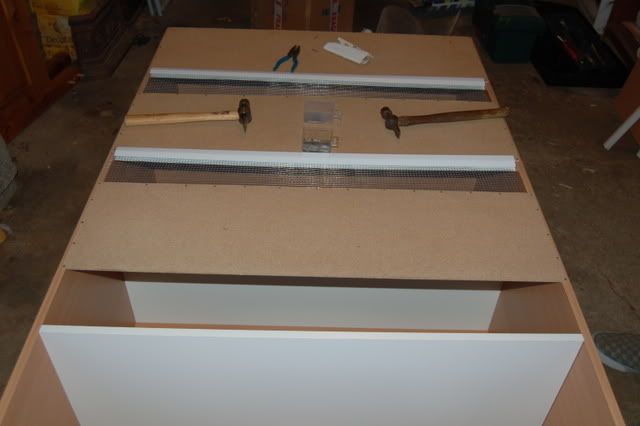
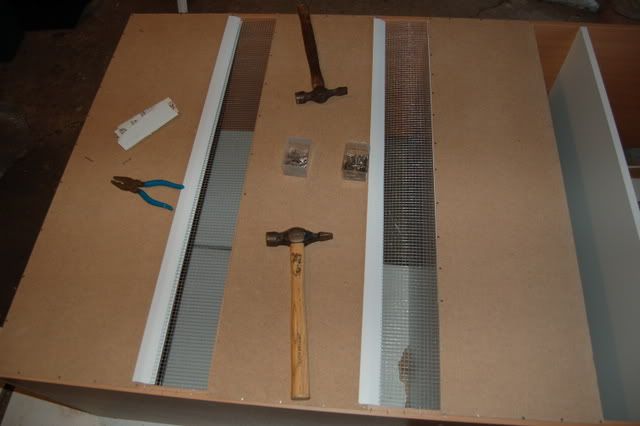
ok basically we tacked the hard board to the back all the way around the sides at about 1 inch intervals. then a piece of plastic moulding stuff which we got from wickes was placed over the hardboard.
the plastic stuff is like really deep glass runners, but in cross section instead of being a E it is a H... kind of like 2 single glass runners stuck back to back. The hard board was put into one groove and the mesh slipped into the other, we then use tacks to attach the mesh on, by hammering each tack in half way and then bending it over a piece of mesh, if we had a staple gun, we would have used that.
Ok then the next piece of hardboard overlaps the top of the previous mesh and holds it on better and hides all the bent tacks. then the plastic stuff again, and we just repeated this
and with all the back on (the nearer end is the top)
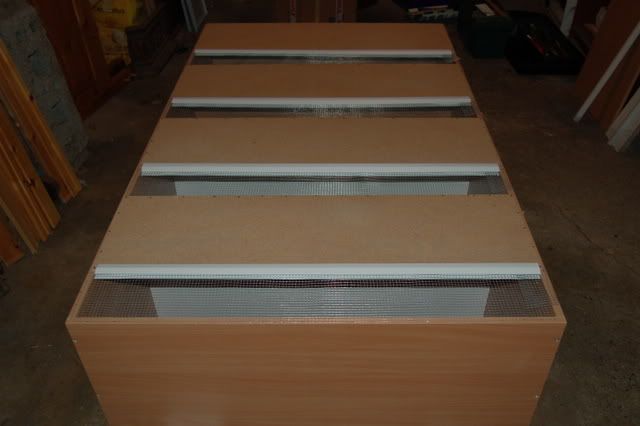
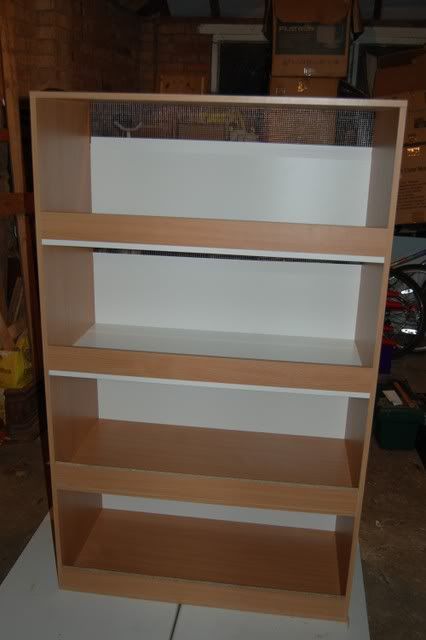
and the whole thing standing up (all wood completed, and sealed, just got glass to do next).
I sealed it using aquarium sealant. All joints were sealed, and i also put it inside the plastic moulding stuff, which means that the mesh cannot be pushed out, and it is sealed to the hardboard on the inside, so there is no gap were animals could get stuck or crickets hide in.
Total cost up to this point was £120, including glass runners
Wood - £80
Mesh - £5
Sealant - £7
Plastic Stuff - £8
Runners and Handles - £20
Glass all sorted, Top vivarium fully complete, In this pic it houses a single male pogona henrylawsoni, but these days it houses one of my corn snakes.
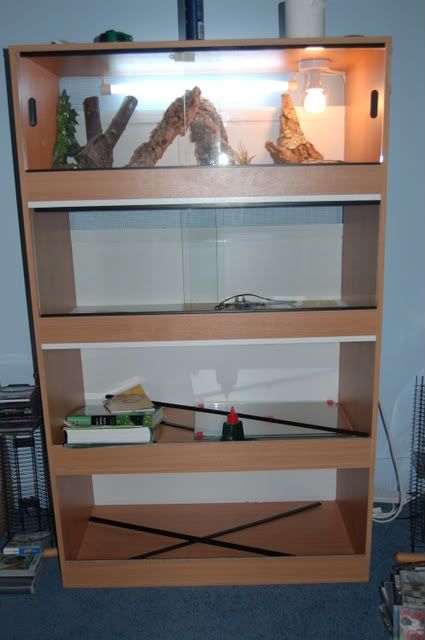
I can't seem to find an up to date pic, but basically the top viv has a single female corn snake in so is furnished like a temperate forest. Second viv down houses a single male Gidgee Skink in a natural looking setup. Third viv down houses a single baby male Frilled Dragon who is moving up to a nice big viv this weekend. Bottom viv is still empty.
I hope people find this thread useful. If you have any questions feel free to ask.
This is a post copied from another forum about my build:
Me and my dad decided to take the plunge and build a viv stack to house all my reptiles when they grow out of there tubs. So i took some pics as we went along, and thought i would share, might give some people some ideas.
we got all the wood from my local hardware store, they cut it for us for free. all the wood is beech affect melamine faced chipboard, we had some white as well so we used that up. everything was screwed together, by drilling first and then screwing, most pieces of wood are attached to another by at least 6 screws.
right here we go.
the ingredients
the piece on the floor is a side piece, we screwed this side to the bottom, and then the other side to the bottom, and then screwed on a plinth, to hold the substrate in and put the glass runners on, this also made it alot more secure
Next we put in the top of this viv, which is the bottom of the viv above, my dad found some 90 degree clamps buried deep in the shed, so we used those, they are the most useful things in the world, every single right angle joint in this build was clamped with one
when that was done we attached another plinth and put the next floor in and attached another plinth
the white one looks a bit stupid, but we are going to cover it up at some point lol.
next floor in
and then the roof was screwed on
each viv measures 3 foot long x 18 inches wide x 15 inches high.
next part backing and ventilation.
for the back we used one side white melamine faced hardboard, the thin flexible stuff. the ventilation is 6mm mesh.
we lay the vivs down on their front
just noticed hadnt got many pics of this bit, so i shall try to explain
ok basically we tacked the hard board to the back all the way around the sides at about 1 inch intervals. then a piece of plastic moulding stuff which we got from wickes was placed over the hardboard.
the plastic stuff is like really deep glass runners, but in cross section instead of being a E it is a H... kind of like 2 single glass runners stuck back to back. The hard board was put into one groove and the mesh slipped into the other, we then use tacks to attach the mesh on, by hammering each tack in half way and then bending it over a piece of mesh, if we had a staple gun, we would have used that.
Ok then the next piece of hardboard overlaps the top of the previous mesh and holds it on better and hides all the bent tacks. then the plastic stuff again, and we just repeated this
and with all the back on (the nearer end is the top)
and the whole thing standing up (all wood completed, and sealed, just got glass to do next).
I sealed it using aquarium sealant. All joints were sealed, and i also put it inside the plastic moulding stuff, which means that the mesh cannot be pushed out, and it is sealed to the hardboard on the inside, so there is no gap were animals could get stuck or crickets hide in.
Total cost up to this point was £120, including glass runners
Wood - £80
Mesh - £5
Sealant - £7
Plastic Stuff - £8
Runners and Handles - £20
Glass all sorted, Top vivarium fully complete, In this pic it houses a single male pogona henrylawsoni, but these days it houses one of my corn snakes.
I can't seem to find an up to date pic, but basically the top viv has a single female corn snake in so is furnished like a temperate forest. Second viv down houses a single male Gidgee Skink in a natural looking setup. Third viv down houses a single baby male Frilled Dragon who is moving up to a nice big viv this weekend. Bottom viv is still empty.
I hope people find this thread useful. If you have any questions feel free to ask.
")